How to Use a Whipped Cream Dispenser
This post may contain affiliate links. Read our disclosure policy
Want to make the best thick and fluffy whipped cream like at Starbucks? Then using a whipped cream dispenser is the way to go! This guide on How to Use a Whipped Cream Dispenser will give you all the information you need to know when making your purchase and how to make the most out of your dispenser!
It’s no secret that I love Starbucks. The amount of Starbucks copycat recipes I have on here have grown to a major collection! From a Starbucks Pumpkin Spice Latte to a Sugar Cookie Latte, I get super excited when it’s time to create my favourite Starbucks drinks at home! I was never much of a coffee drinker till I started making these awesome creations! Even when I’ve got other hot drinks like hot chocolate, some whipped cream just makes it all much more special.
A question I’ve always had was: Why is the Starbucks whipped cream so good? Not only did I have this question, but it became my mission to be able to make MY whipped cream just as good so I could truly replicate the wonderful creations at home!
While I’m a huge advocate of using what you have at home, I love to invest in a new kitchen tool that’ll be very useful and fun to use. This guide on How to Use a Whipped Cream Dispenser will give you all the information you need before making your purchase, including the different types of dispensers available, why you would want to get one, its parts, and how to use it.
My Make Cooking Fun! free motivational guide to inspire you to get creative in the kitchen goes into detail about how you should use up what you have on hand. If you’ve purchased heavy cream and you’re worried about how you’ll use it, the best way to use it is in whipped cream, as the name suggests! Spoiler alert: You can use a good half litre of whipped cream in one batch! Once you have your professionally-made whipped cream with your dispenser at home, you’ll see the number of uses are endless! You can try any of them out that may have been on your bucket list or that can be prepared for a loved one as part of your Live to Cook one-month cooking challenge! Get these resources for free by signing up to my newsletter, plus you’ll get all of my new recipes delivered right to your inbox!
To follow along with the assembly of the whipped cream dispenser and a demo of how to make your own whipped cream with it, then watch the video at the bottom of this post! I’d love it if you would please subscribe to my YouTube channel if you haven’t already and press the bell button to be notified when all of my video recipes are live! Let’s get whipping!
How is The Starbucks Whipped Cream SO GOOD??
As I started to prepare more coffee recipes that are topped with whipped cream, deep down I was always slightly disappointed with the end product whether I was making whipped cream by hand or with a stand mixer, or buying the aerosol can of whipped cream. No matter what, I just couldn’t get that thick and fluffy whipped cream like Starbucks, and I kept wondering how on earth does Starbucks do it!
After doing some Googling I figured it out. Starbucks has professional baristas who use professional tools, and they make their very own whipped cream. Enter the whipped cream dispenser.
If I wanted to have the best drinks and desserts possible, then I knew I was going to have to make the investment. While I normally always encourage you to use what you have on hand to make things work, if you are really serious about your whipped cream like I am, then it’ll be worth the investment, trust me!
How Does a Whipped Cream dispenser Work?
When you press on the trigger, the dispenser starts pouring out the liquid (typically heavy cream) and as the liquid is coming out, the nitrous gas is combining with the flavoured liquid, by adding air, thus fluffing it up. Whipped cream is whipped with air, and this action is happening almost instantly when the trigger is pressed. Essentially, all you gotta do is have your liquid prepared, press and hold, and there is your cream!
Why use a Whipped Cream Dispenser?
Fluffy and delicious whipped cream that tastes like from a coffee shop
The texture of the whipped cream doesn’t go flat or melt quickly
Impossible to over-whip the cream
Customizable recipes
Easy to use
Easy to clean
Keeps your whipped cream lasting long in the fridge
What options are there for whipped Cream dispensers?
Well, you have lots of aspects to consider when purchasing your whipped cream dispenser. I would do some thorough research before purchasing. This was something on my mind for many months before I actually went ahead and bought it. Use my choice as a template for your purchase decision, keeping in mind that I wanted the best dispenser for thick and rich whipped cream to share on camera, and that I like to make whipped cream about once a week and want it to last long!
Price
Some are not too expensive, starting at $29.99 CAD, while on the contrary, some cost quite a lot, up to $350 CAD!
I don’t want to break the bank, but I also know when it’s worthwhile to pay a bit extra. As a result, if I wanted to make the most out of my investment, then I wanted to get the actual dispenser that Starbucks uses. That turned out to be the ISI 163001 Profi Professional Cream Whipper. You can purchase this in the 1 pint (500 mL or half litre) container or the 1 quart (1000 mL or one litre) container. The 1 pint costs $128.96 CAD at the time of writing it, and that’s the price I paid. This seems to be on the slightly higher price point but nothing too out there!
Size
At first, I thought the 1 quart dispenser was going to be the best choice, but I read reviews from people and they said the 1 quart dispenser doesn’t fit in their fridge. Well, we don’t want that now, do we! Plus, even Starbucks uses the 1 pint dispenser, so I realized that that was the best option. Thank goodness I did get the 1 pint dispenser! When you get your dispenser that’s 1 pint, you see that it’s quite big already, and when you actually get to making your whipped cream, you’ll see that it’ll make a lot! I don’t think ANYONE needs 1 quart of whipped cream unless you’re a professional baker going through whipped cream all day long. Please feel free to comment if you have a use case for 1 quart of whipped cream - I’d really love to know! There are also plastic dispensers, but their durability is far less superior to the aluminum and stainless steel alternatives.
Material
My model has a stainless steel outside as opposed to an aluminum one. The stainless steel dispensers are more costly, as I found the lowest price of a stainless steel model to be $60 CAD. Stainless steel is excellent in all cookware because it is low maintenance in terms of general care and cleaning, as it is stronger in resisting corrosion. Furthermore, stainless steel retains heat and cold very well. Additionally, stainless steel is dishwasher friendly whereas the aluminum is not. When you get to the end of your whipped cream, you’ll see that it can be quite difficult to get into all the nooks and crannies by hand, so washing the container in the dishwasher will really come in handy! I’ve noticed that I’ve still had to soak the other parts in soapy water, but the initial cleaning boost will certainly help. You could even find plastic ones, but they aren’t as durable as the aluminum and stainless steel varieties.
Charge Lifespan
I’ve found that my model can hold the charge for about a week. Research the longevity of the charge and time your usage of the whipped cream accordingly. I pretty much use my batch within a week, and on its website iSi states that it can hold the charge for 10 days. This length of time is perfect for me, but some models can even hold a charge for two weeks. I would recommend investing in a model that can go for a longer charge time if you won’t fly through the whipped cream, but if you don’t want to pay too much, then be sure to plan accordingly. Hello lattes!
Insulation
iSi is an Australian brand makes the dispenser I have. They offer my model and a model that is both for hot and cold applications. What’s a hot application, you may ask? I had the same question! If you want to make savoury creams like herb cream, whipped soups, or hot fudge sauce, then you’ll want a dispenser that can retain heat. This is done through the double-walled stainless steel vacuum insulated wall. I didn’t see a need for the hot sauces since I didn’t even make any of that in my restaurant job days, so I didn’t go for this. The models that are designed for hot and cold applications are close to $100 extra!
Use Cases
You can use your whipped cream dispenser not just to make whipped cream! Use it for whipped soups, nitro cold brew, cold foam, batters, cocktails, sauces and mousses. As mentioned above, if you want hot options, then you’ll need to pay extra for a dispenser that can retain heat.
Whipped Cream Dispenser Parts
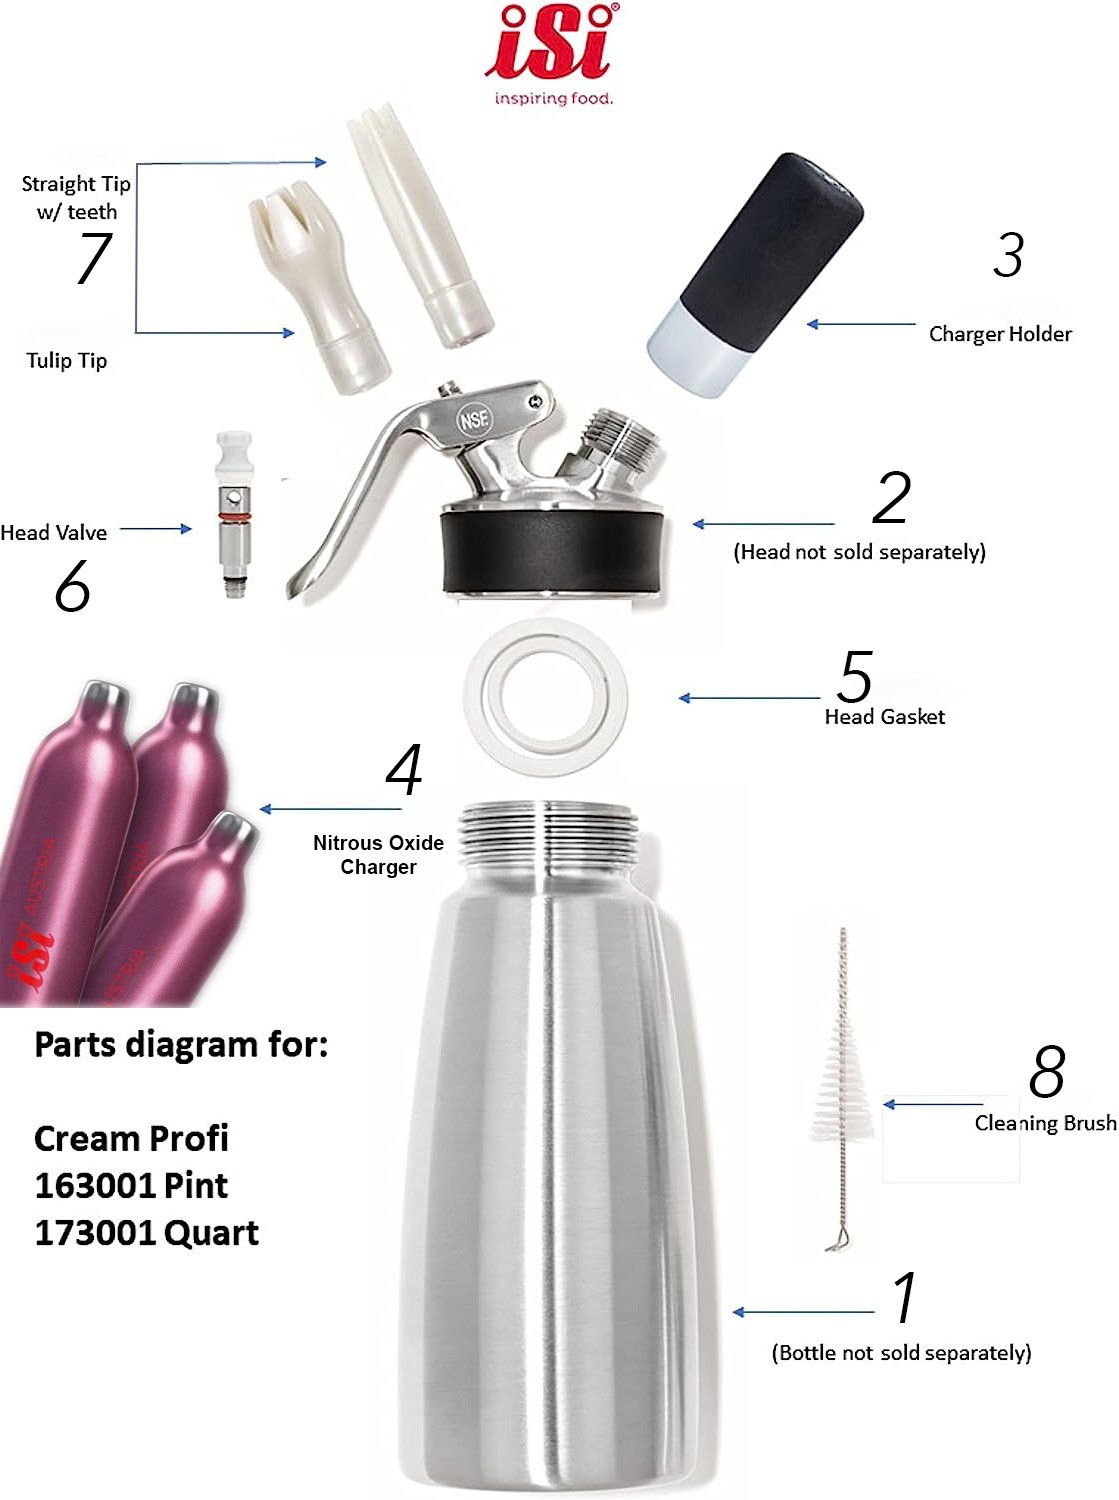
Bottle: Where the whipped cream is! You’ll make your whipped cream mixture directly in the bottle and attach everything else on it. This may or may not be dishwasher safe.
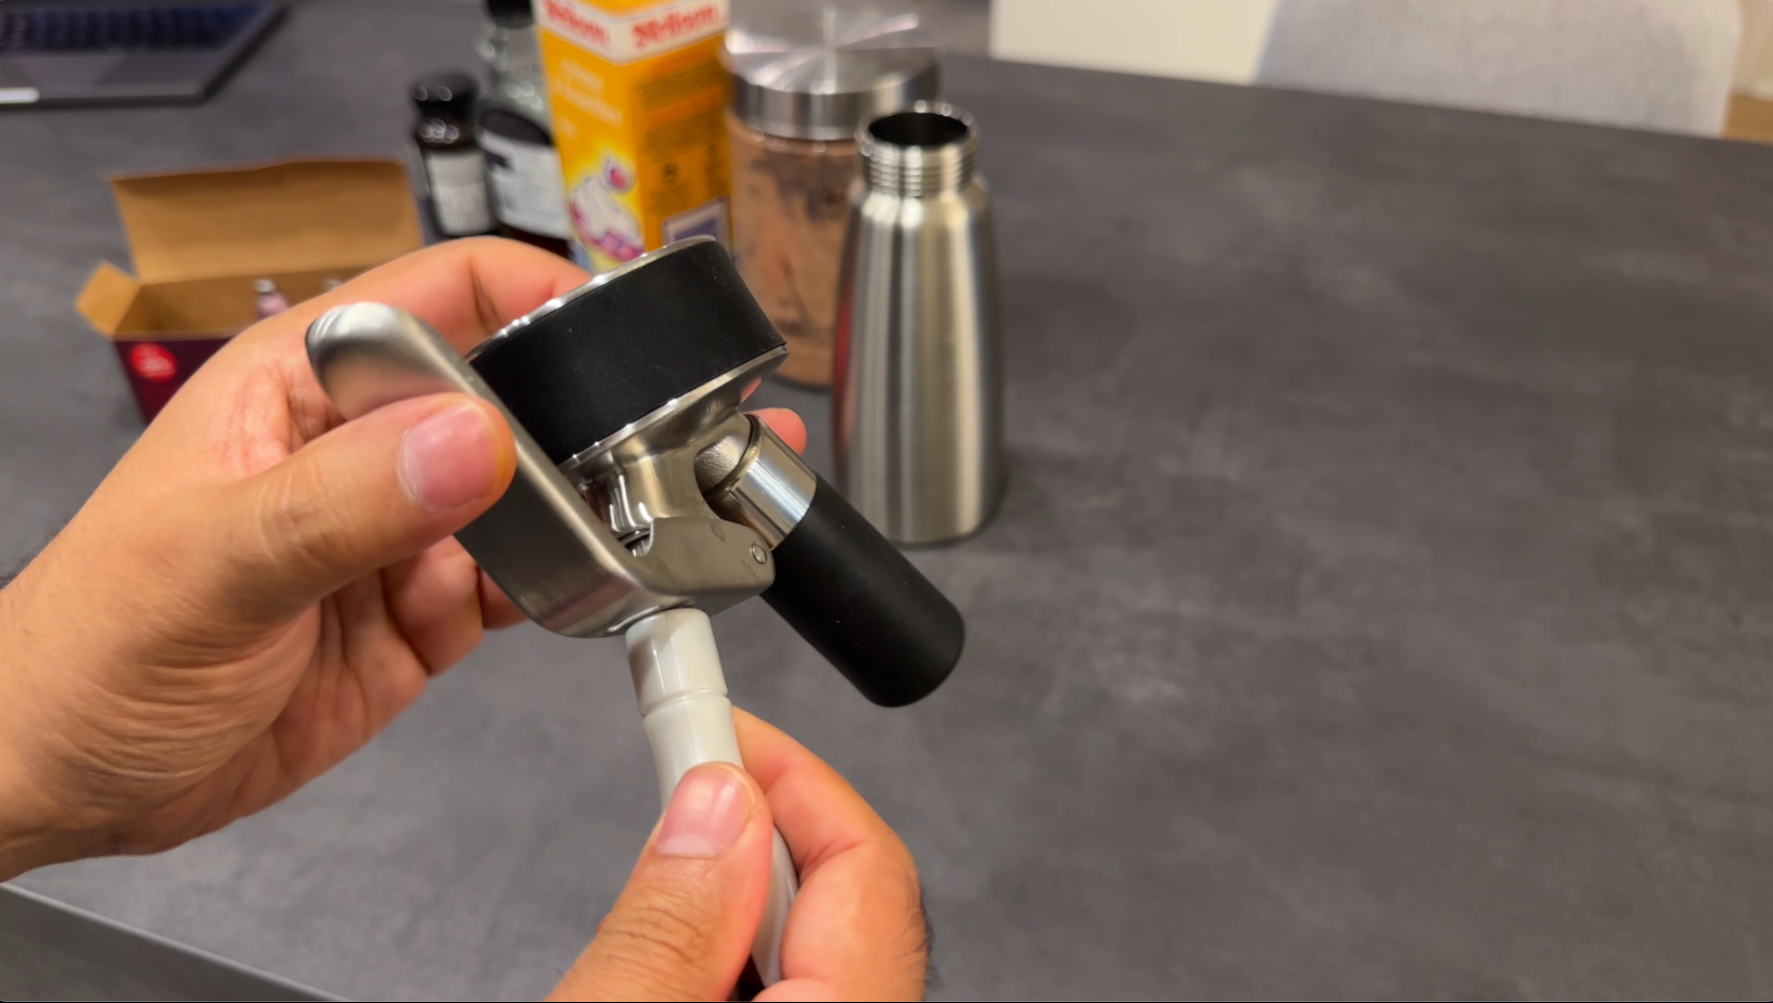
Head: Attach your charger holder (3), tip (7) and head valve (6) to this.
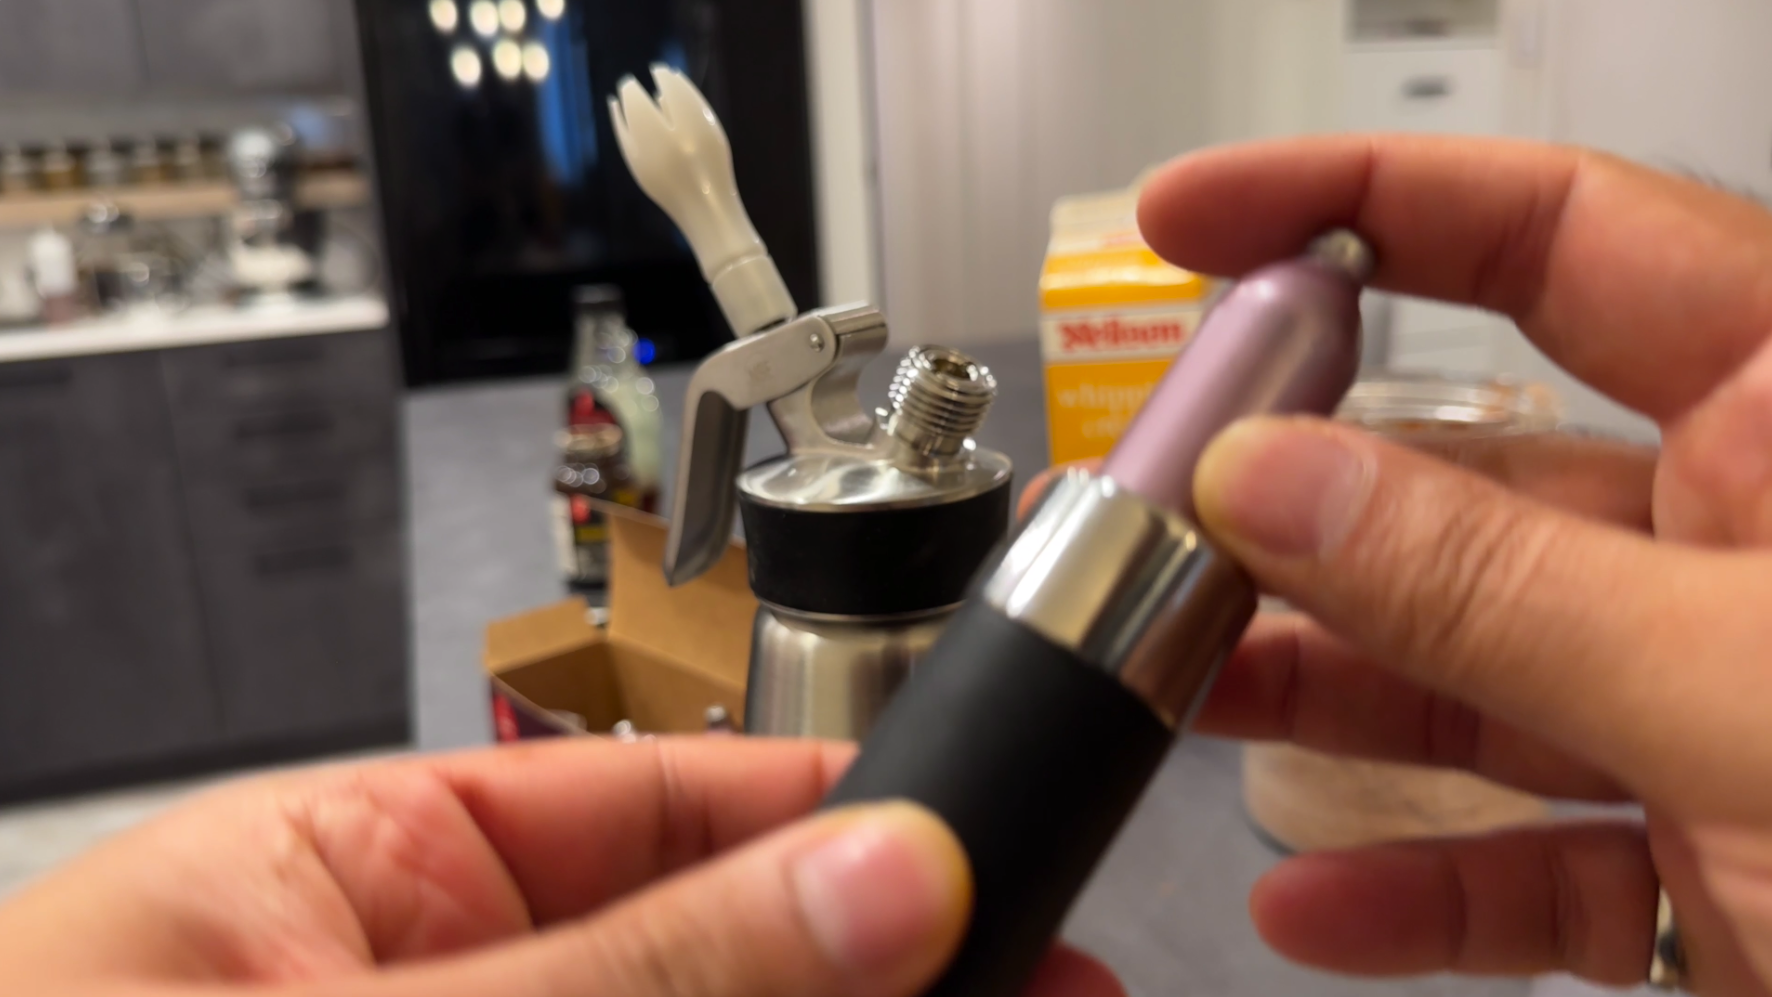
Charger holder: Insert the cartridge into the charger, then screw this into the dispenser. Make sure that you do this AFTER you’ve made your cream mixture and not before!
Nitrous oxide (N2O) cartridges: These are sold separately from your actual dispenser. You need to make sure that your cartridge is compatible with your model of whipped cream dispenser in order for it to work. If you have an iSi dispenser, it seems that only the iSi brand of cartridges are compatible.
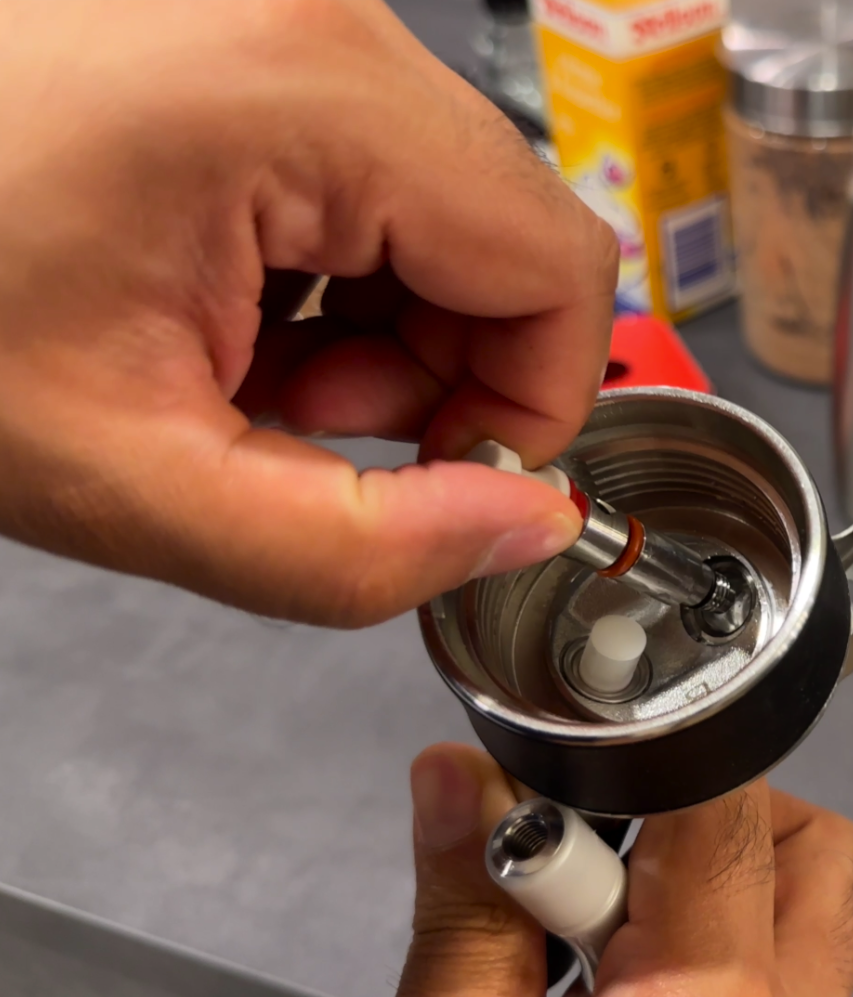
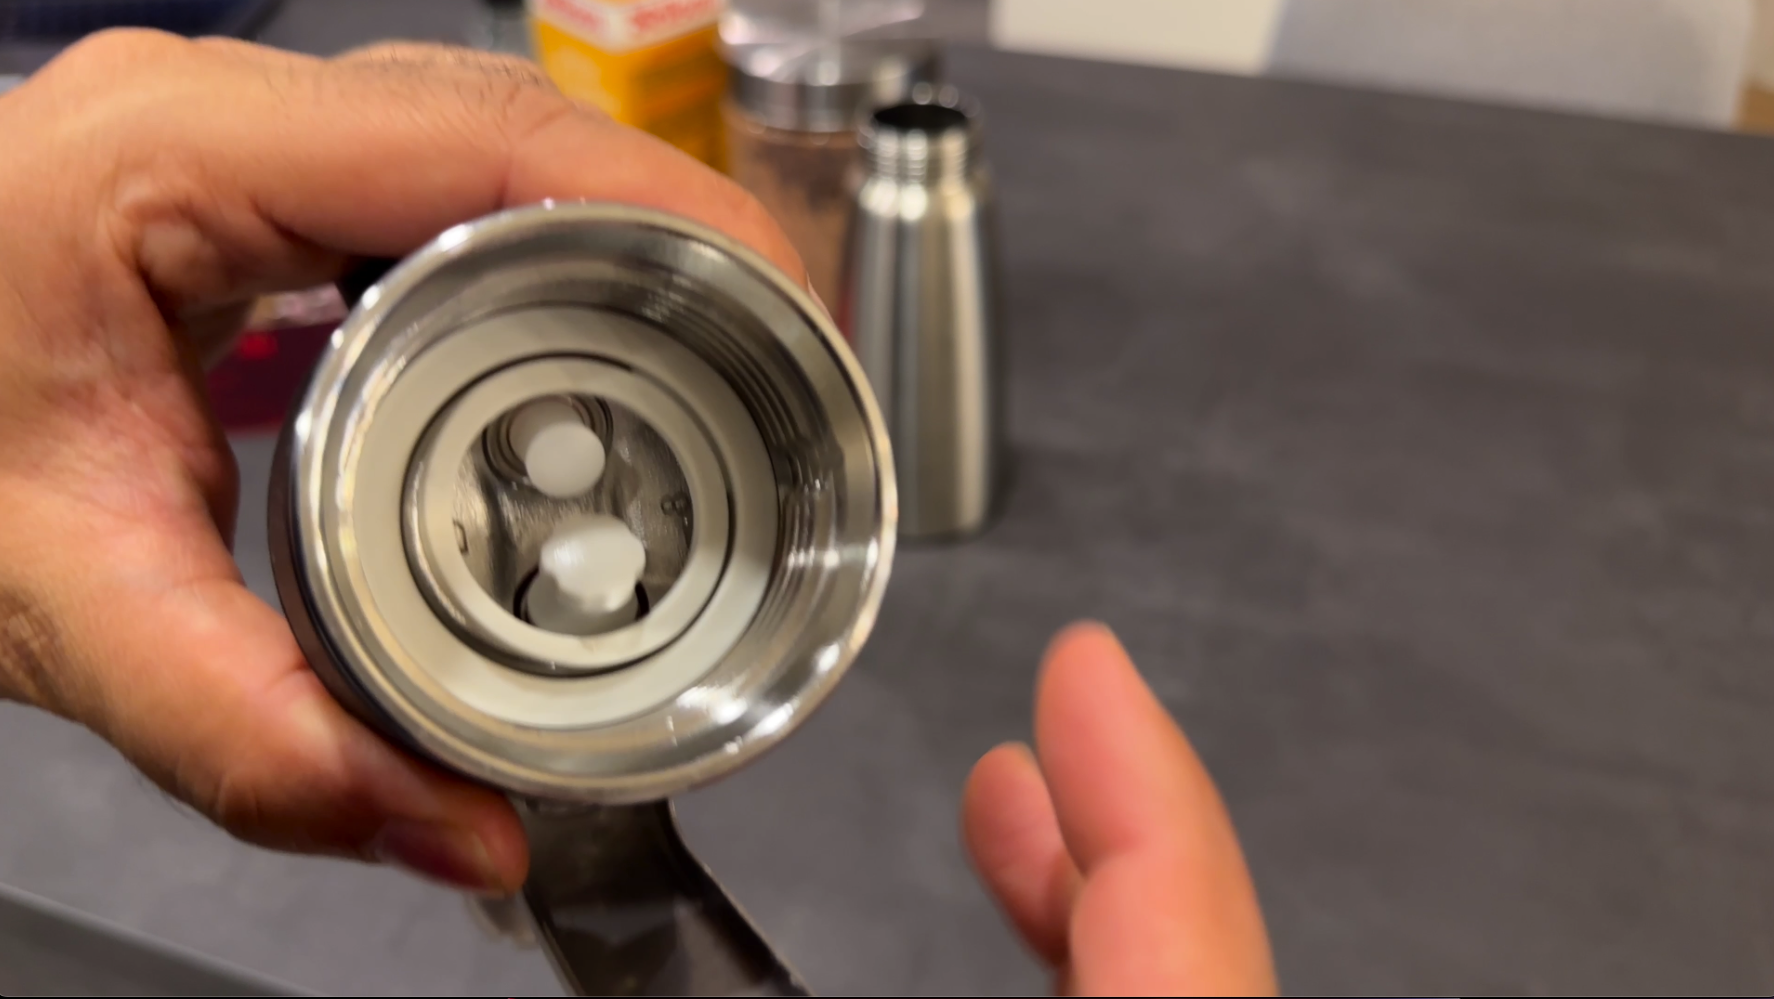
Head gasket: This is a silicone seal. A gasket is an object that if you put the cream and the cartridge but forget to put the seal in, then the gas leaks. I’m not sure how the seal works exactly, but I know from experience that it’s needed!
Head valve: This is where you’ll screw the tips (6) onto.
Tulip tip & straight tip with teeth: My whipped cream dispenser model provided 2 different nozzles for a variety of final whipped cream textures. I’m not a baker and I’m not sure if I’ll use the second nozzle, but they give it! If you have any information on what different nozzles can do for your whipped cream, then please let me know in the comments! You can also purchase additional types of nozzles or even get them in stainless steel.
Cleaning brush: Helps get in the nooks and crannies of your whipped cream dispenser when cleaning. From experience, the nozzles and head gasket can get smelly after use.
Can I use Any Gas in The Whipped Cream Dispenser?
No, you can only use nitrous oxide in these. Any other gas will cause the cream to curdle rather than to dissolve and aerate it. We don’t want all that cream to go to waste by curdling!
Ingredients For Starbucks Homemade Whipped Cream
For a basic whipped cream recipe, you only need three simple ingredients. Check out the bottom of this post for the FULL PRINTABLE recipe card for quantities and to save the recipe for later. You can scale the recipe based on the size of your whipped cream dispenser. These amounts will be for a 1 pint (0.5 L) dispenser.
Heavy cream: Also known as “whipping cream.” This contains 30%-35% milk fat. You can’t use anything else because, as the name suggests, this cream is intended to be “whipped.” The lower fat creams won’t fluff and air up.
Sweetener: Use anything you want, such as regular table sugar, brown sugar, honey, cane sugar, agave syrup, or maple syrup. You can even use sugar-free sweeteners like Splenda or Stevia. The Starbucks whipped cream is a vanilla sweetened whipped cream, and they use their classic vanilla syrup to sweeten the whipped cream. If you want to make your whipped cream truly like the Starbucks one to have that first sip feeling at home, then you can check out my Quick Vanilla Syrup for Coffee recipe! It only takes about 10 minutes to get it ready!
Vanilla: If you’re using a sweetener that isn’t vanilla syrup, then you’ll want to add some vanilla flavour. Starbucks’ whipped cream is vanilla-based, and this is what steps up the goodness of whipped cream! You can pick your vanilla flavouring from vanilla extract, Madagascar bourbon vanilla bean paste or even vanilla bean pods.
You can always make some exciting variations, like chocolate, Nutella, peanut butter, Oreo, banana, butterscotch, and caramel! Comment below if you want specific recipes for these!
How to Make Homemade Whipped Cream in a Whipped Cream Dispenser
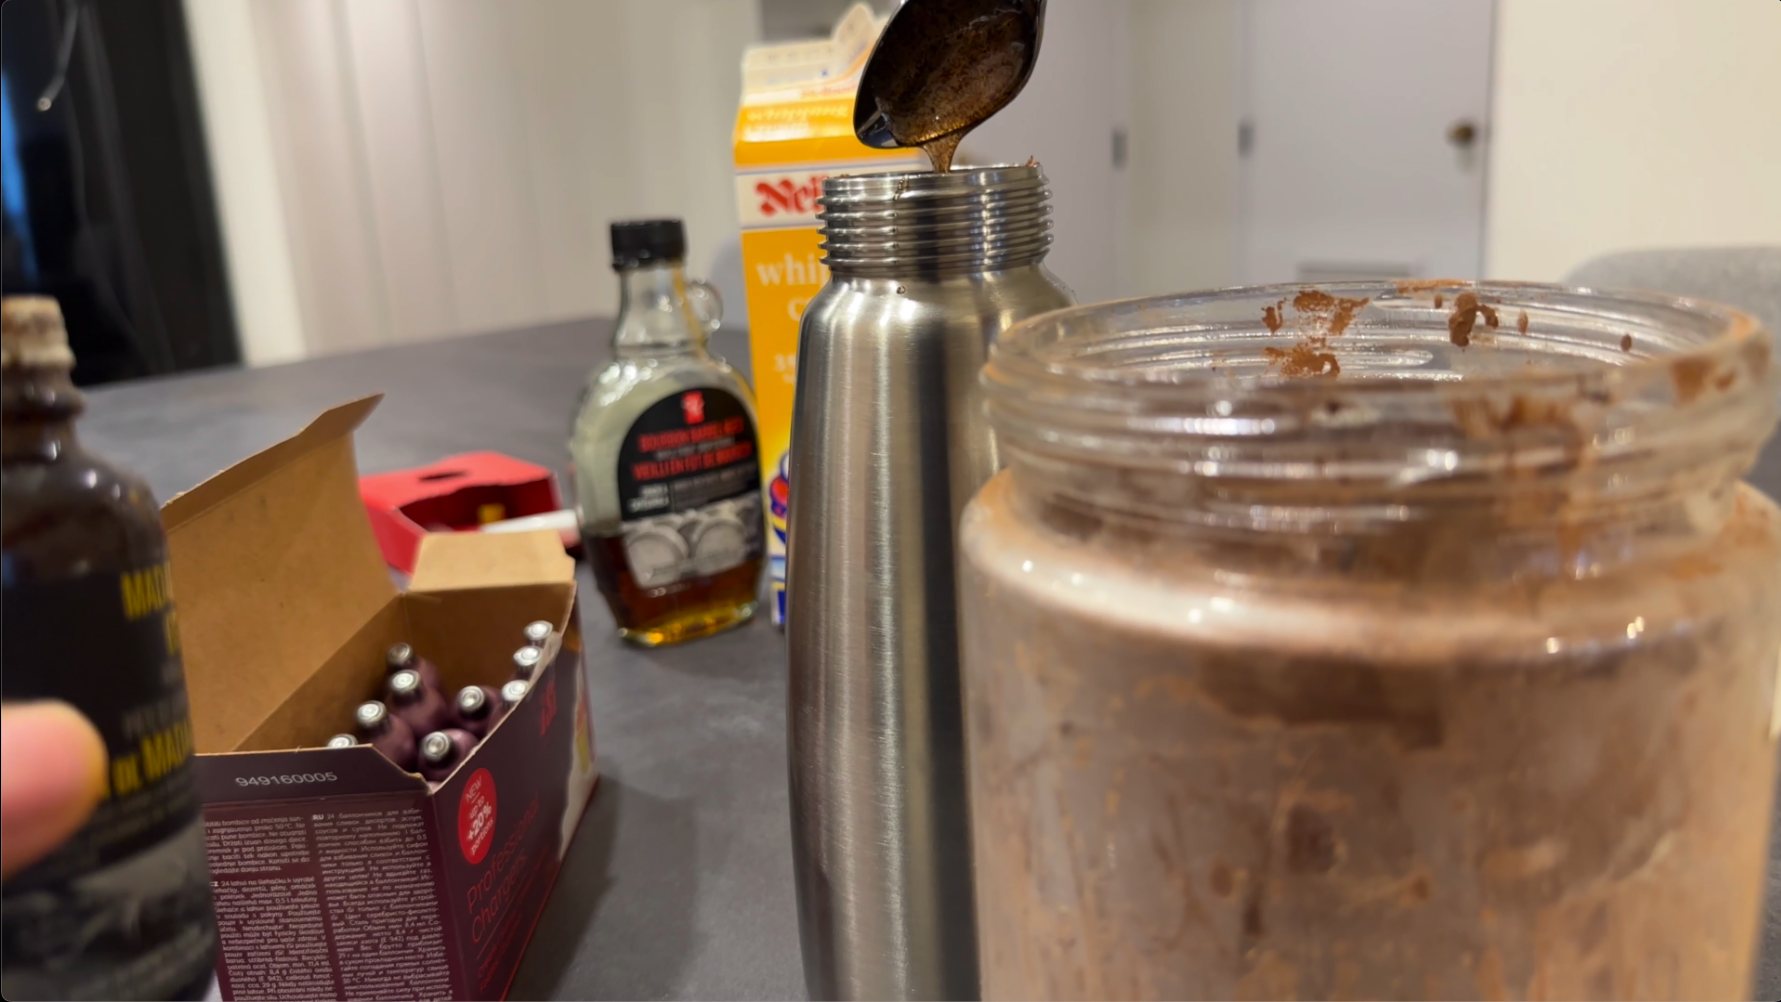
Add the cream, sweetener, and vanilla extract (or other vanilla) in the bottle for your whipped cream dispenser. Stir well with a spoon and taste for sweetness.
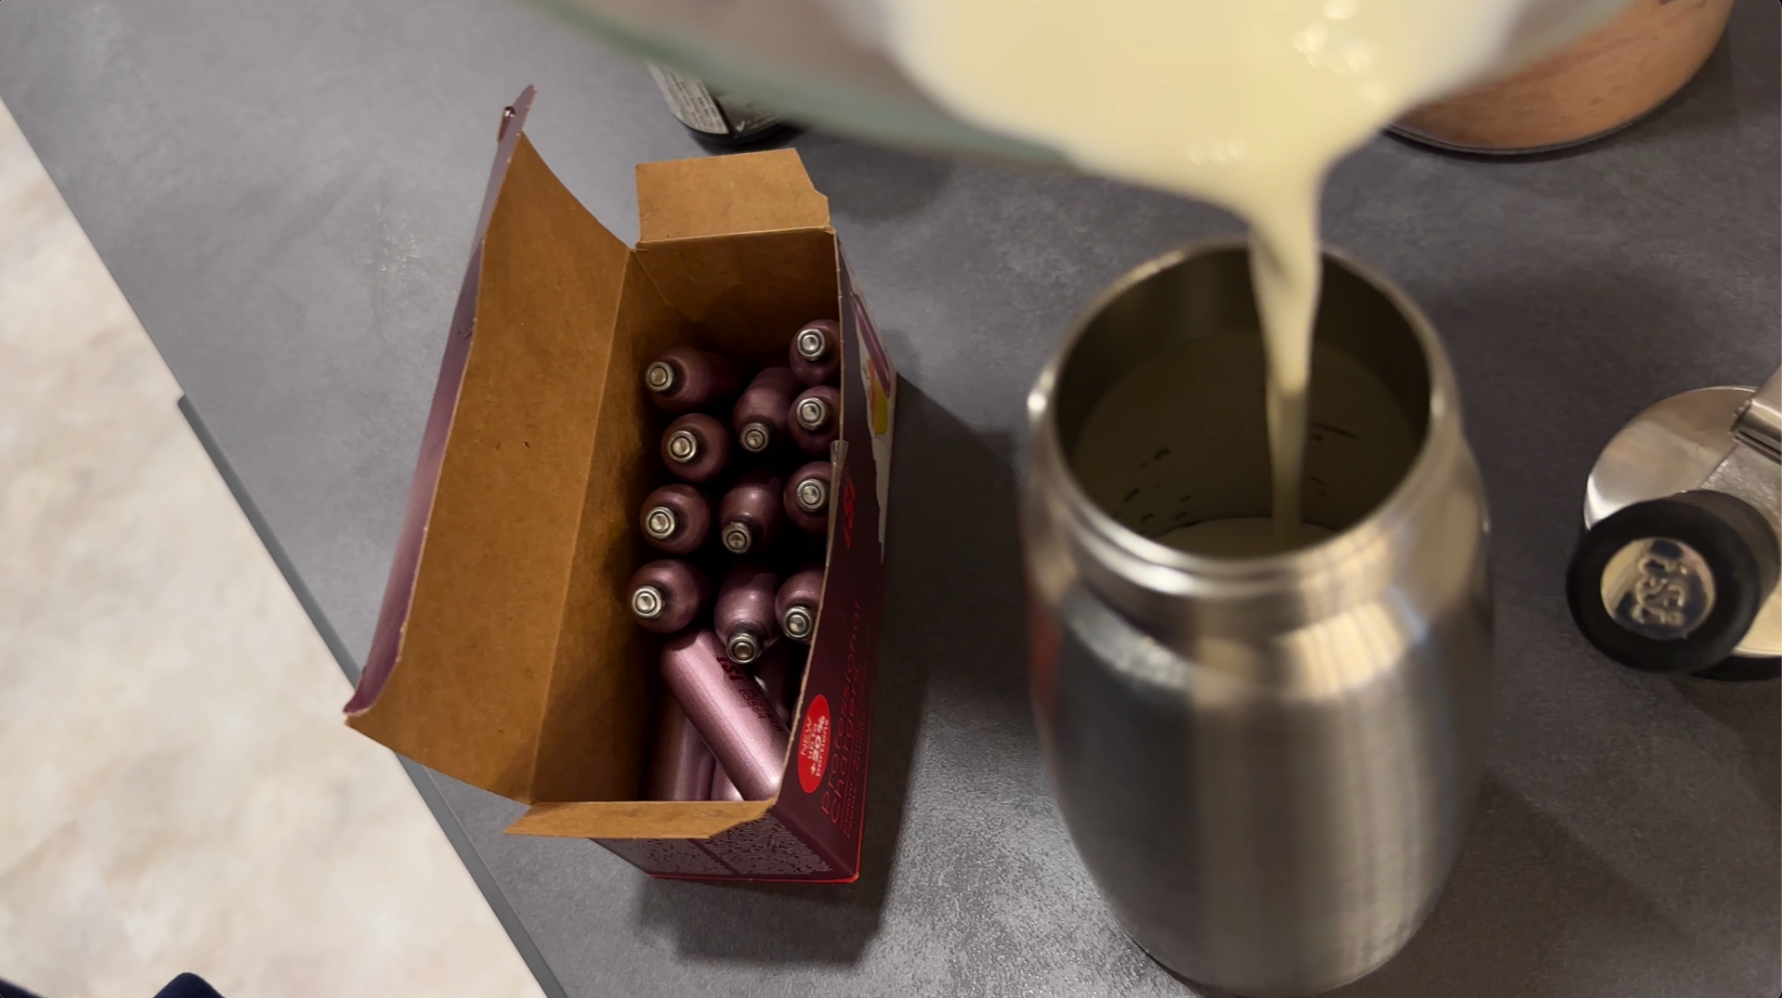
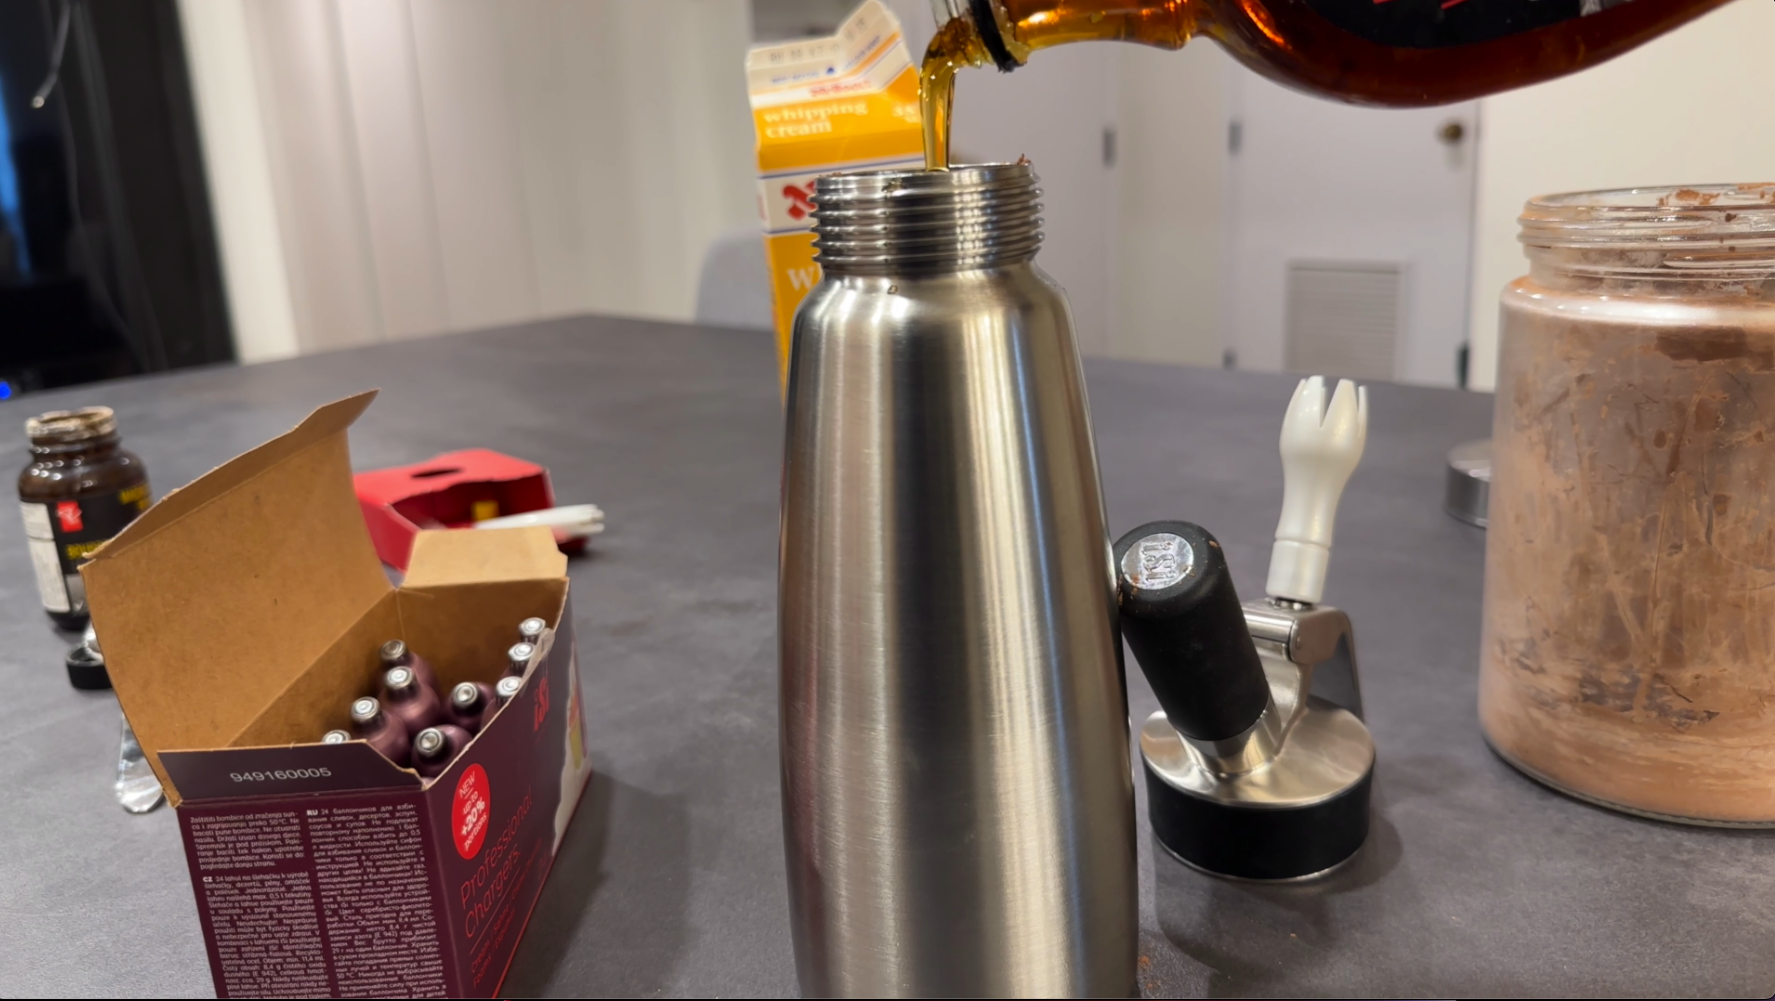
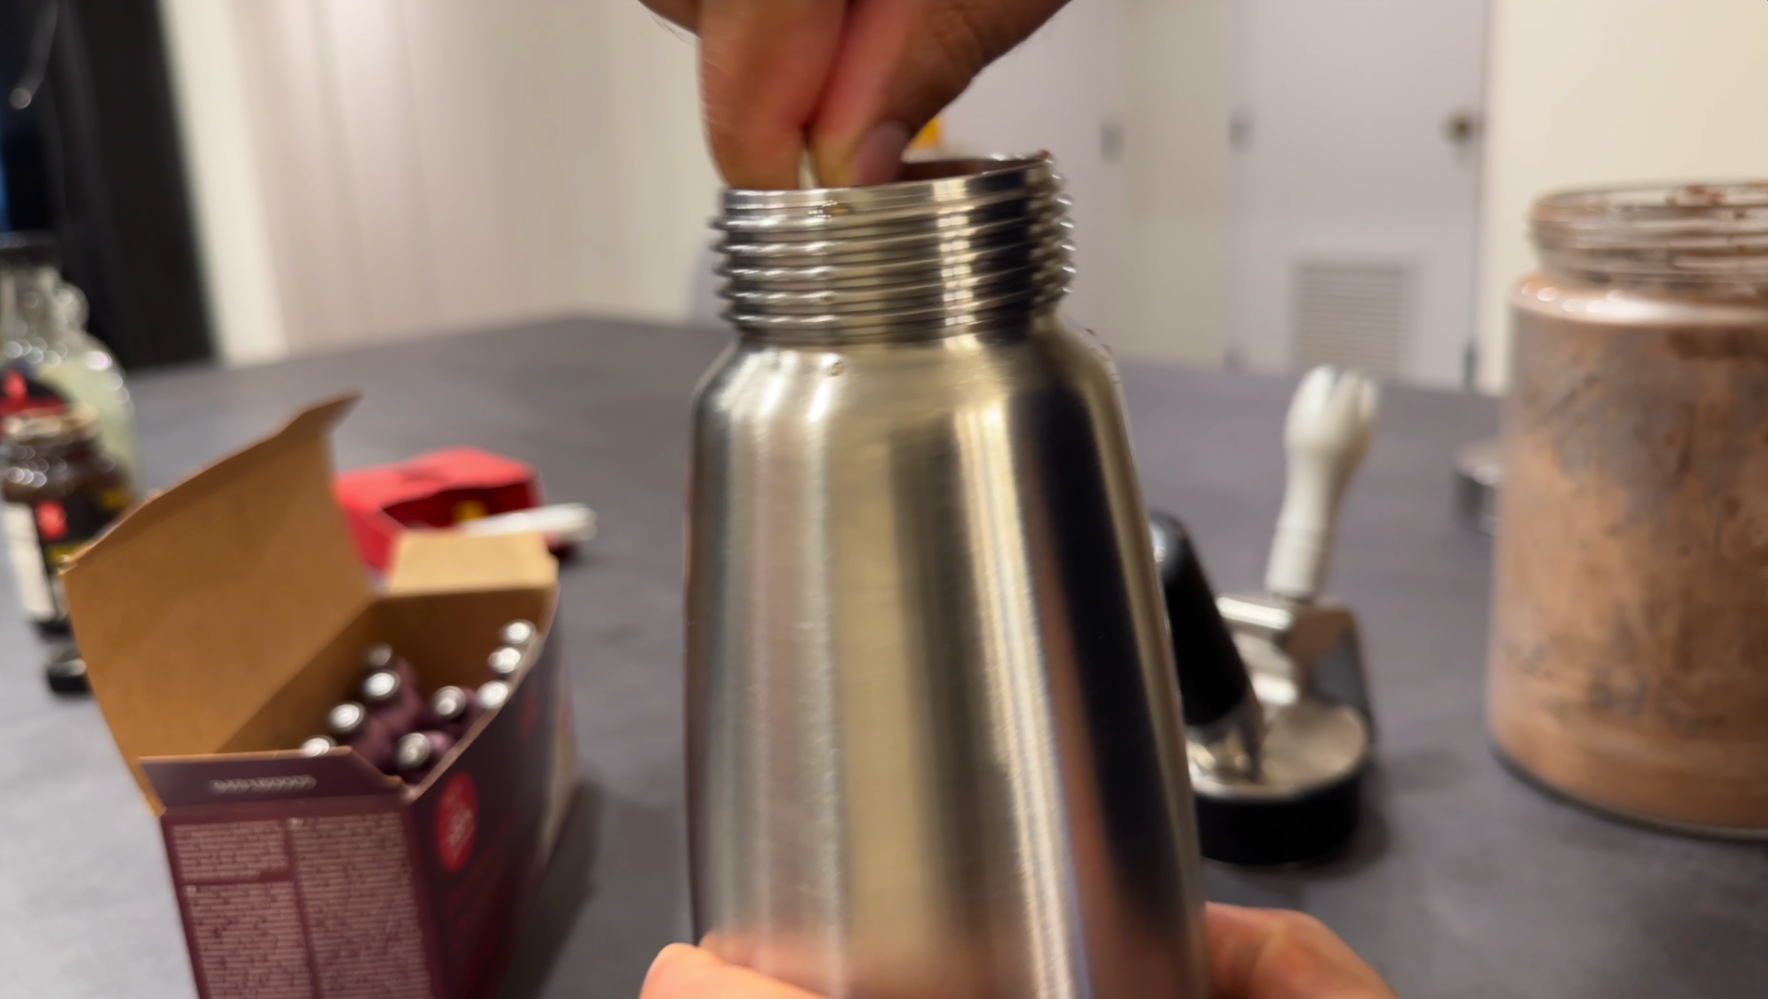
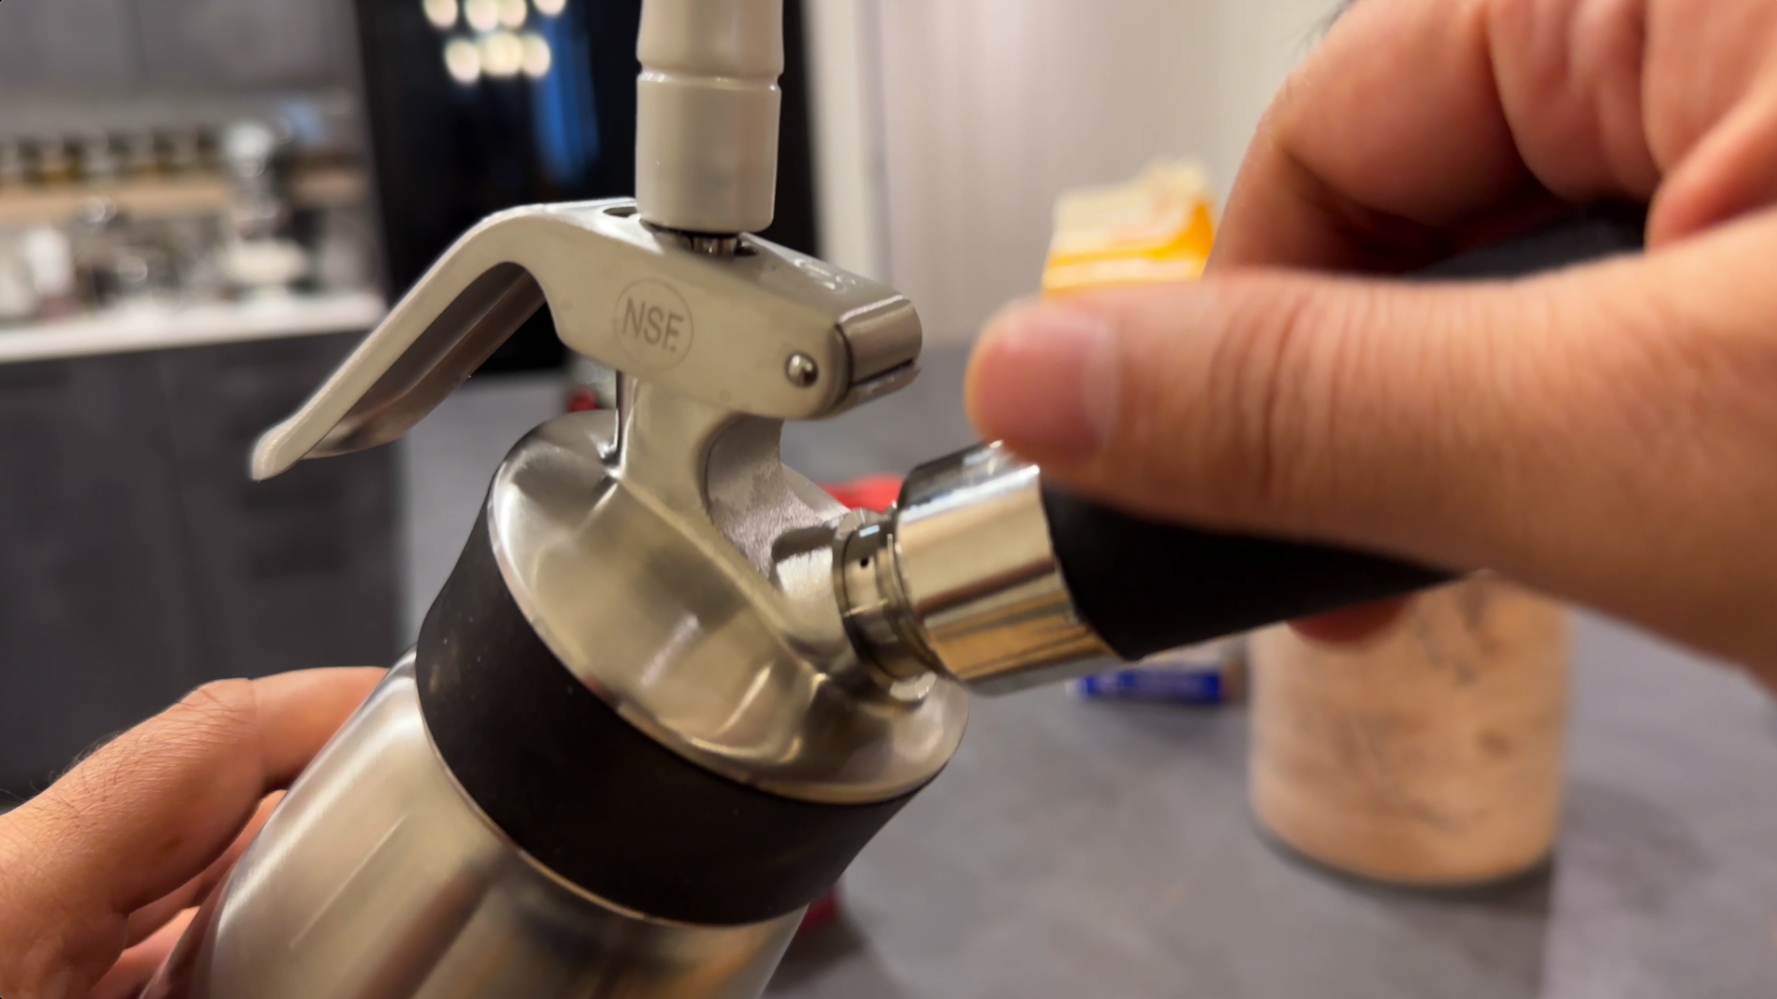
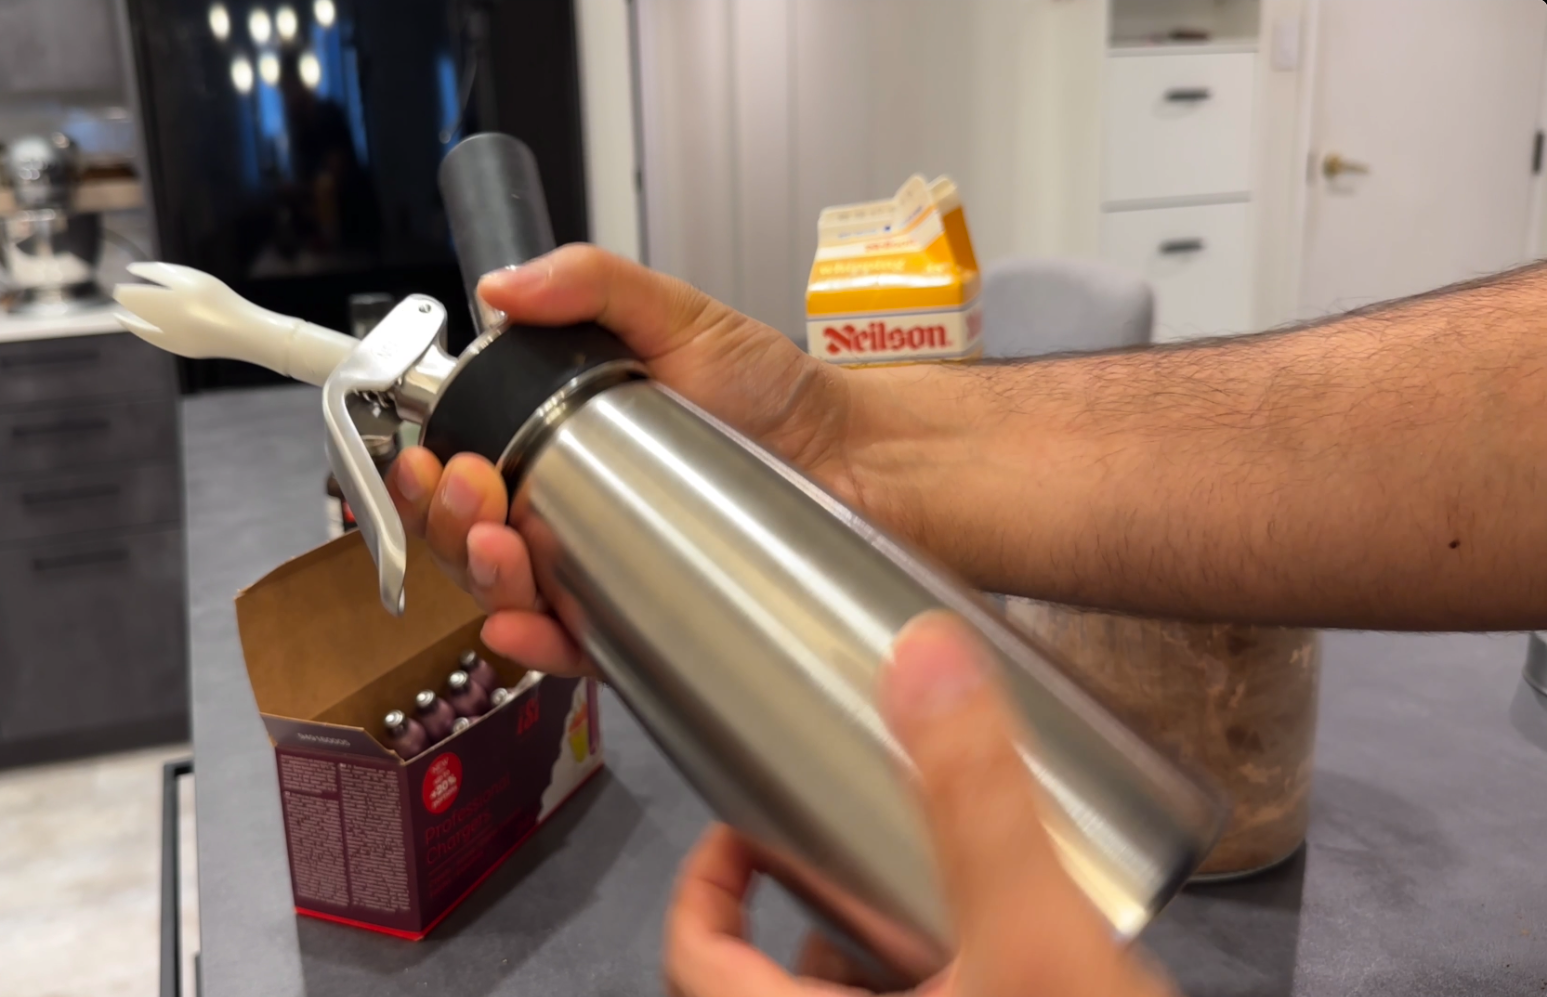
Ensure the head gasket is inserted in the head of the dispenser and prior to closing the bottle, screw in the tip on the head. Secure the head on the bottle and insert the Nitrous Oxide (N2O) charger to the charger holder. Screw in the charger holder until tight, you will hear and quick discharge of gas as the charge gets secured to the head of the dispenser. Refrigerate until ready to use.
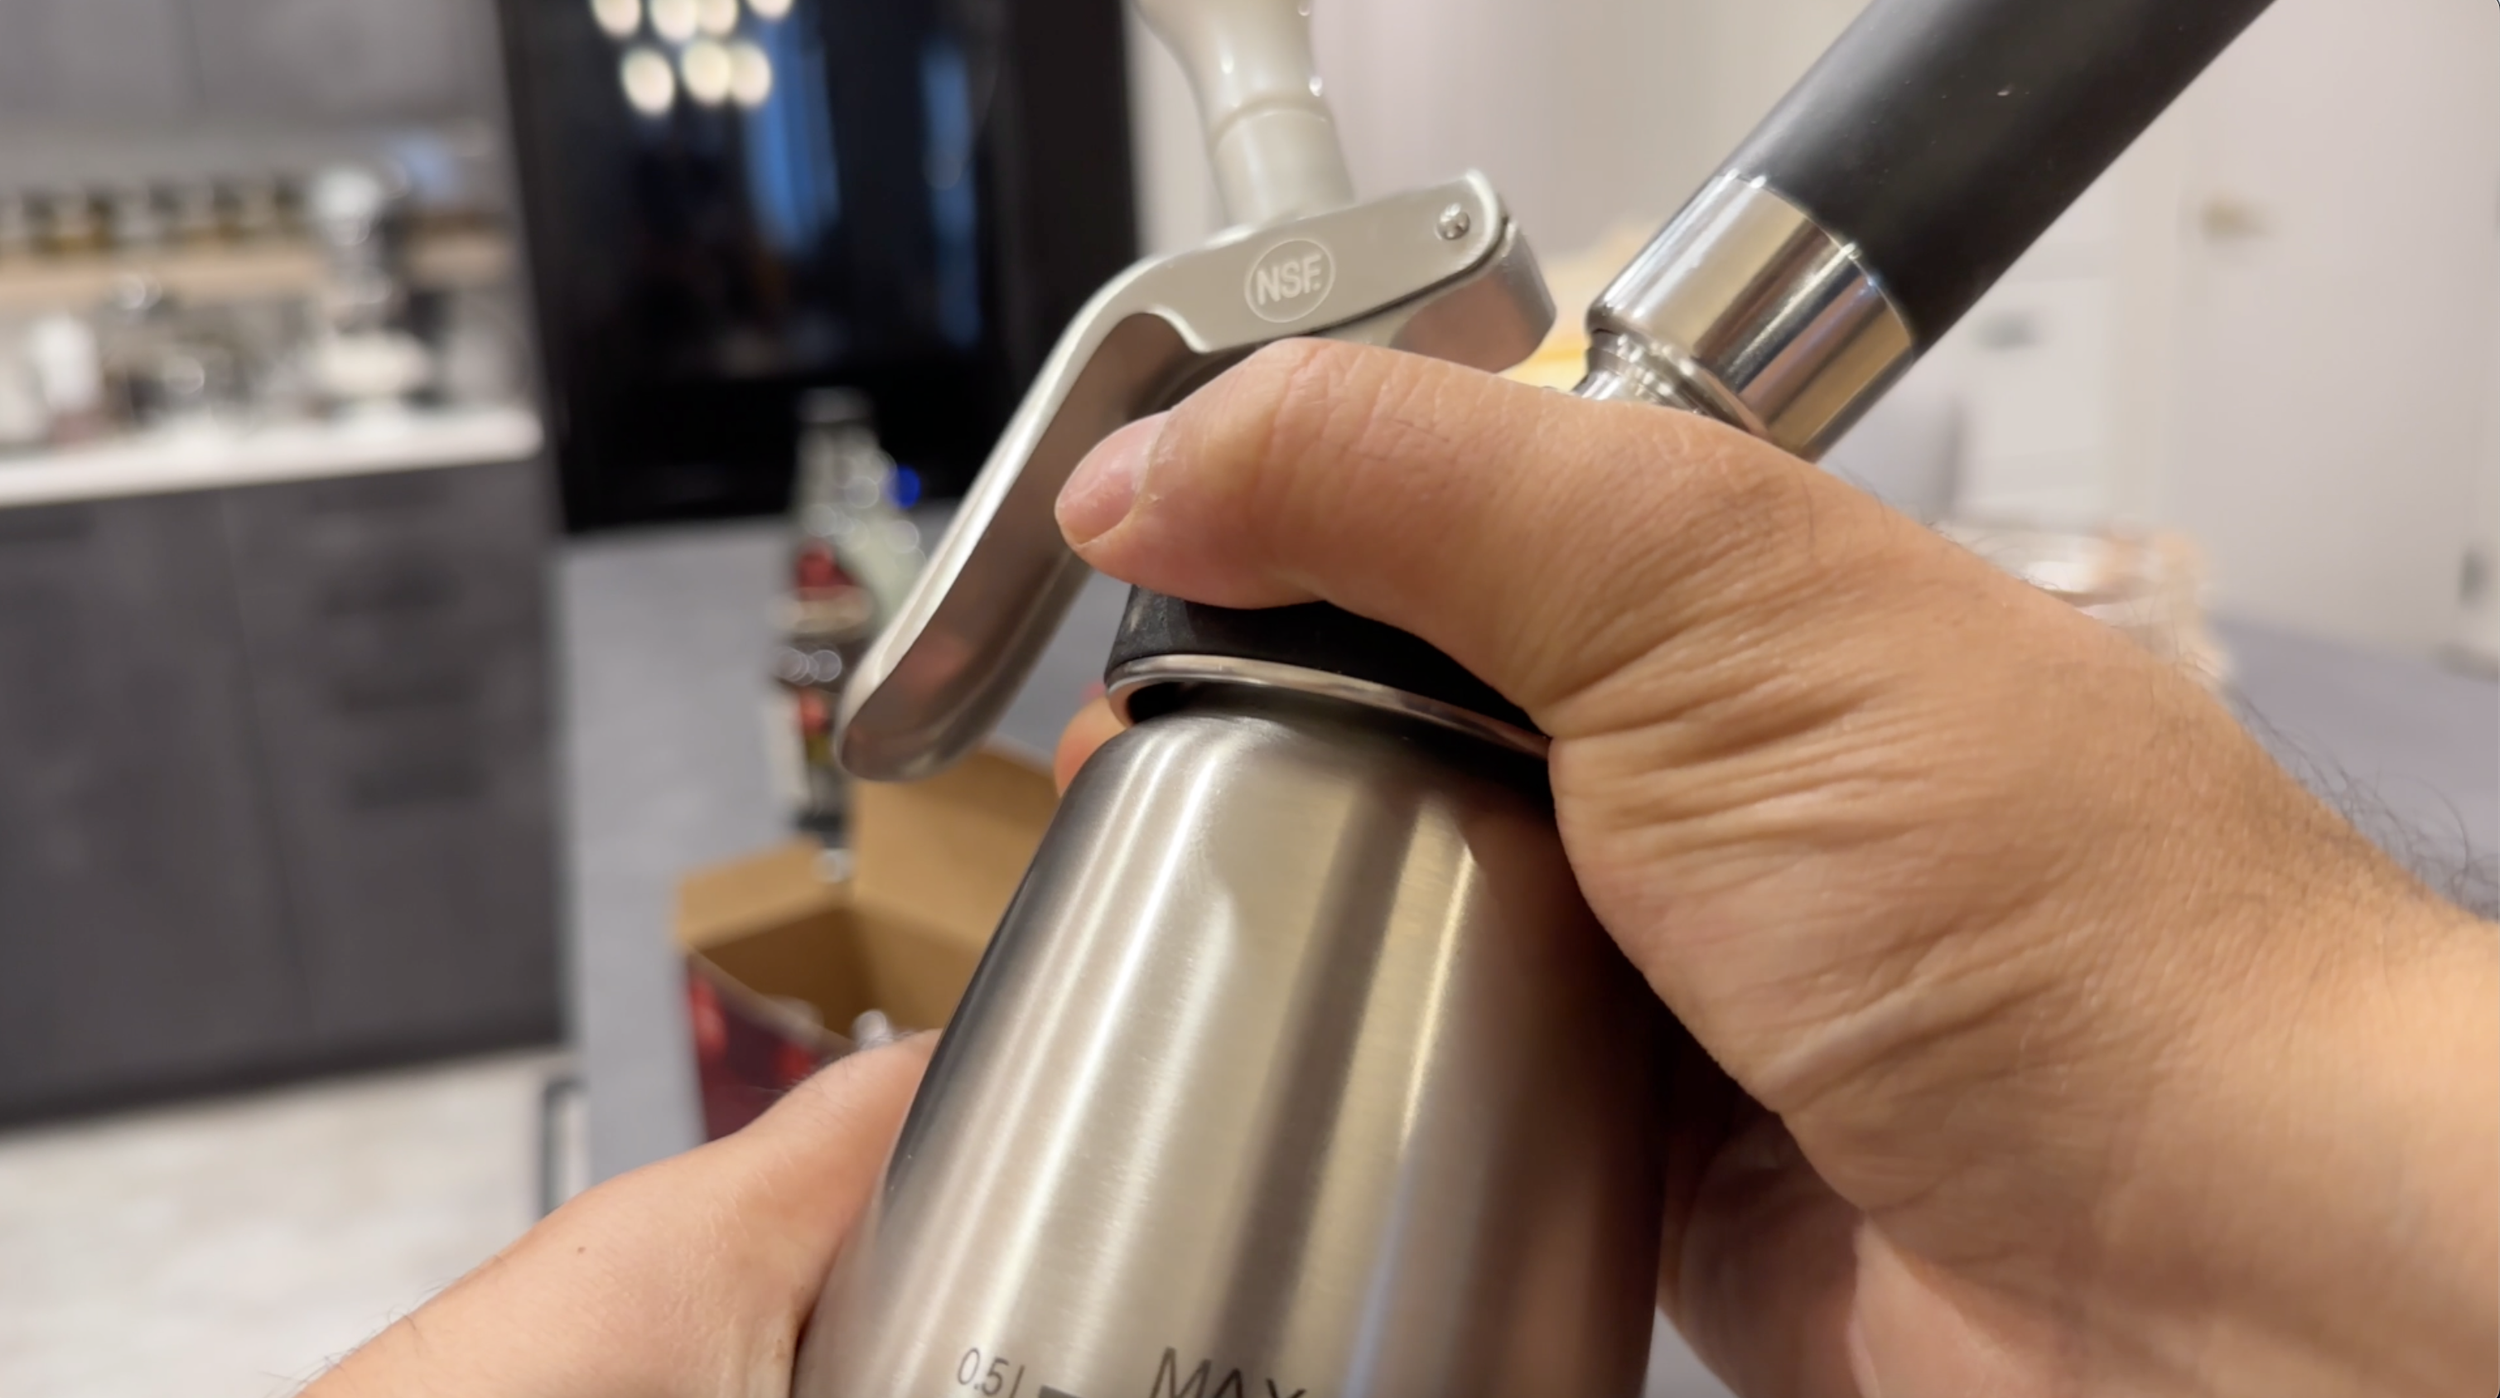
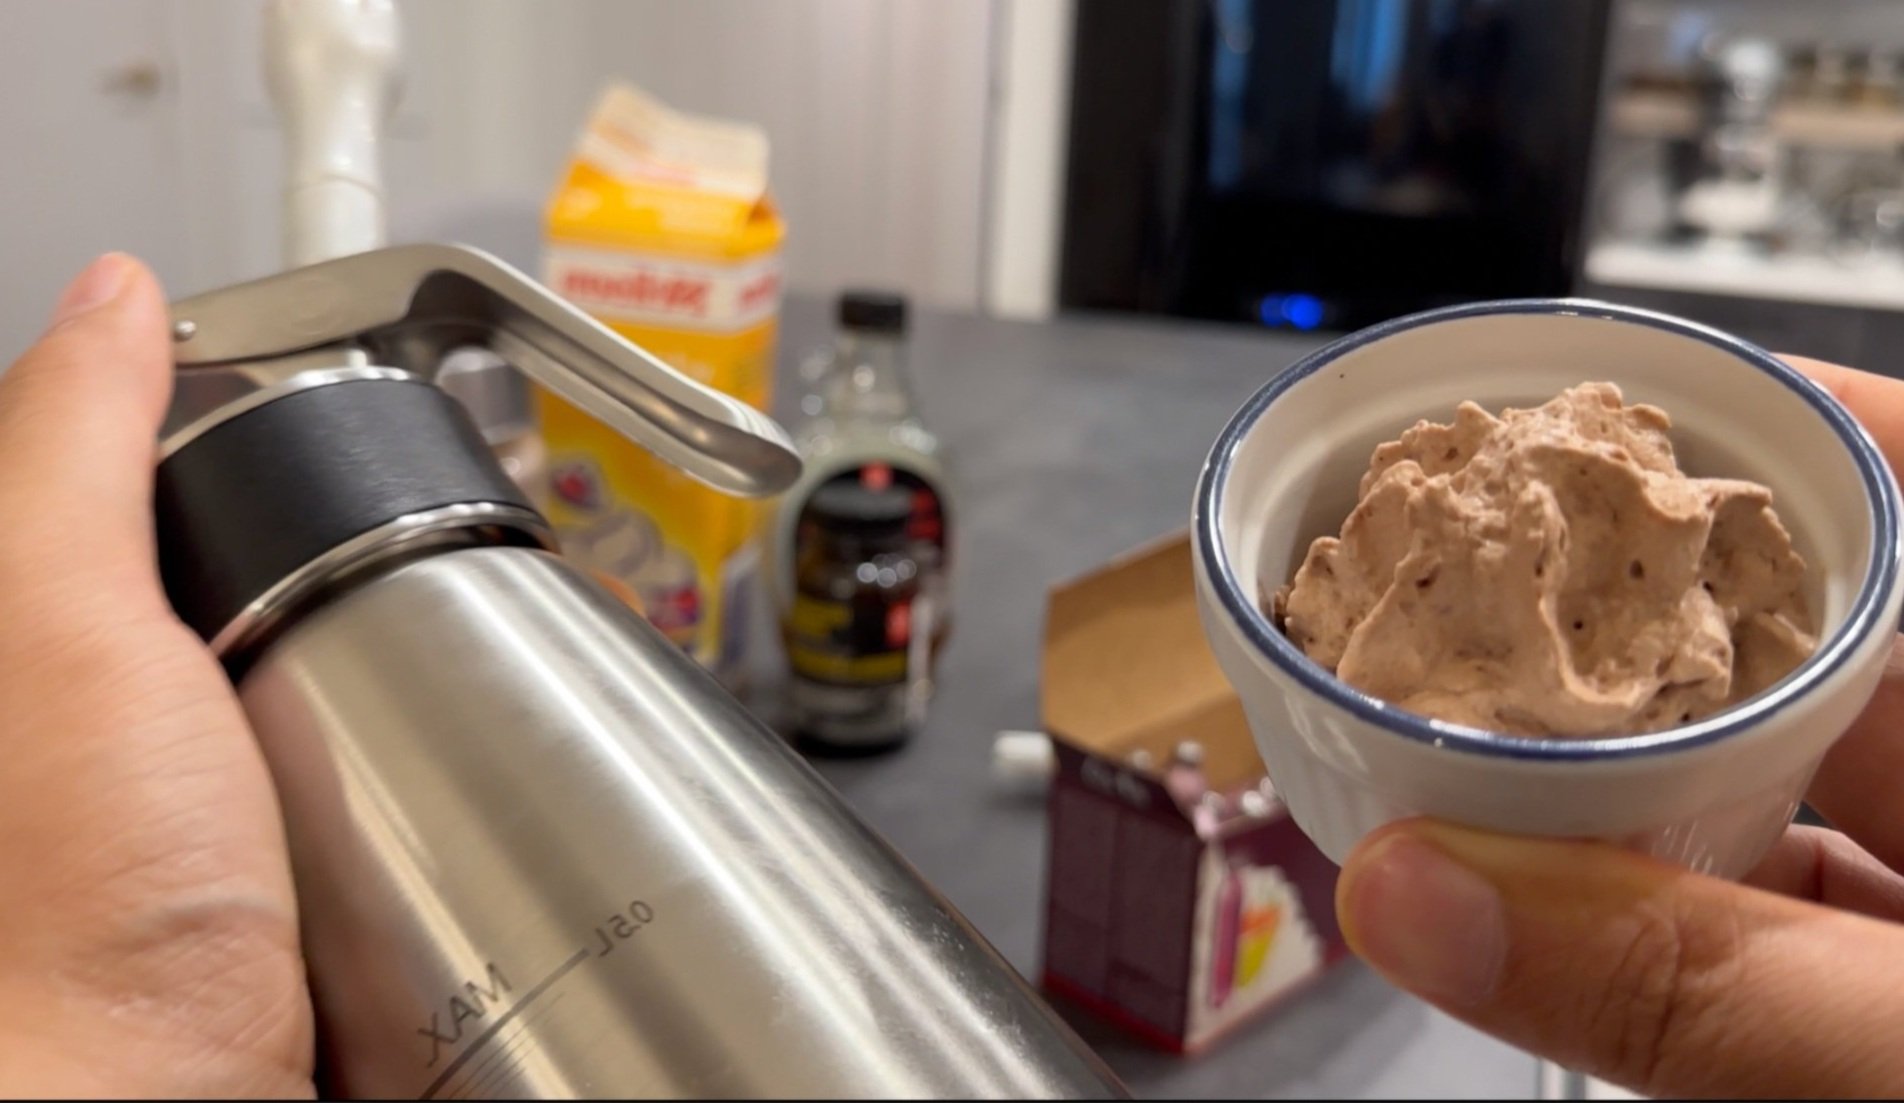
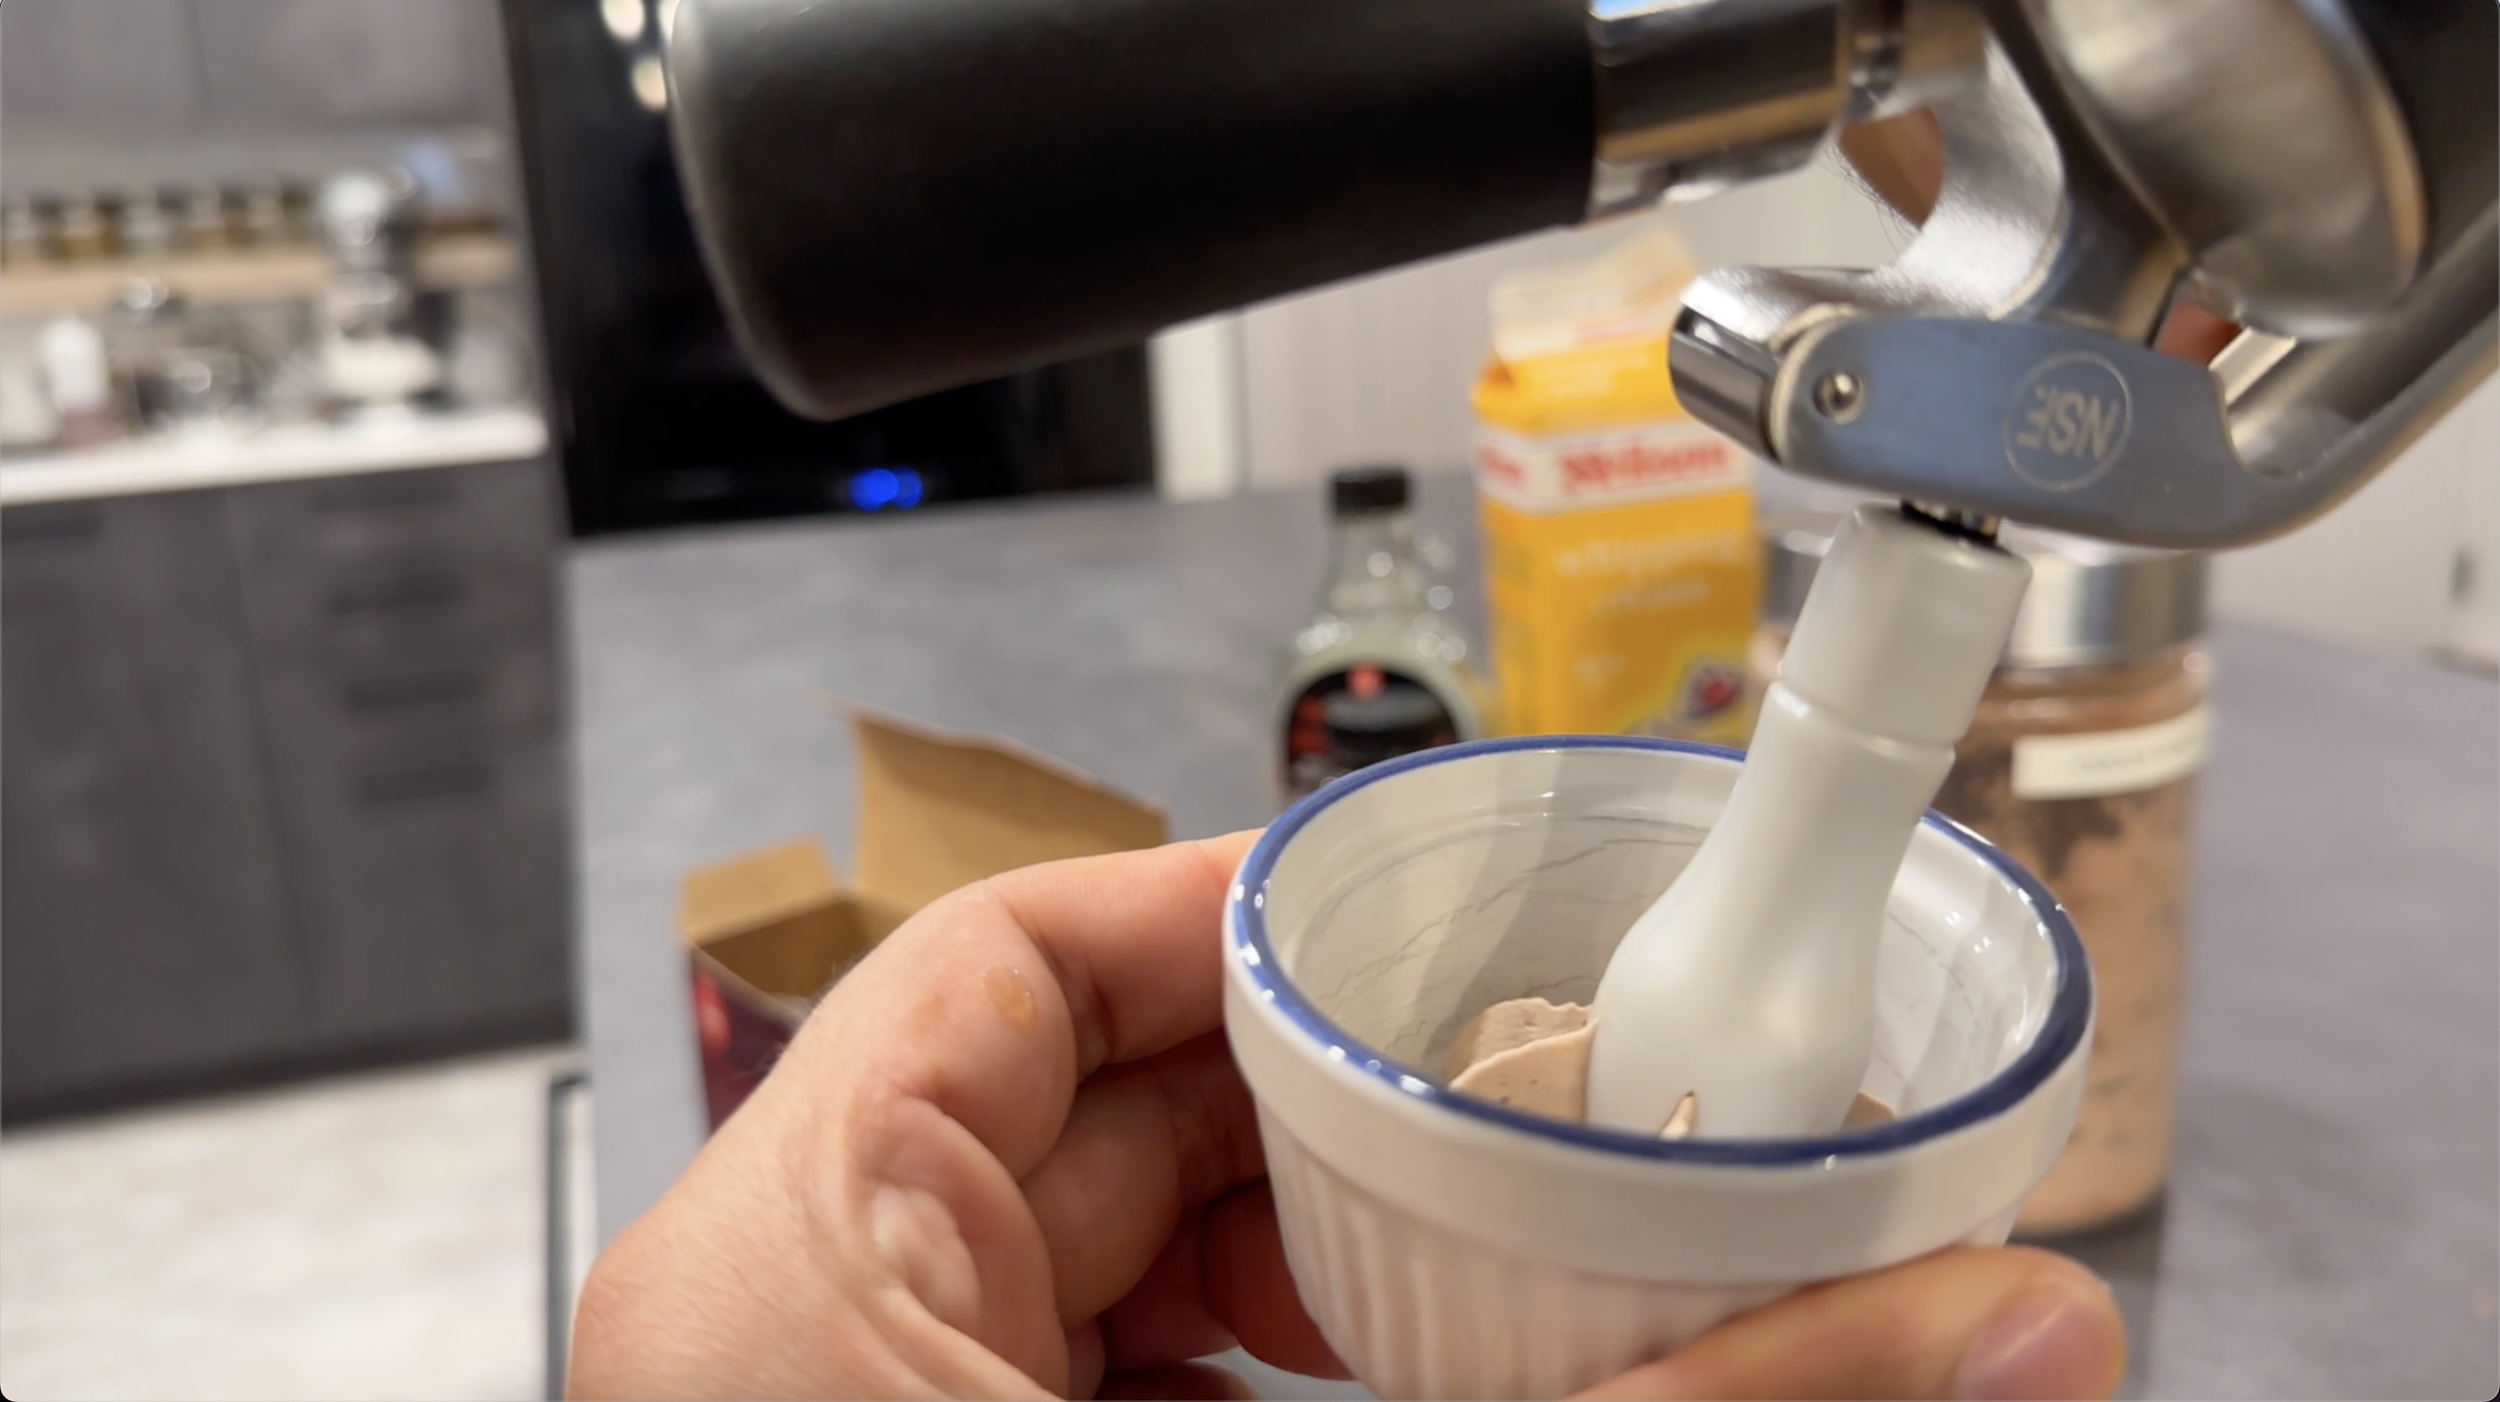
To make whipped cream, shake the bottle well, turn the bottle so that the tip is facing the dish/glassware you are topping with cream. Press the trigger and enjoy the whipped cream.
Tips when Making Whipped Cream with a Dispenser
Ensure that your ingredients are cold.
Make your cream mixture FIRST before you add the cartridge in. Once you’ve put the cartridge in the holder, you can’t remove it or else all the gas will escape. I’ve made that mistake the first time I assembled the dispenser. I had no idea what I was doing and unfortunately wasted an entire cartridge.
Fill your dispenser to the fill line so that you don’t waste the nitrous oxide gas! I’ve found I can use an entire 473 mL container of heavy cream in addition to my liquid sweetener and vanilla for my 1 pint (0.5 L) dispenser. Using less means you’re not using the nitrous oxide gas to its full capacity. Another mistake I made was filling it only for one portion of whipped cream, but the whole point of the dispenser is that you can keep a batch for a week to 10 or so days!
Taste for sweetness BEFORE you attach the charger holder with the cartridge. Again, it’s really important to know that once you’ve put in your nitrous oxide, you can’t take it out!
Point the dispenser down before pushing the trigger, otherwise the gas will escape without any liquid. Furthermore, pointing downward will give you more control over pouring the whipped cream.
Ways to Use Starbucks Whipped Cream
Storing Homemade Whipped Cream
Storing your homemade whipped cream is actually super easy. Simply just leave your prepared whipped cream in the dispenser and keep it on its side in the fridge. Doing that will allow you to have the whipped cream ready for you to enjoy after you give it a quick shake. So easy! Your Homemade Whipped Cream will stay good for as long as the lifespan of your heavy cream. From my experience, opened heavy cream stays good for about a week if you’ve purchased one with a best-before date that is a couple months out.
More Starbucks Coffee Essentials
Starbucks Drinks at Home!
Watch How to use a whipped cream dispenser Here:
If you liked this recipe please let me know in the comments. Tag your post on social media using #cookingwithanadi and mention me @cookingwithanadi. Thank you!

How to Use a Whipped Cream Dispenser
Ingredients
- 2 Cups (500 mL) heavy cream
- 2-4 Tbsp sweetener of choice (such as table sugar, brown sugar, honey, cane sugar, agave syrup, maple syrup, Splenda, or Stevia)
- 3-4 tsp vanilla (such as vanilla extract, Madagascar bourbon vanilla bean paste or vanilla bean pods)
Instructions
- Add the cream, sweetener, and vanilla extract (or other vanilla) in the bottle for your whipped cream dispenser. Stir well with a spoon and taste for sweetness.
- Ensure the head gasket is inserted in the head of the dispenser and prior to closing the bottle, screw in the tip on the head. Secure the head on the bottle and insert the Nitrous Oxide (N2O) charger to the charger holder.
- Screw in the charger holder until tight, you will hear and quick discharge of gas as the charge gets secured to the head of the dispenser. Refrigerate until ready to use.
- To make whipped cream, shake the bottle well, turn the bottle so that the tip is facing the dish/glassware you are topping with cream. Press the trigger and enjoy the whipped cream.


Nutrition info is an estimate.


Follow me


Meet Anadi
Welcome to Cooking With Anadi. This platform is all about making cooking exciting and finding new ways to bring classic flavours and recipes at your service. Join me in my personal journey in the world of cooking. Hope you have a great ride!