No-Bake Single-Serve Pumpkin Cheesecake
This post may contain affiliate links. Read our disclosure policy

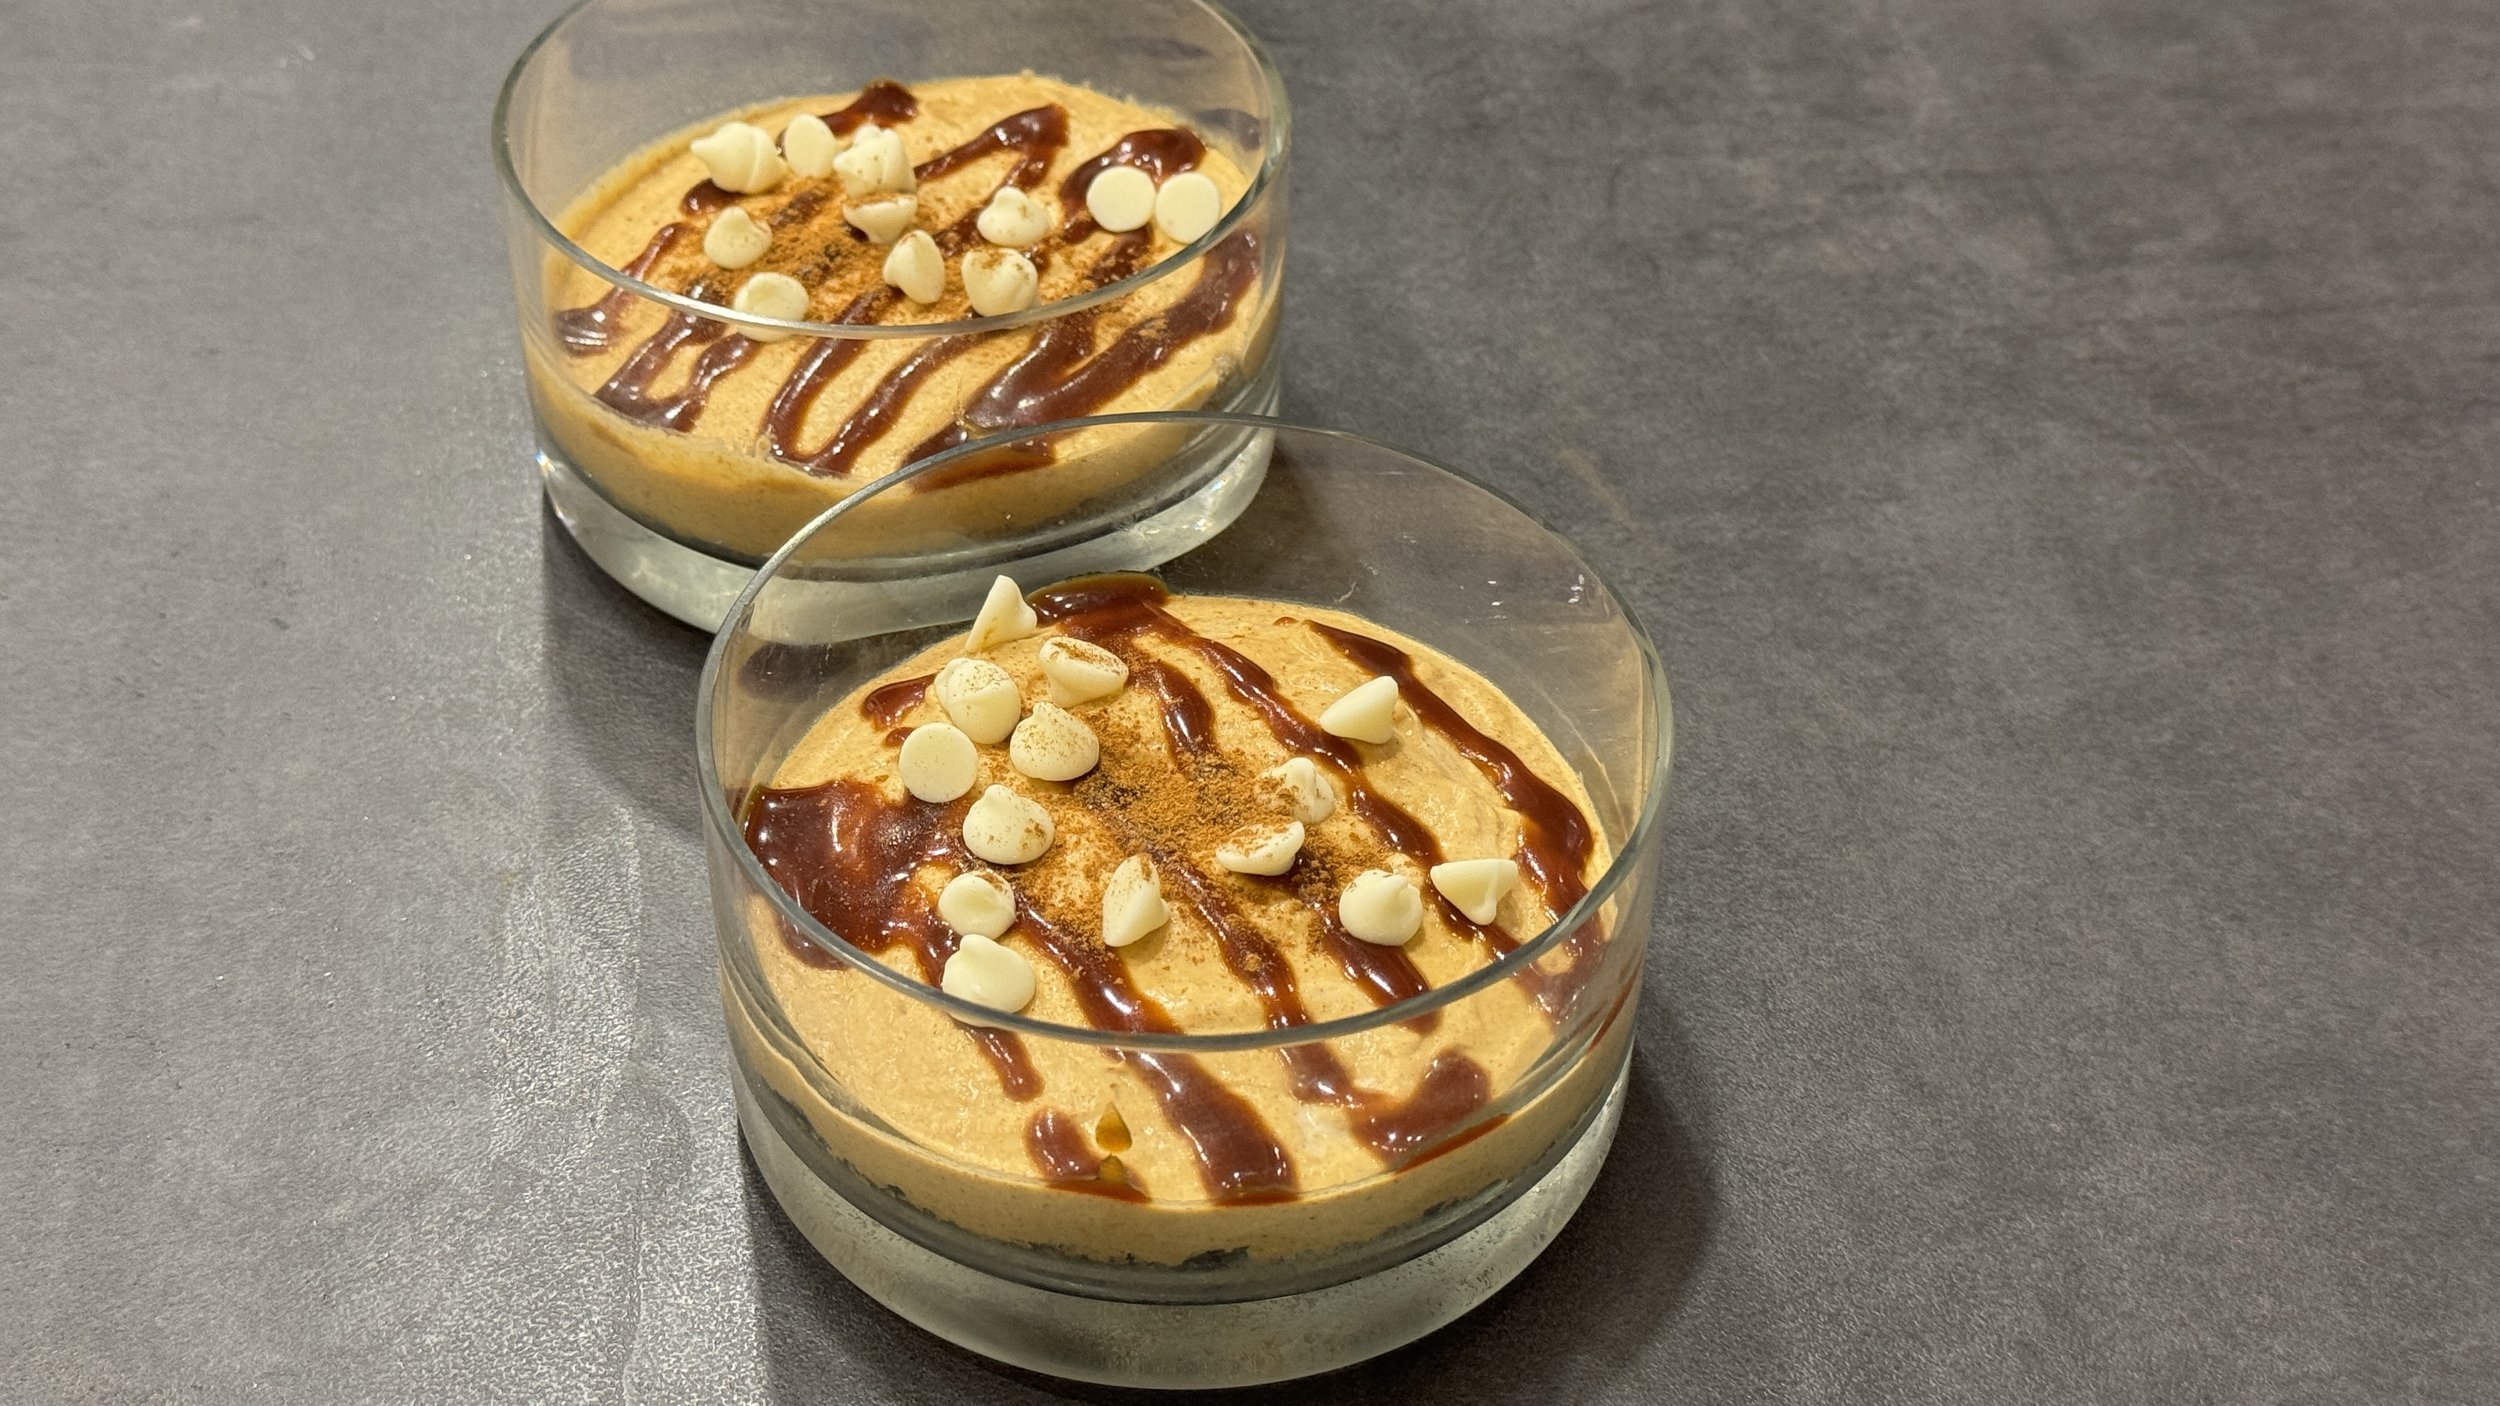
Featuring a graham cracker crust and airy pumpkin cream cheese filling, topped with cream cheese chips and caramel, these No-Bake Single-Serve Pumpkin Cheesecakes are a wonderful easy treat to enjoy for fall and Thanksgiving!
Thanksgiving is almost near and you may be scrambling to find the perfect dessert to end your meal. Or perhaps you’ve used a lot of pumpkin but you have some left!
When it comes to desserts, I love something that won’t be too hands-on but doesn’t lose out on any flavour. While this No-Bake Single-Serve Pumpkin Cheesecake does require a bit of pre-planning, the actual hands-on time for this recipe is extremely minimal! No need for worrying about baking, water baths, or whatever else is complicated about traditional cheesecakes! For a last-minute dessert idea, then I definitely recommend this super easy pumpkin cheesecake recipe! What’s also excellent about is that you can make just the right amount of cakes based on how many guests you’ll have over at your holiday party. Make the most out of pumpkin season and put your heart on a plate by preparing these single-serve no-bake pumpkin cheesecakes as part of your Live to Cook challenge! You can get started on your cooking journey for free by signing up to my email newsletter, plus you’ll never miss out on my latest recipes - they’ll be sent straight to your inbox!
Follow along with me preparing this simple no-bake pumpkin cheesecake by checking out the video at the bottom of this post! It would mean a lot if you would please subscribed to my YouTube channel if you haven’t already, and don’t forget to press the bell button to be notified when all of my video recipes are live! Let’s get started!

Why You’ll Love This No-Bake Single Serve Cheesecake Recipe!
Super easy: This is one of the easiest desserts you can make! All you need to do is make a very simple crust, and most of the work then happens when you’re making the cake filling, which is also really easy to do!
Amazing for any occasion: While pumpkin season is in September and October and a bit in November for Thanksgiving (at the time of me sharing this), I’d say you can enjoy a pumpkin cheesecake whenever you want! You need so few ingredients and preparation that it’s a fantastic dessert to make when you don’t want to put in a lot of effort but want something really tasty!
Kid-friendly: While kids will find these pumpkin cheesecakes absolutely delicious, they can help out in the process! I’m sure they’ll have lots of fun adding ingredients together, checking if the crust is crumbly, and they can even do the assembly and topping! Creativity in the kitchen is a lot more exciting when it can be done as a family!
Egg-free: For someone who doesn’t eat eggs, this is a perfect recipe for you, as we don’t need any at all!
Fall flavours: Pumpkin is the star of fall, and we’ve got lots of it in here! Paired with the incredible warm spices from pumpkin spice and a rich caramel sauce on top, this is coziness in a cake!
No leftovers: The beauty about single serving cakes is that you can only make what you need and not more! Just enjoy it the day you want and move onto something else! While you CAN pre-make some cakes and freeze for when you want a craving, that’s your choice! If making these for a party, everyone should be able to have their cakes and that’s that.

Does This No-Bake Pumpkin Cheesecake Taste like a pumpkin Pie?
Actually, it doesn’t really taste like a pumpkin pie. The graham cracker crust is not dense like a pie crust. Furthermore, the filling is lighter than pumpkin pie. Pumpkin pie filling is made with condensed milk and pumpkin sauce, making it significantly richer. On the other hand, our pumpkin cheesecake filling is lighter and airier, with a texture that is more comparable to a mousse.

Tools Needed To make No-Bake Single-Serve Pumpkin Cheesecakes
Whipped cream dispenser: Ideal if making your own whipped cream.
Trifle dish or any small serving bowl of choice.

Ingredients for No-Bake Single-Serve Pumpkin Cheesecake
Scroll to the bottom of this post for the FULL PRINTABLE RECIPE CARD for a full list of recipe ingredients and to save the recipe for later. You can also scale the recipe based on how many single-serve cakes you’re looking to make. My default, this recipe will make 2 Single-Serve Pumpkin Cheesecakes.

For the Crust
Graham crackers: You’ll mash them for the crust. I actually purchased graham cracker crumbs to save a step. I’m sure the actual graham crackers are cheaper than the box of crumbs, but there were no more crackers at the store!
Butter: I recommend unsalted butter.
For the pumpkin Pie spice
For the Pumpkin Cream Cheese Filling
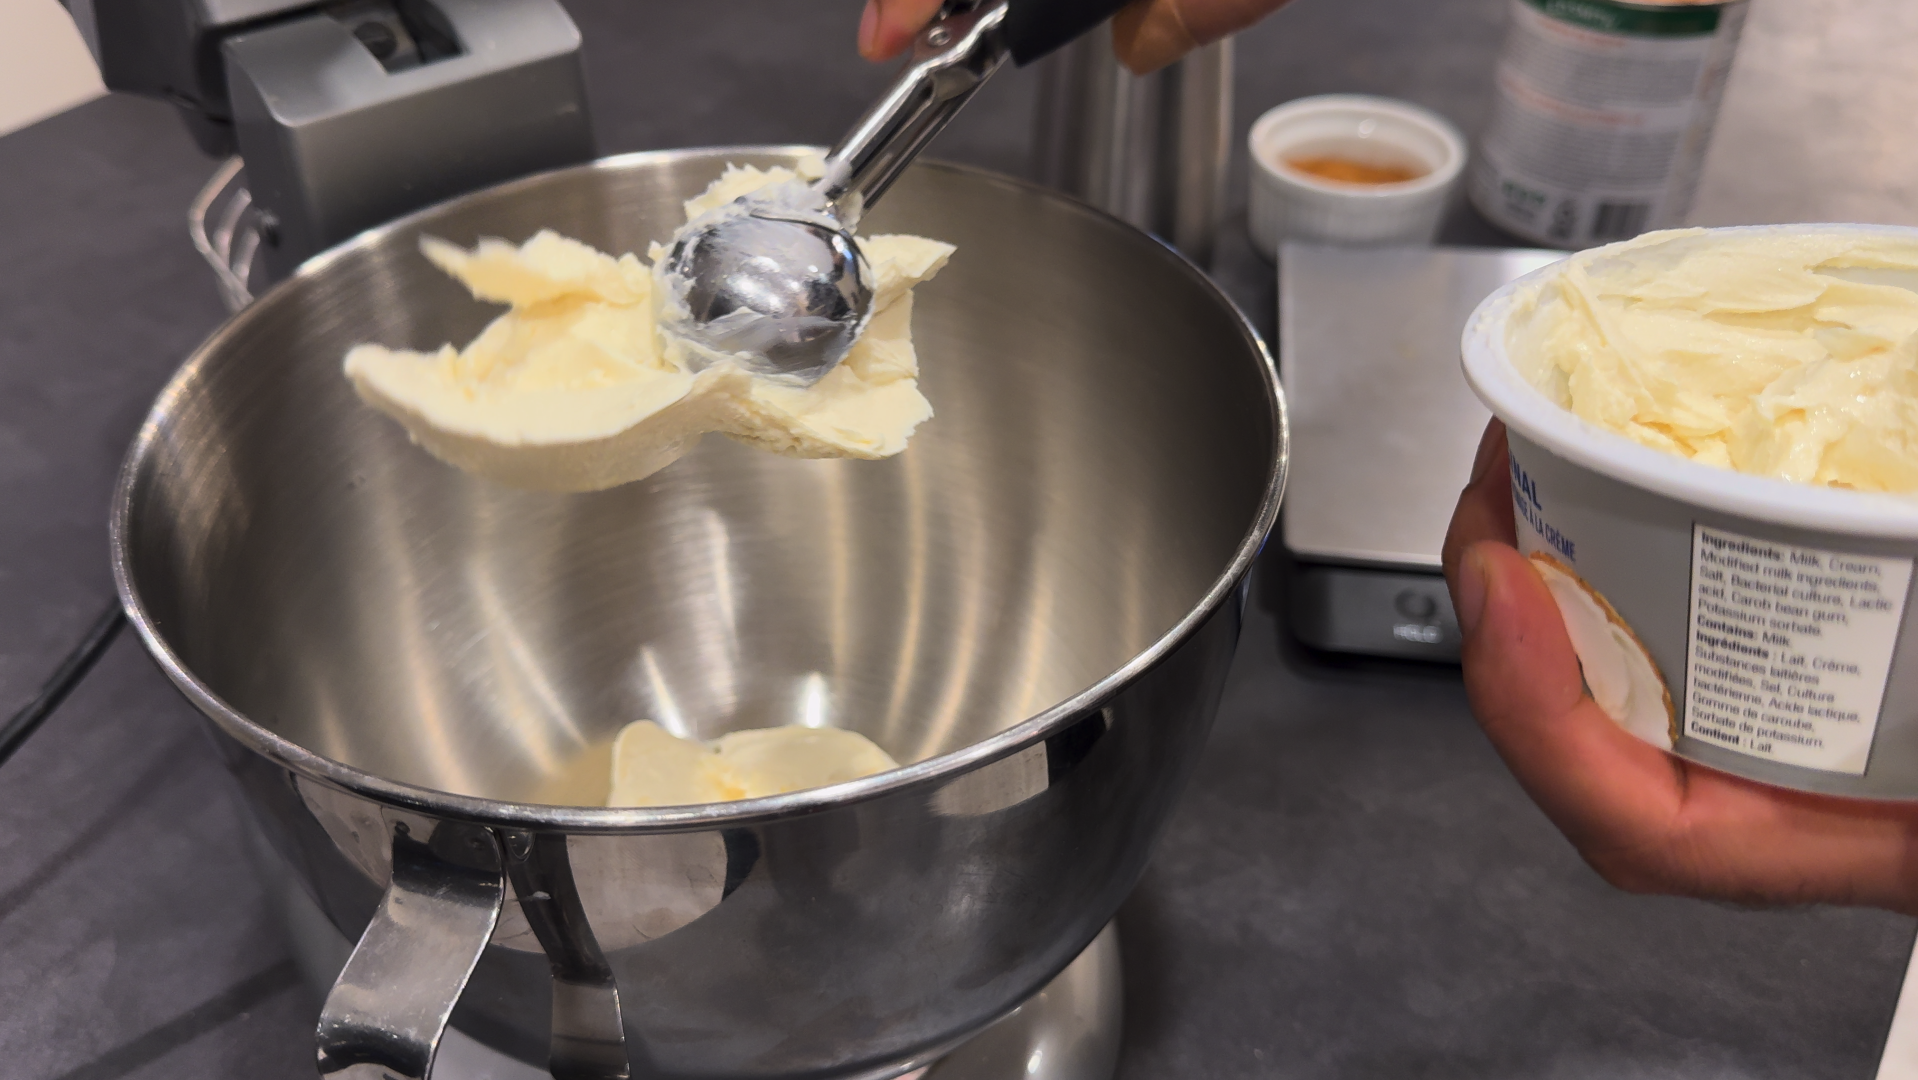
Cream cheese: I prefer using the cream cheese tub instead of a block of cream cheese. I find the texture is easier to work with and - call me crazy, but - I think the taste is better in the tub. Am I the only one? Well, either, way, my recommendation is the tub so that you can easily scoop it into your mixing bowl. If you are using a cream cheese block, however, then be sure to leave it at room temperature so that it softens a bit.
Pumpkin puree: You can use store-bought pumpkin puree from a can (like I did here), or if you’re very ambitious, then you can make your own!
Pumpkin spice: As described above or store-bought.
Whipped cream: You can follow my homemade whipped cream recipe and add this into the filling. I’ve got a whipped cream dispenser that makes super fluffy and aerated whipped cream, and it was really worth the investment! If you want to learn more about how whipped cream dispensers work, then check out my guide here. Otherwise, if you don’t want to make your own whipped cream, you can use it from an aerosol can, but I find that the canned whipped cream doesn’t hold its shape well. Your other best bet would be to add Cool Whip into the filling, as a lot of other recipes do. If you still want to go the “from-scratch” route but don’t have homemade whipped cream on hand, you can use your stand mixer to make whipped cream if you don’t have a dispenser to make the whipped cream first, then transfer it to another bowl until it’s time to add in thee whipped cream.
For the Whipped Cream
Whipping cream: Make sure it’s 35% milk fat, or it’s labeled as “heavy whipping cream” or “heavy cream.” Any lower fat cream WILL NOT work!
Sweetener: You could use powdered sugar, but lately I’ve been really enjoying adding maple syrup to my whipped cream. What can I say? I’m a true Canadian!
Madagascar bourbon vanilla bean paste: I like the strong aroma of the taste and I like to see the little vanilla beans in the whipped cream, but if you don’t have this, you can use double the amount of vanilla extract.
For The Topping
Caramel sauce: We’ll make a zig zag drizzle on top of each cake. You can make it yourself or purchase it.
Cream cheese chips: As desired.
Pumpkin pie spice: A sprinkle on top.
How to Make No-Bake Single-Serve Pumpkin Cheesecakes
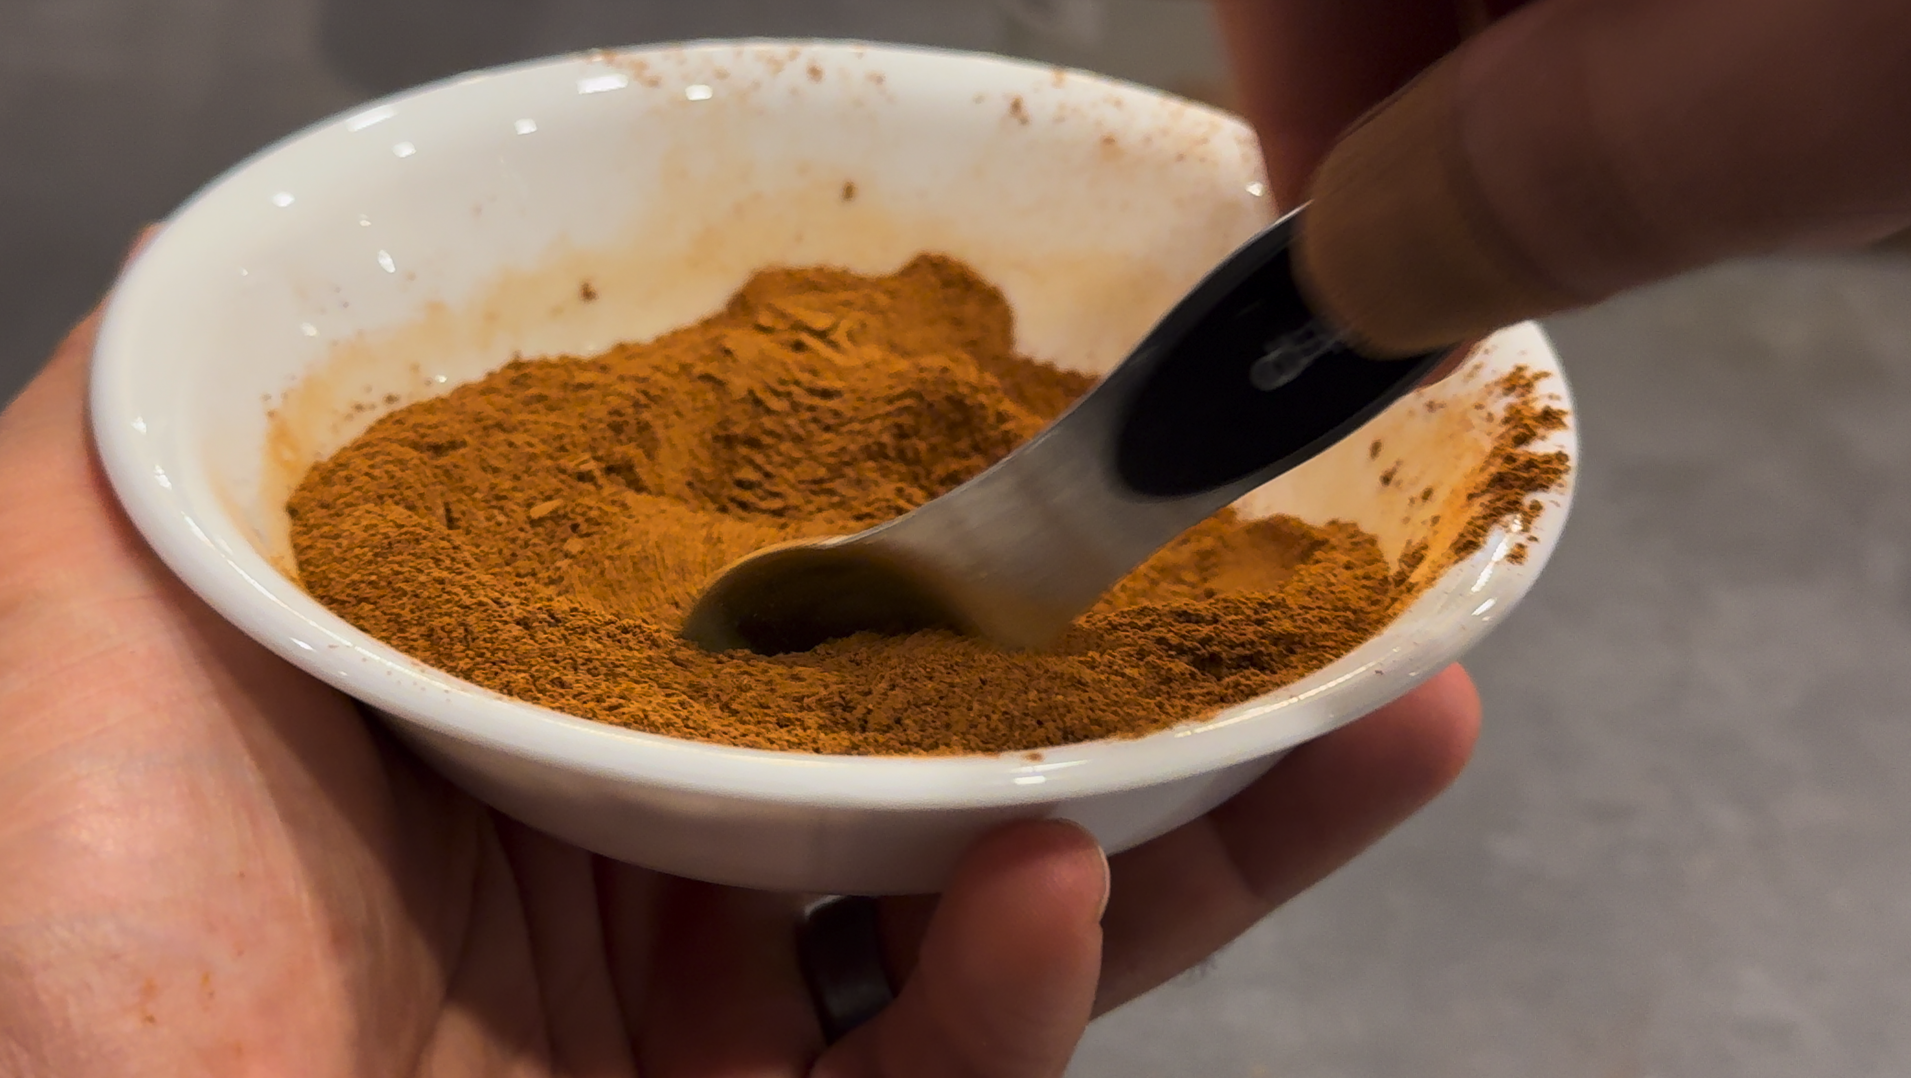
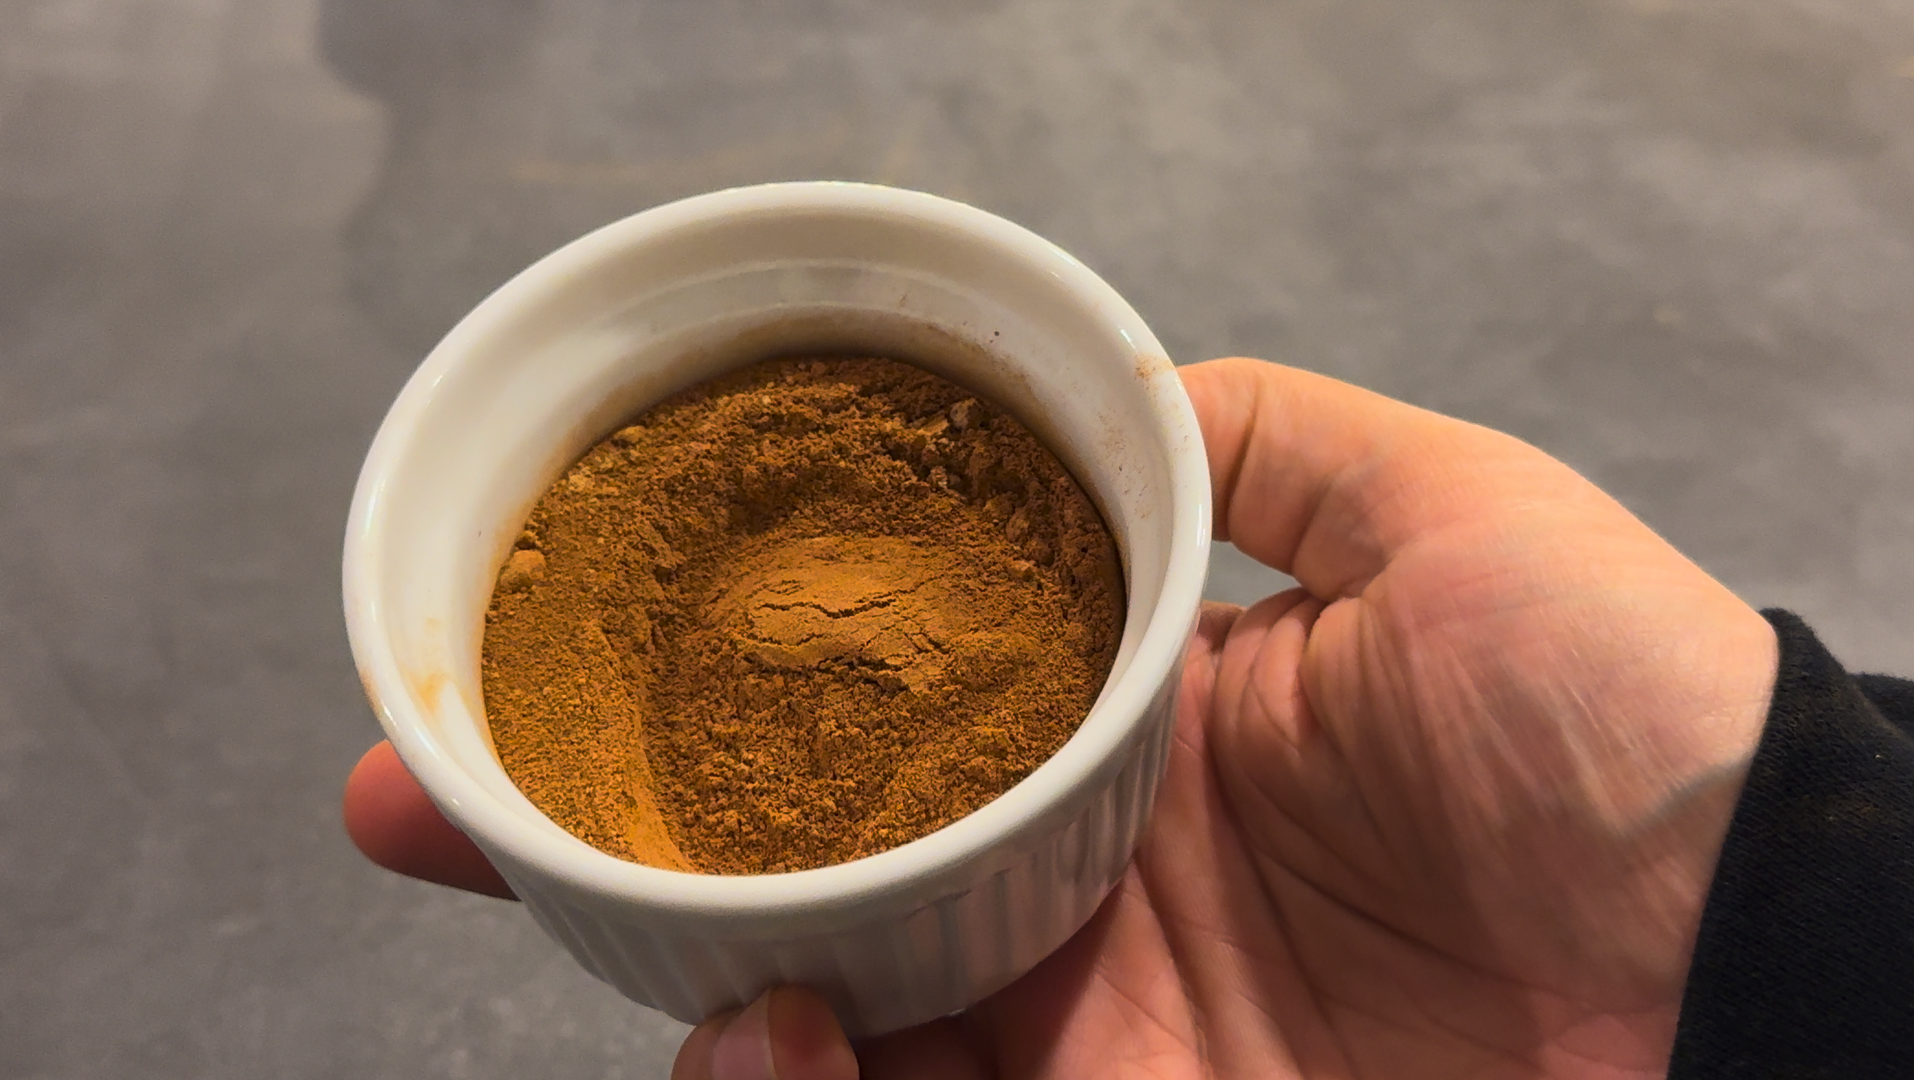
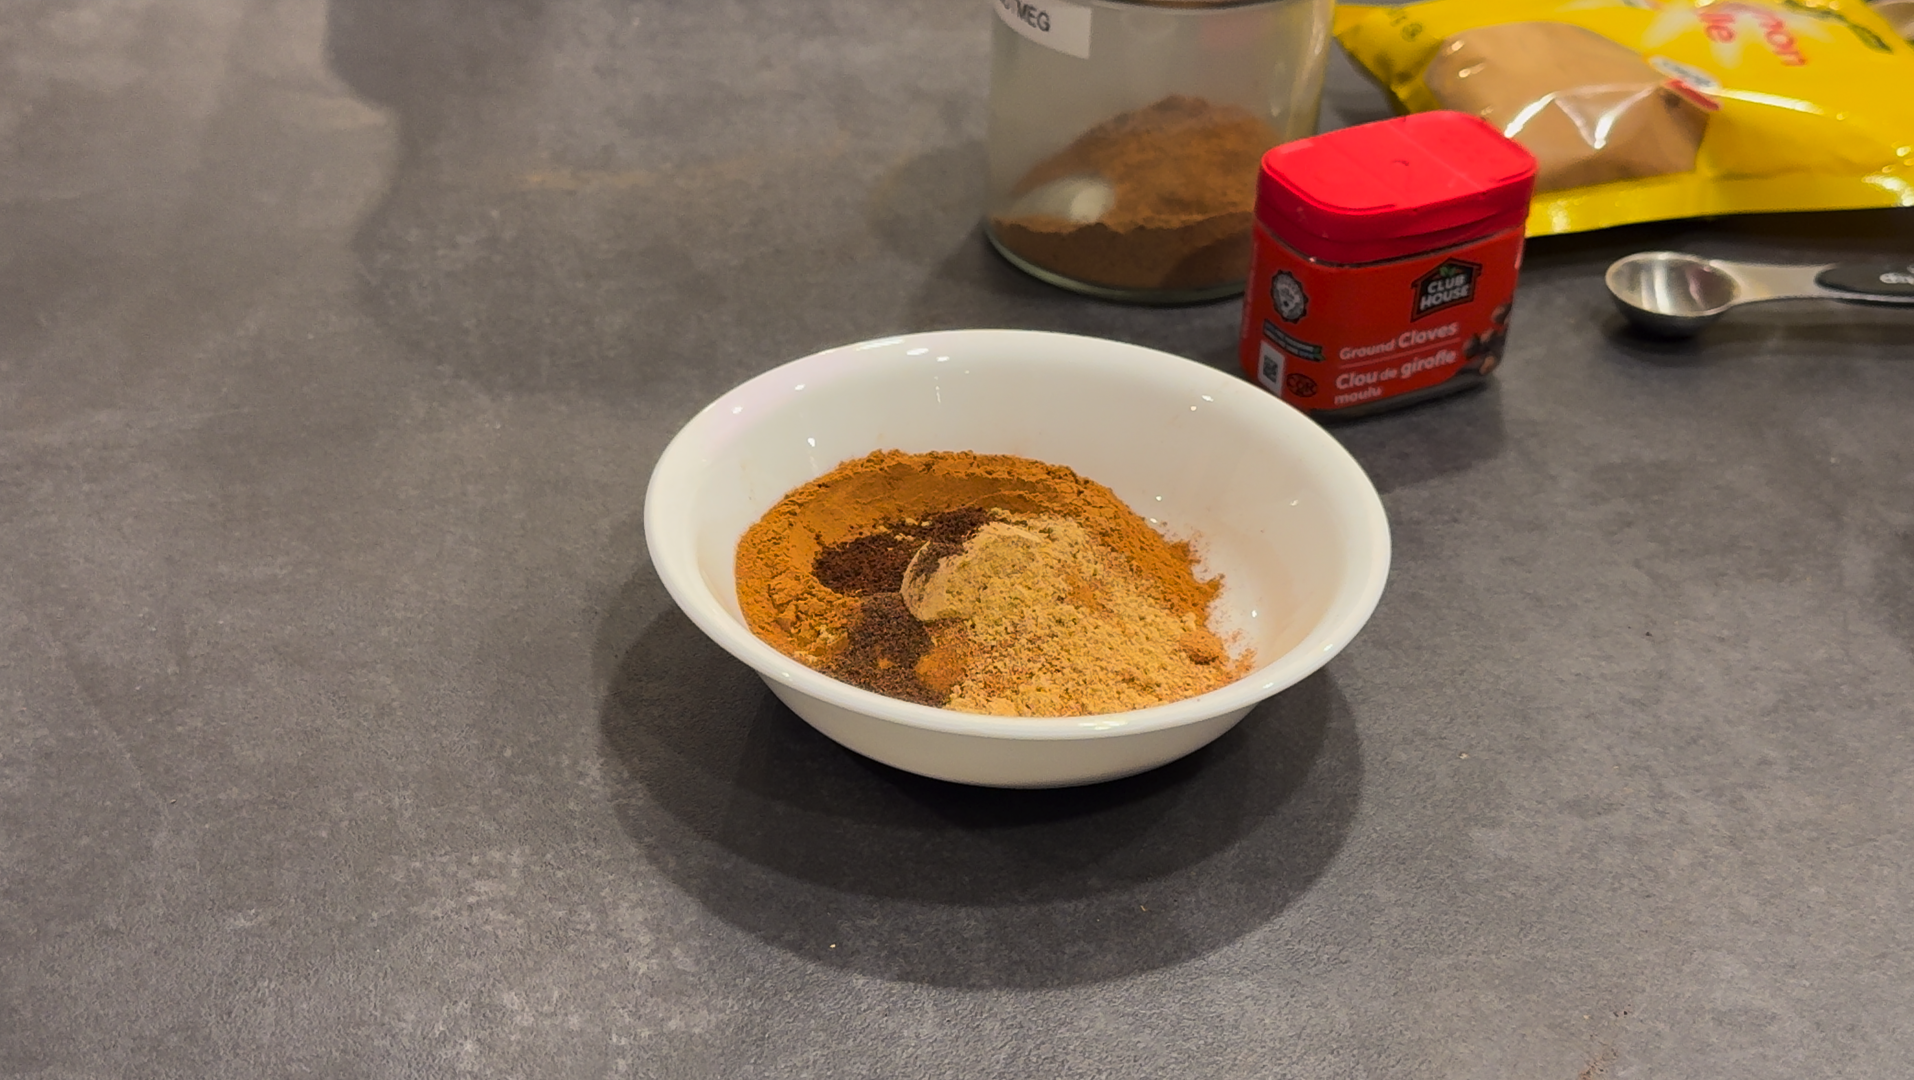
For the homemade pumpkin spice
To make this pumpkin pie spice recipe, all you need to do is mix all the spices together in a plate or shake the ingredients together in an airtight jar.
For the single-serve no-bake pumpkin cheesecake
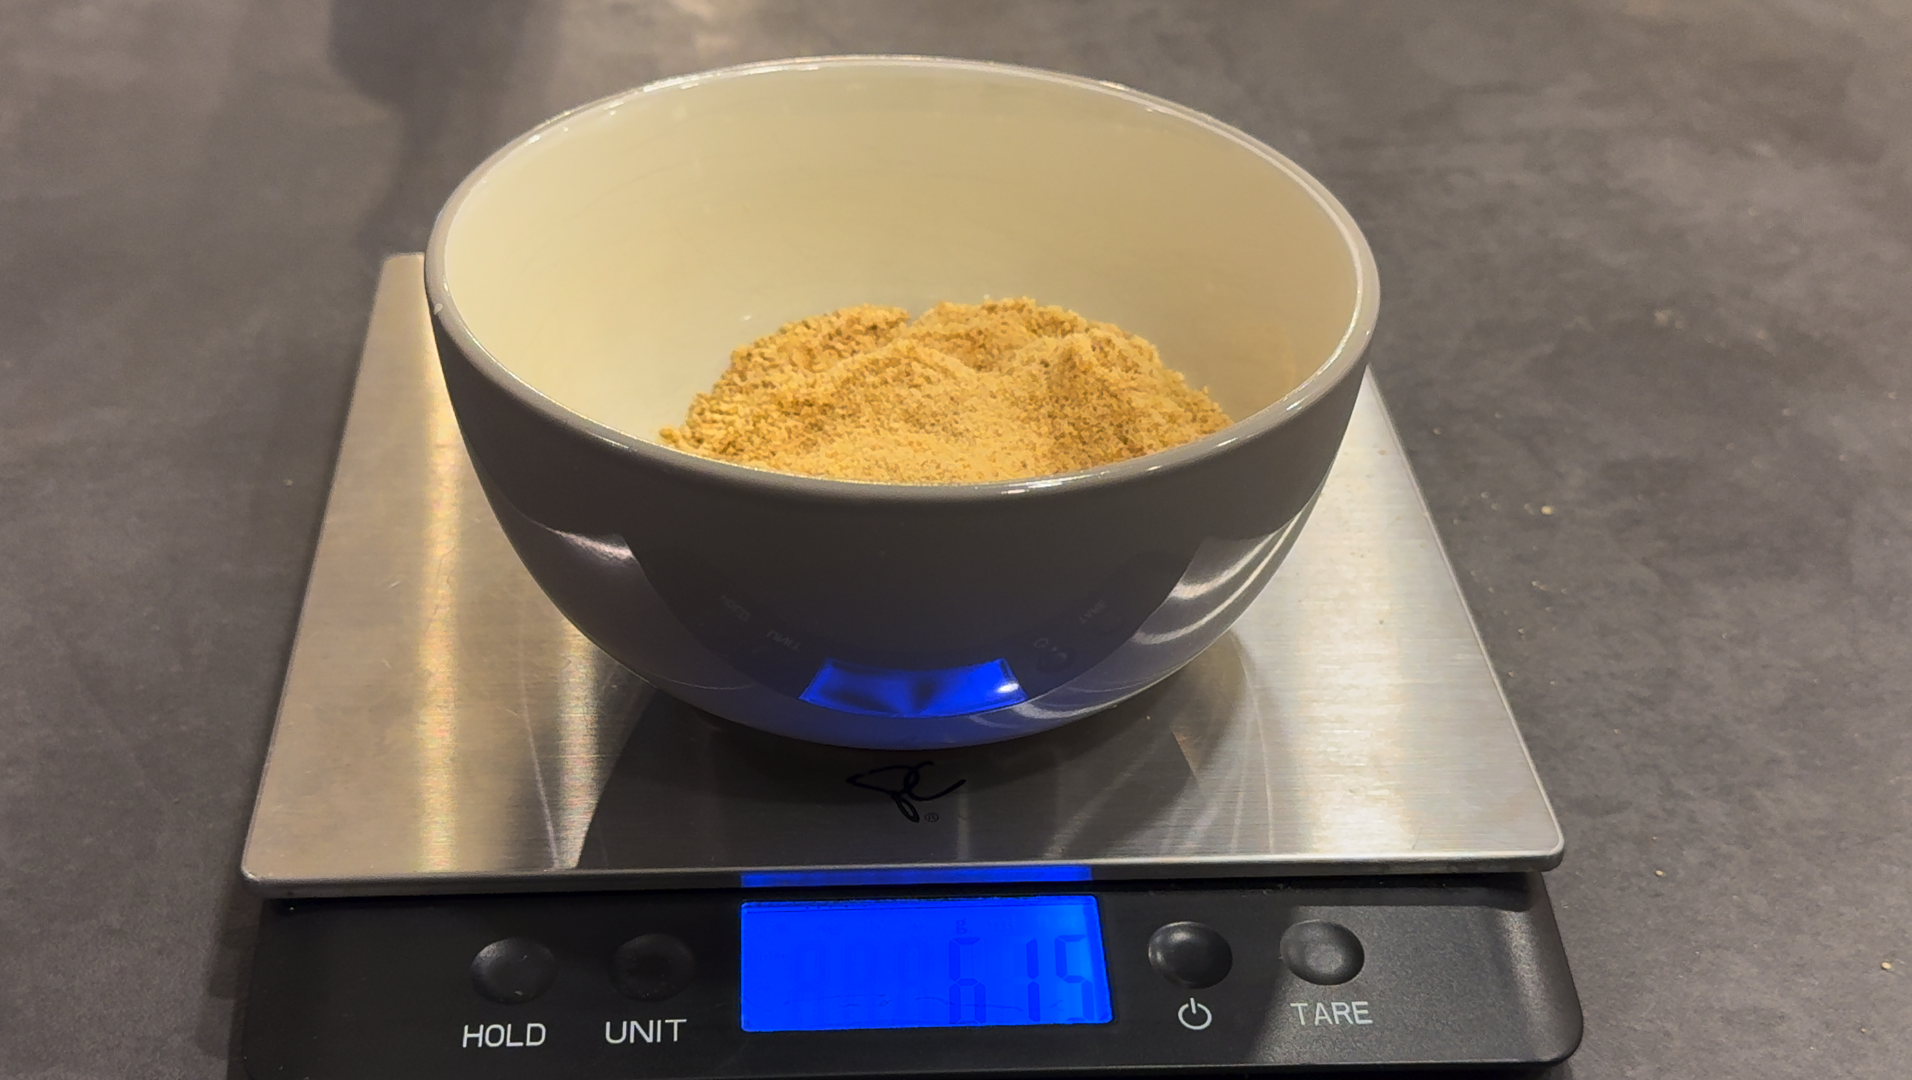
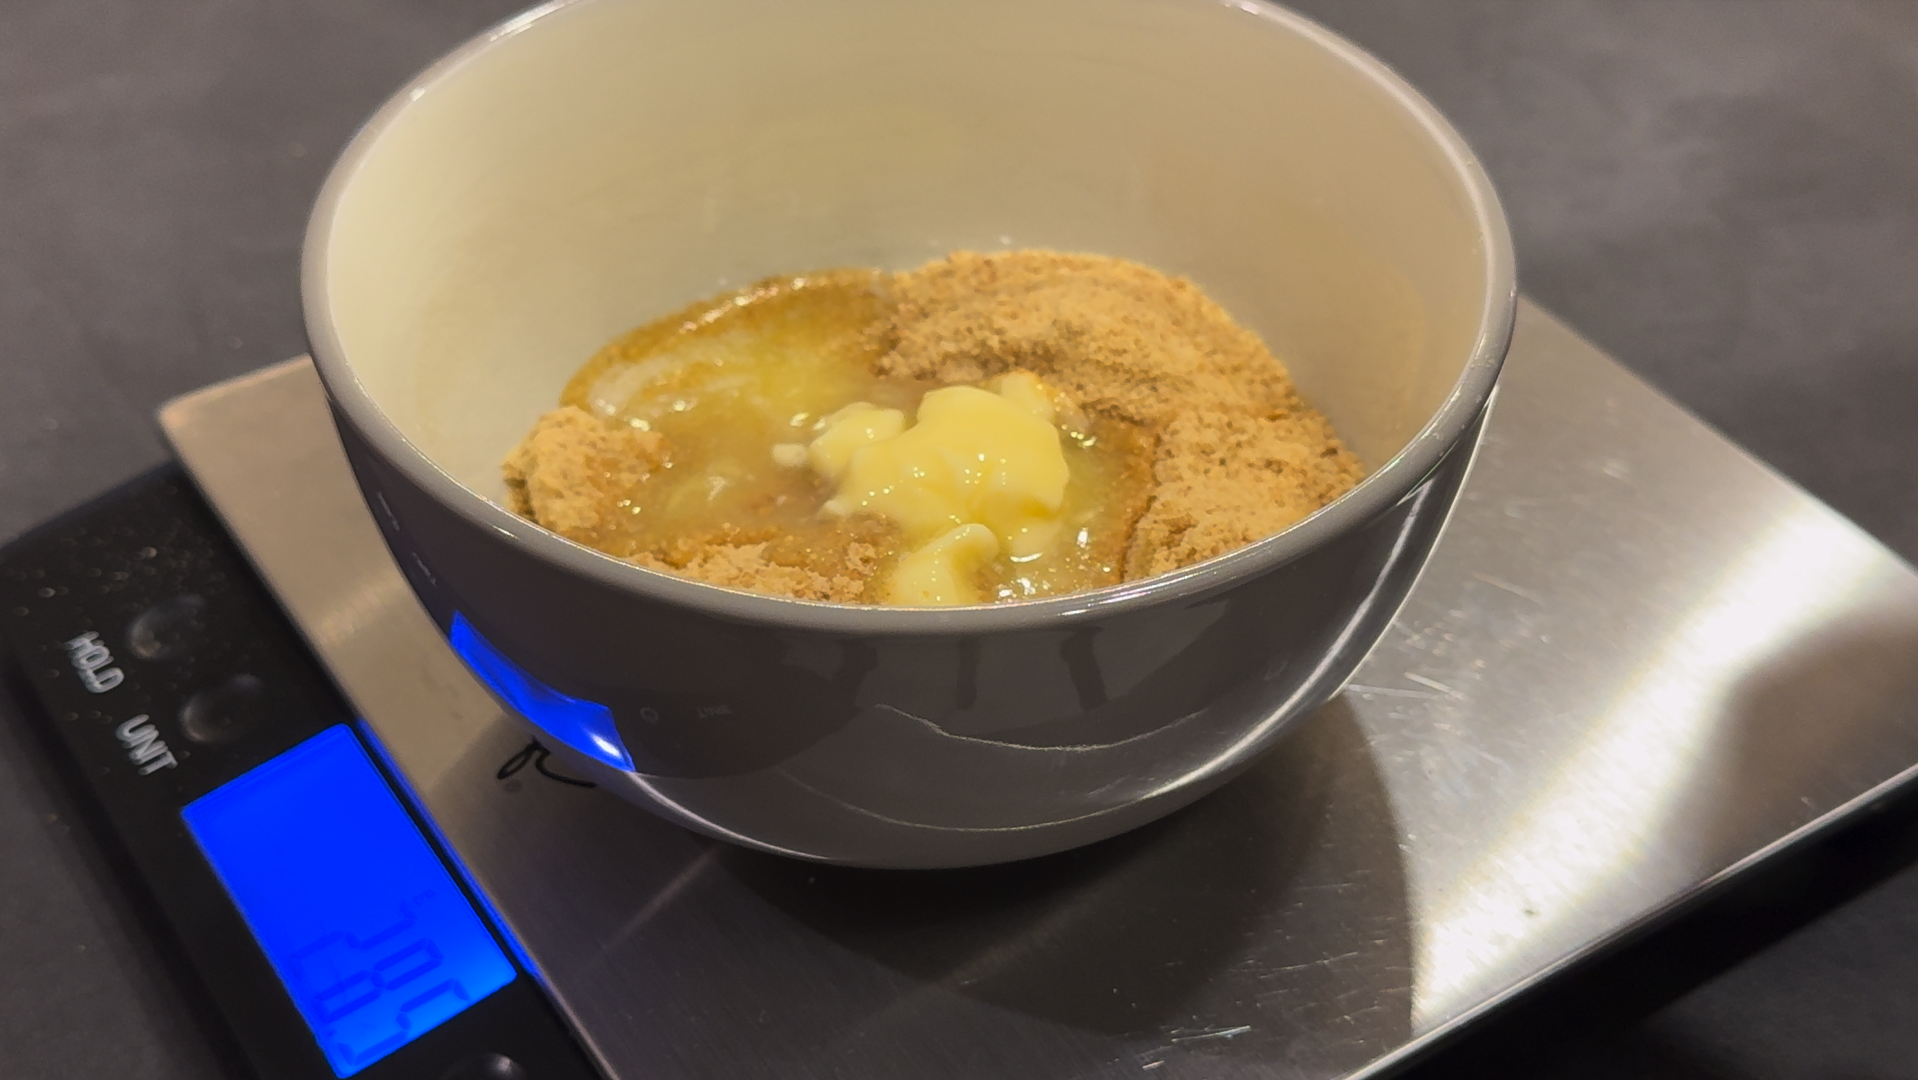
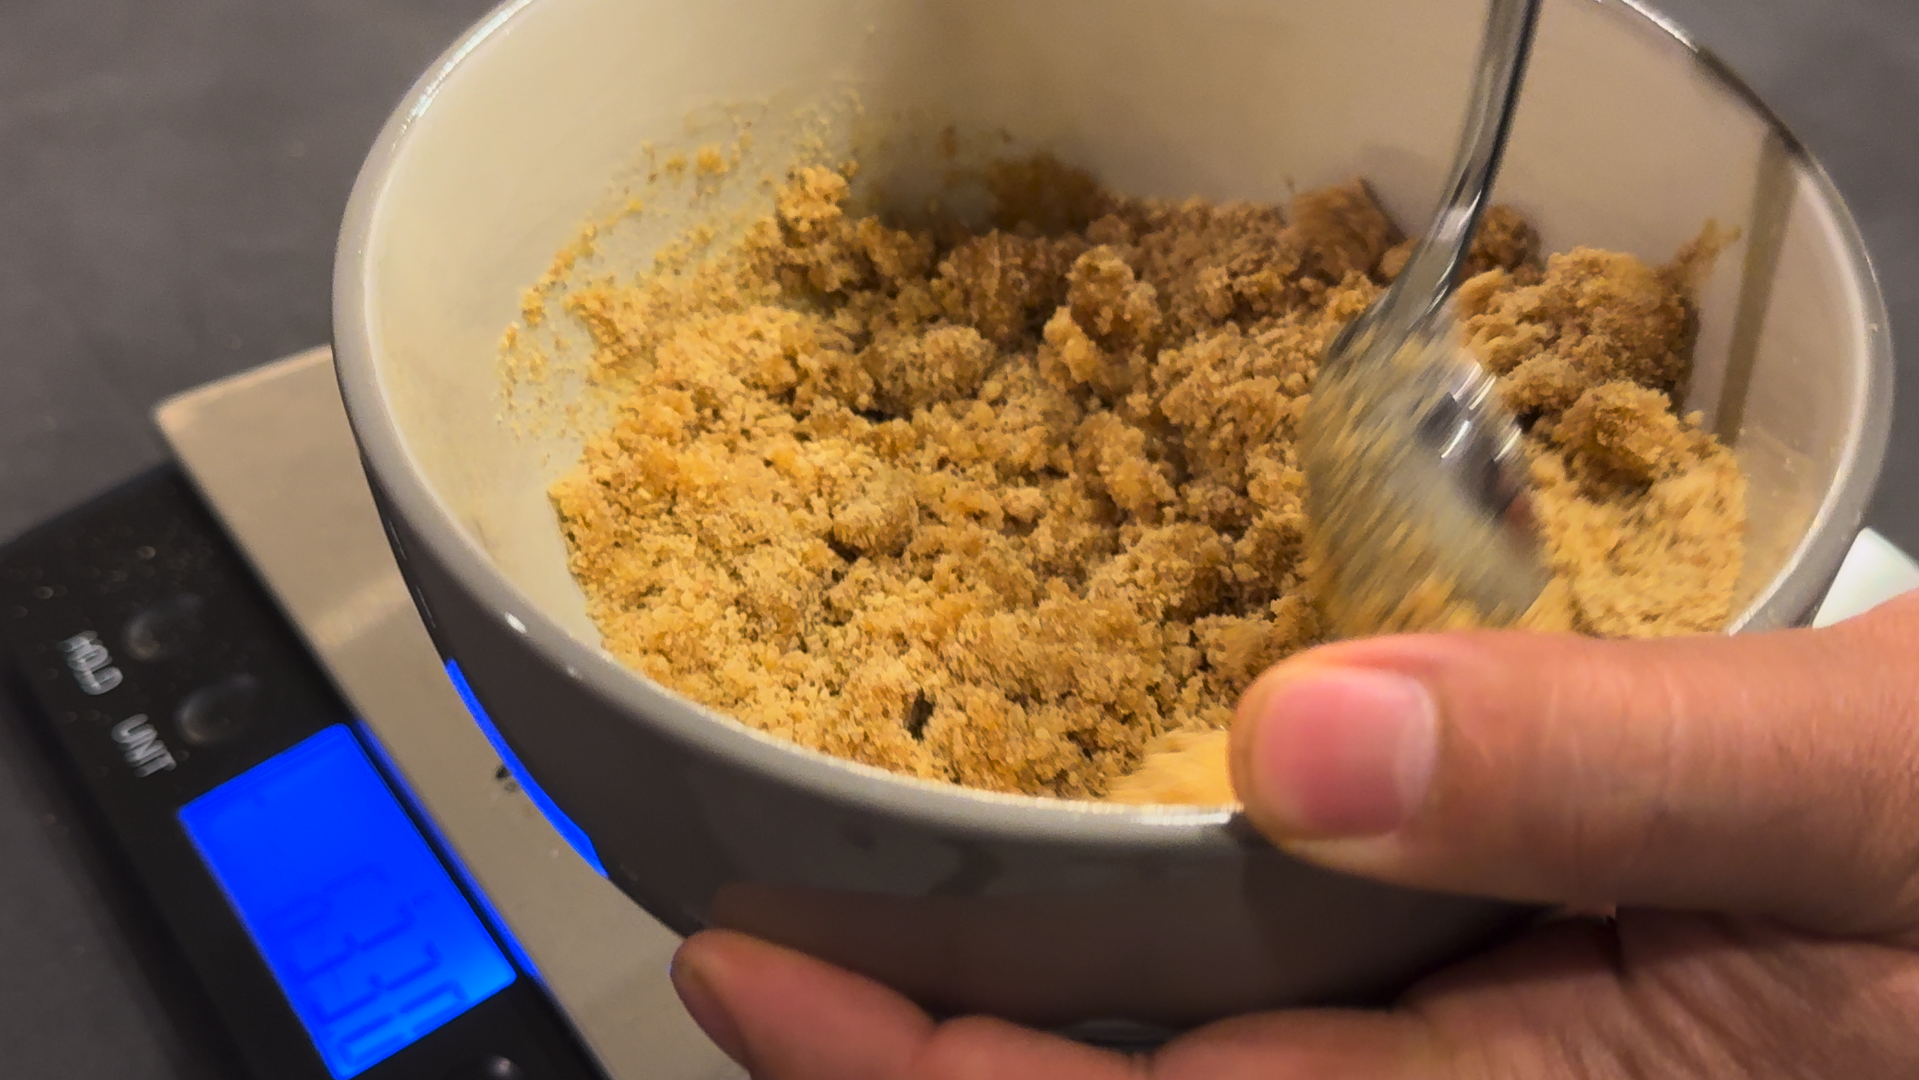
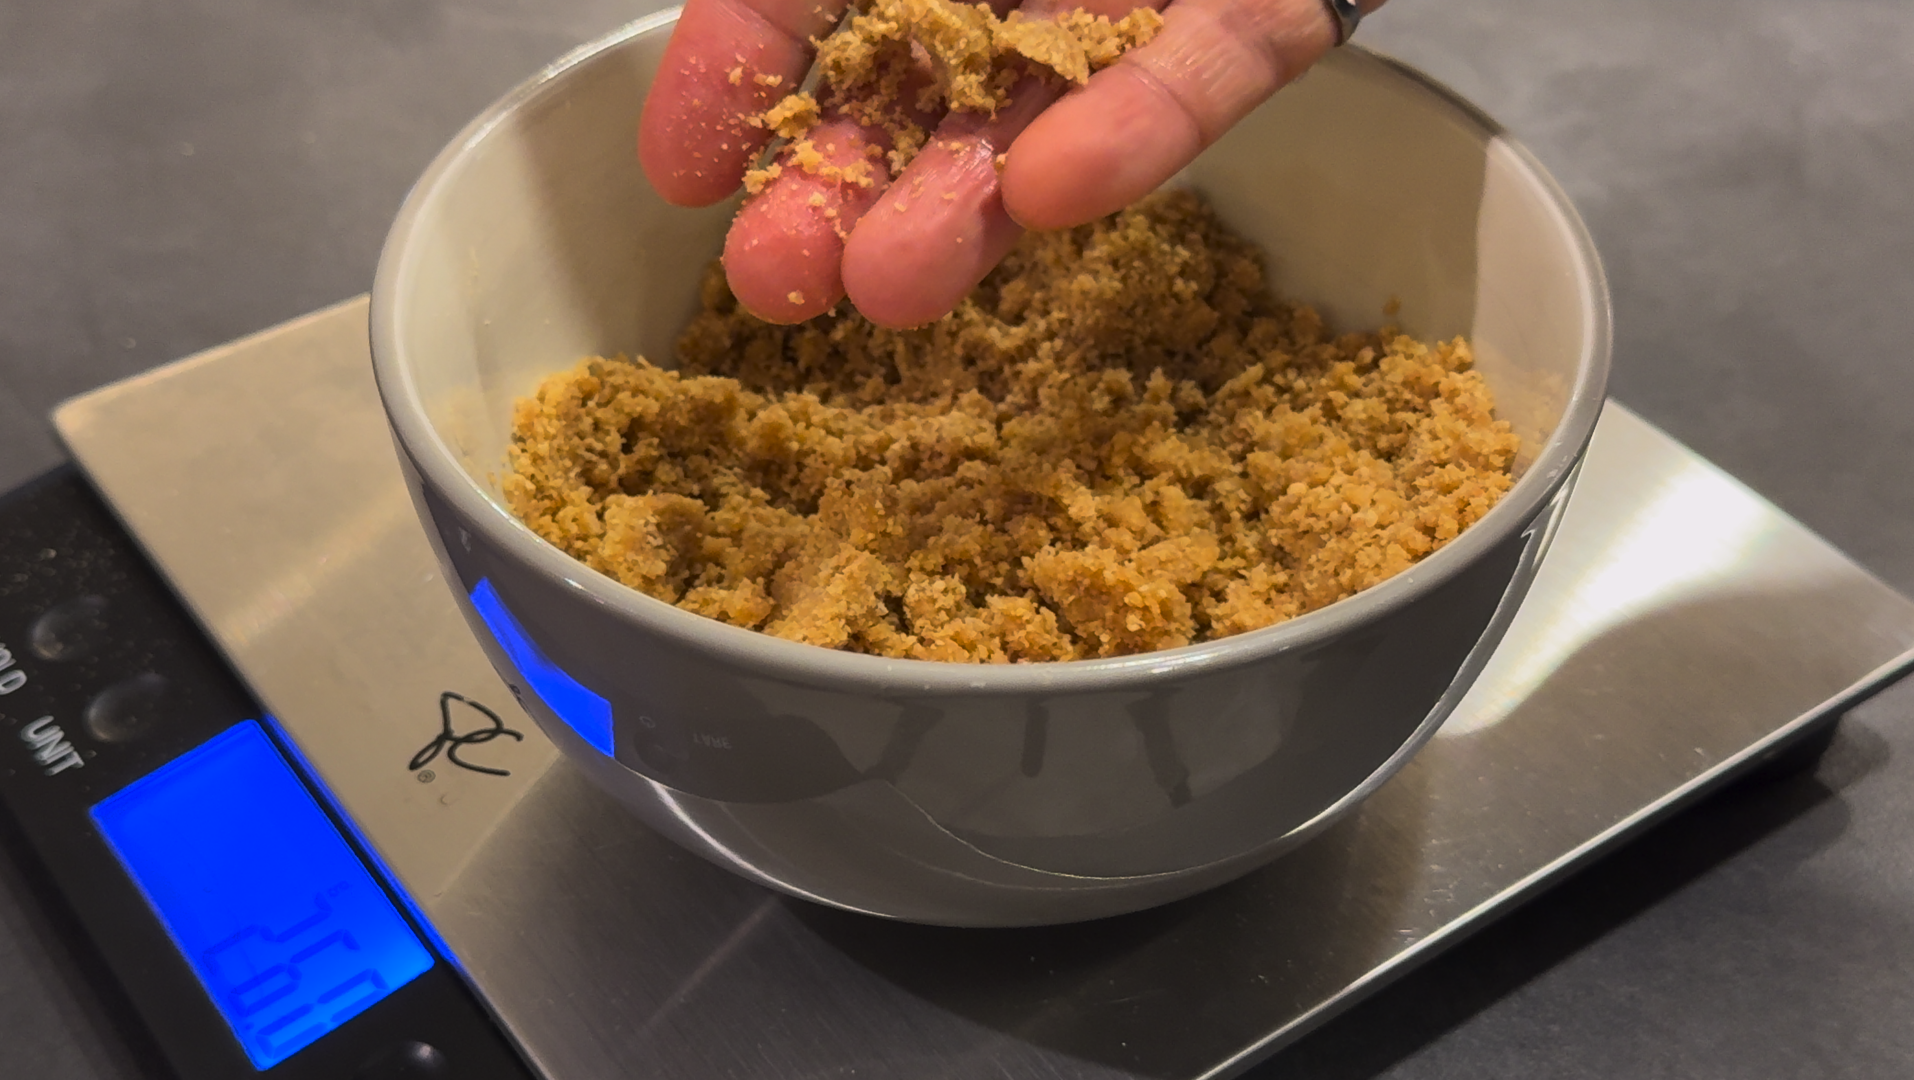
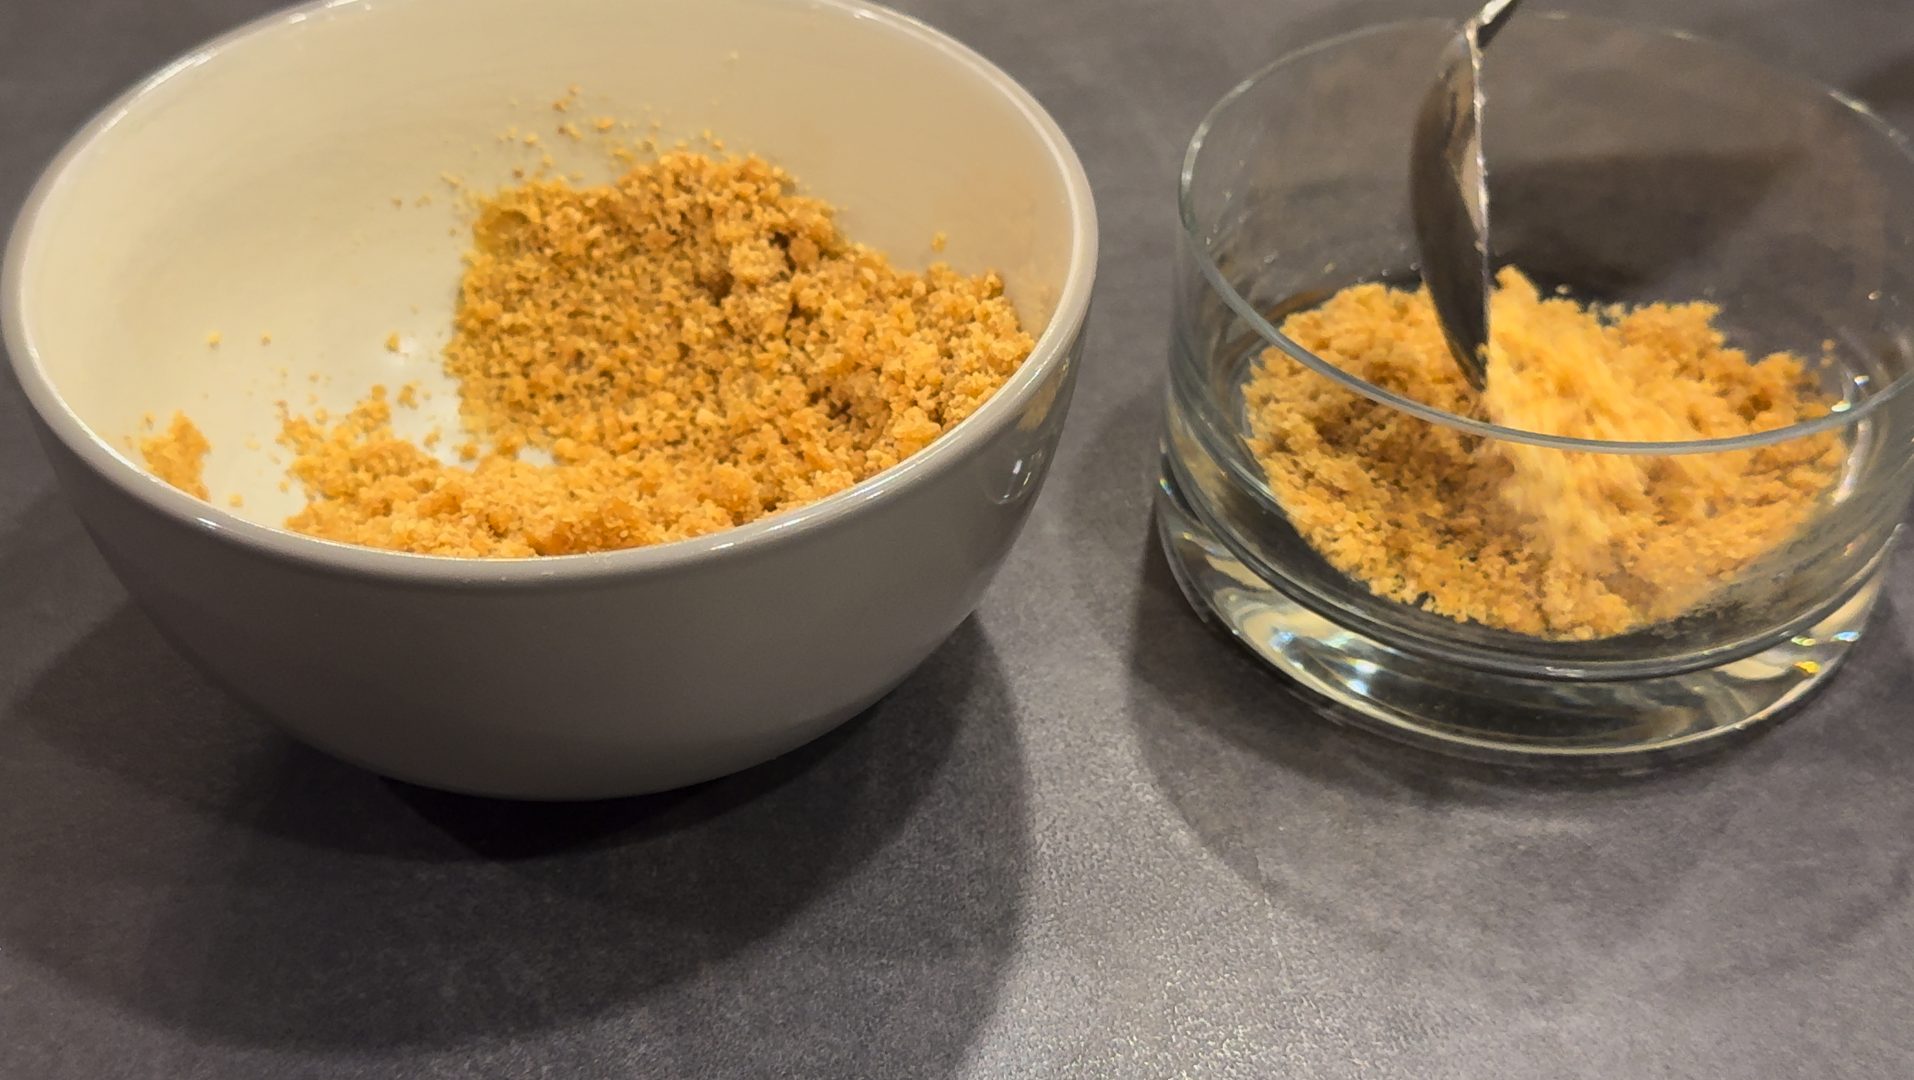
Prepare the crust by smashing all of the graham crackers until they are broken down completely. Add the crushed crackers to a bowl and then pour in the molten butter and mix well. The mixture should be crumbly and should clump together easily.
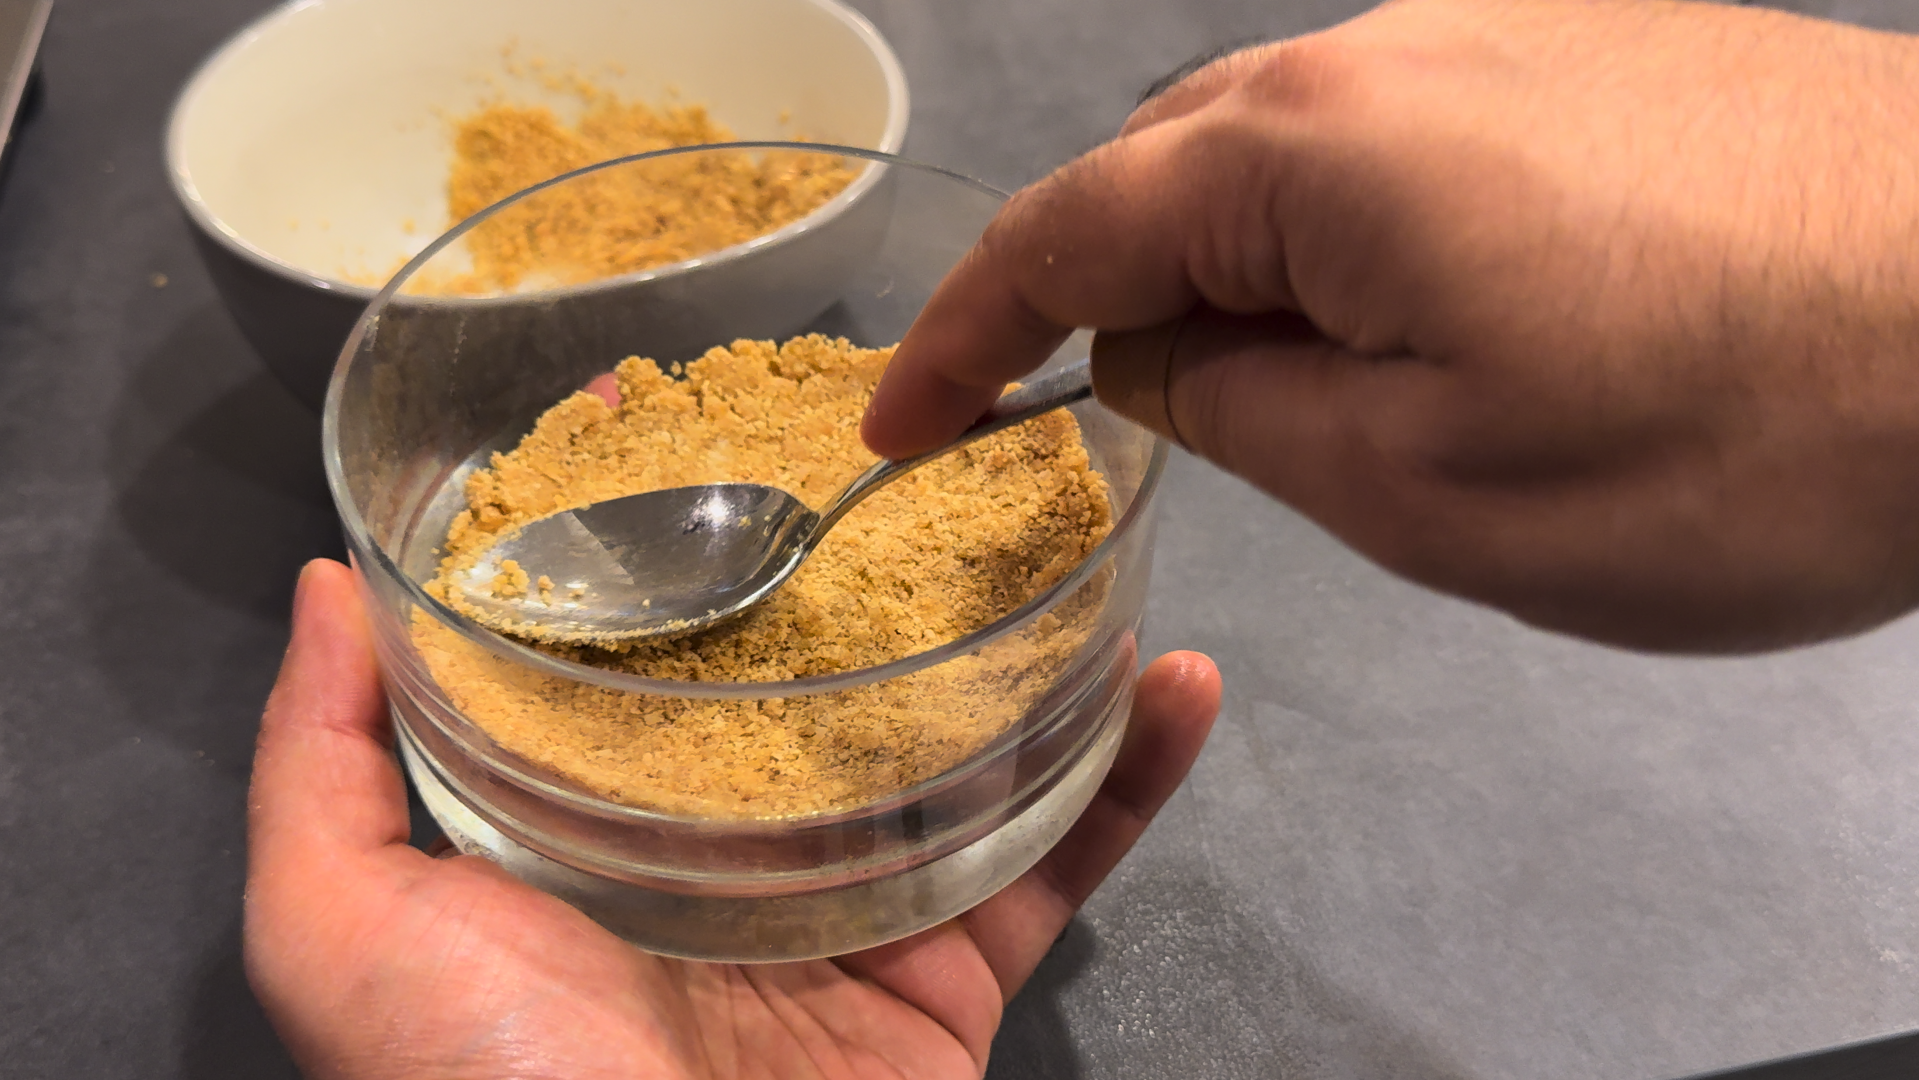
Add the cracker mixture to individual sized serving bowls and pat the crust evenly so that it is even at the bottom and has a slight lip on the edges. Add to the freezer and chill for 1-2 hours.
Prepare whipped cream cream first. If using a stand mixer, add cream to the bowl of a stand mixer and start whisking with the whisk attachment at medium speed. Gradually increase the speed of the whisk until the cream starts to thicken.
Add sweetener of choice and vanilla and continue whisking until you observe soft peaks. Lifting the whipped cream with the whisk should result in peaks that eventually points down. You can do the same using a handheld mixer or a whisk. Set aside for now and wipe the bowl clean.
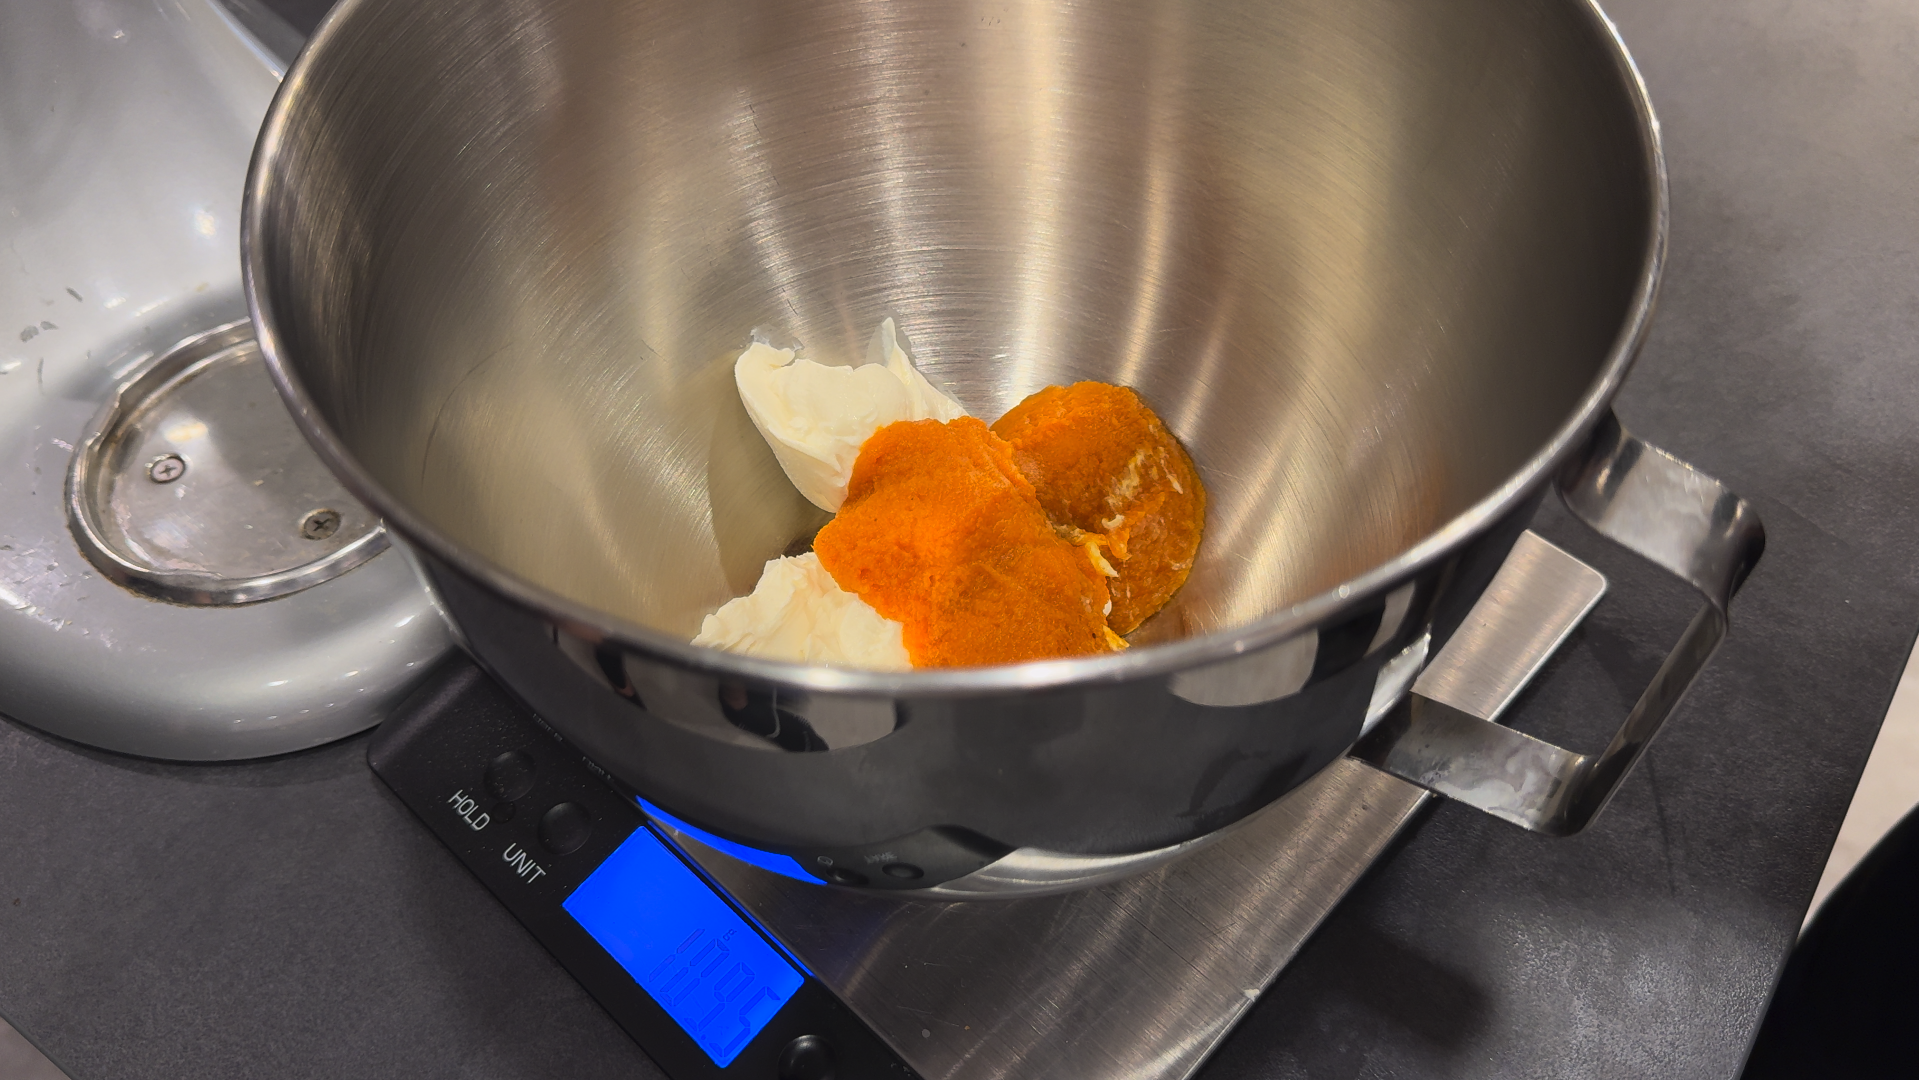
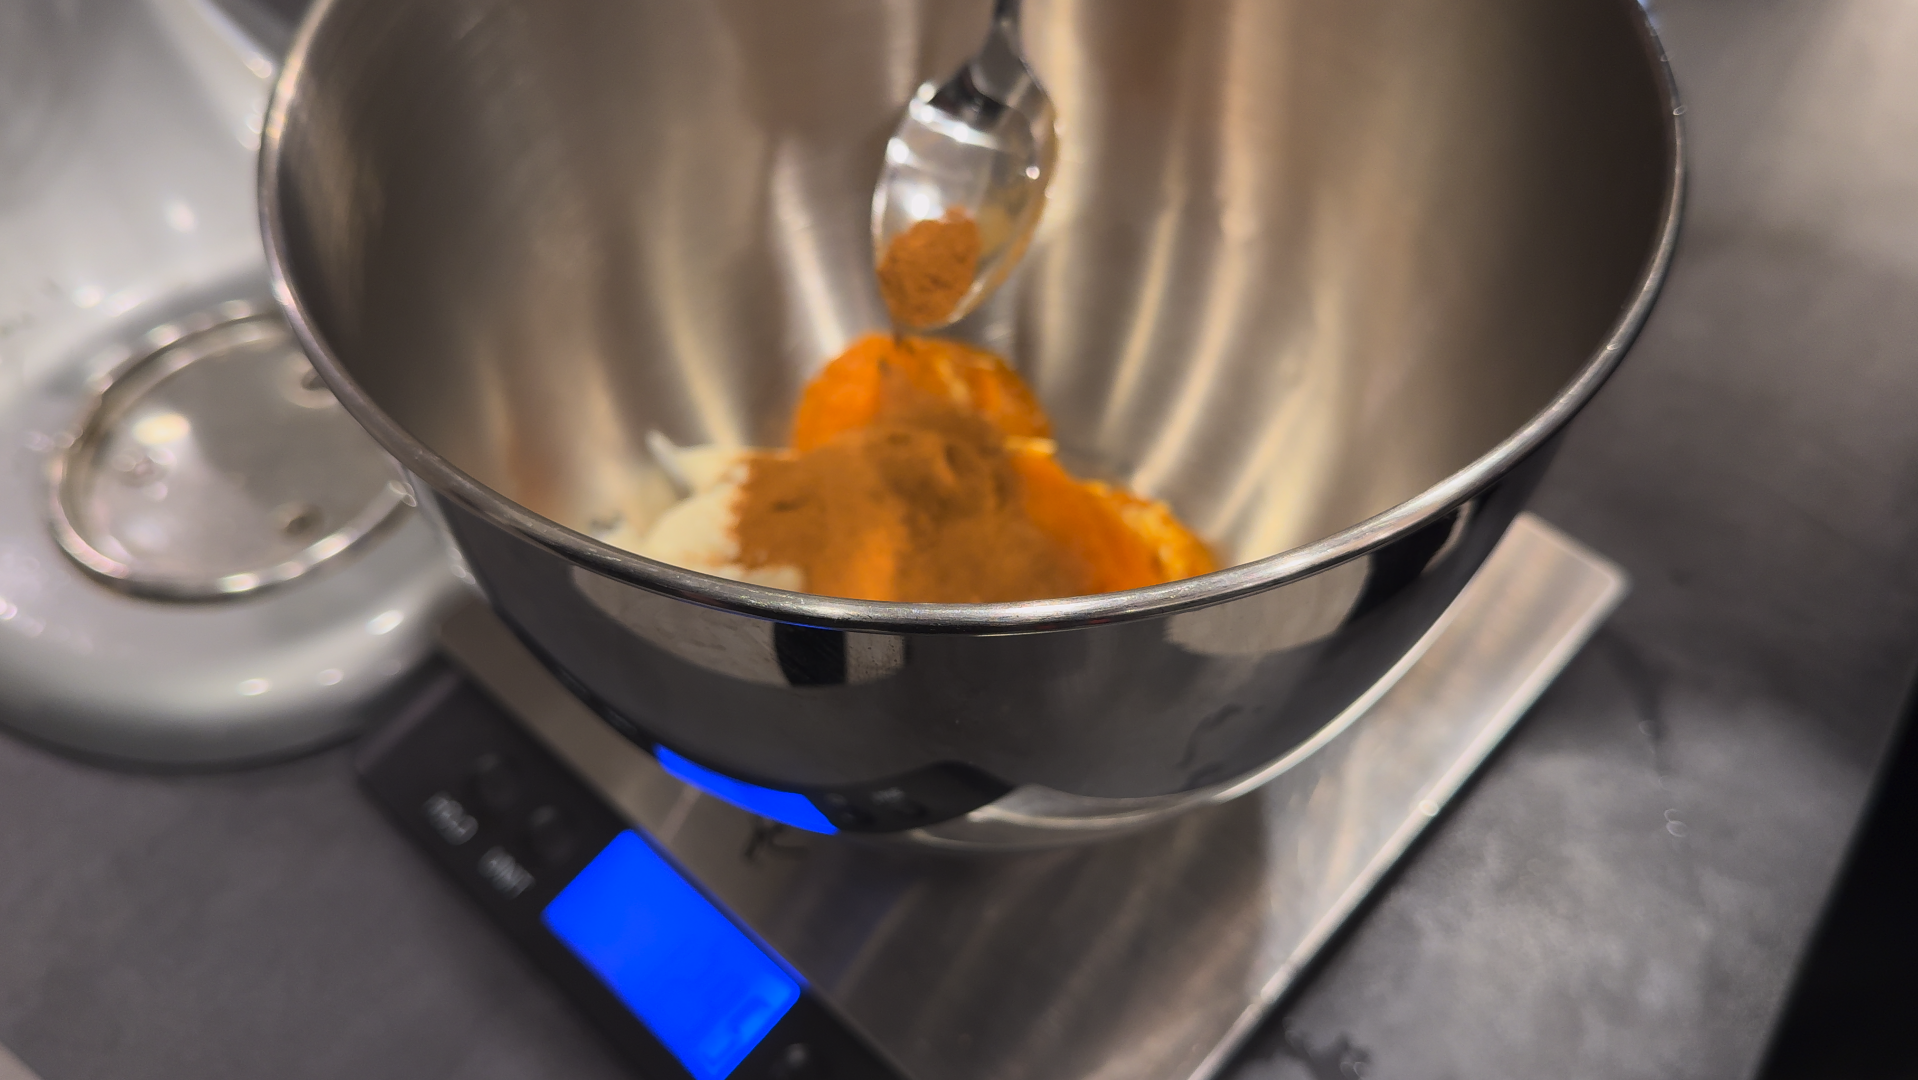
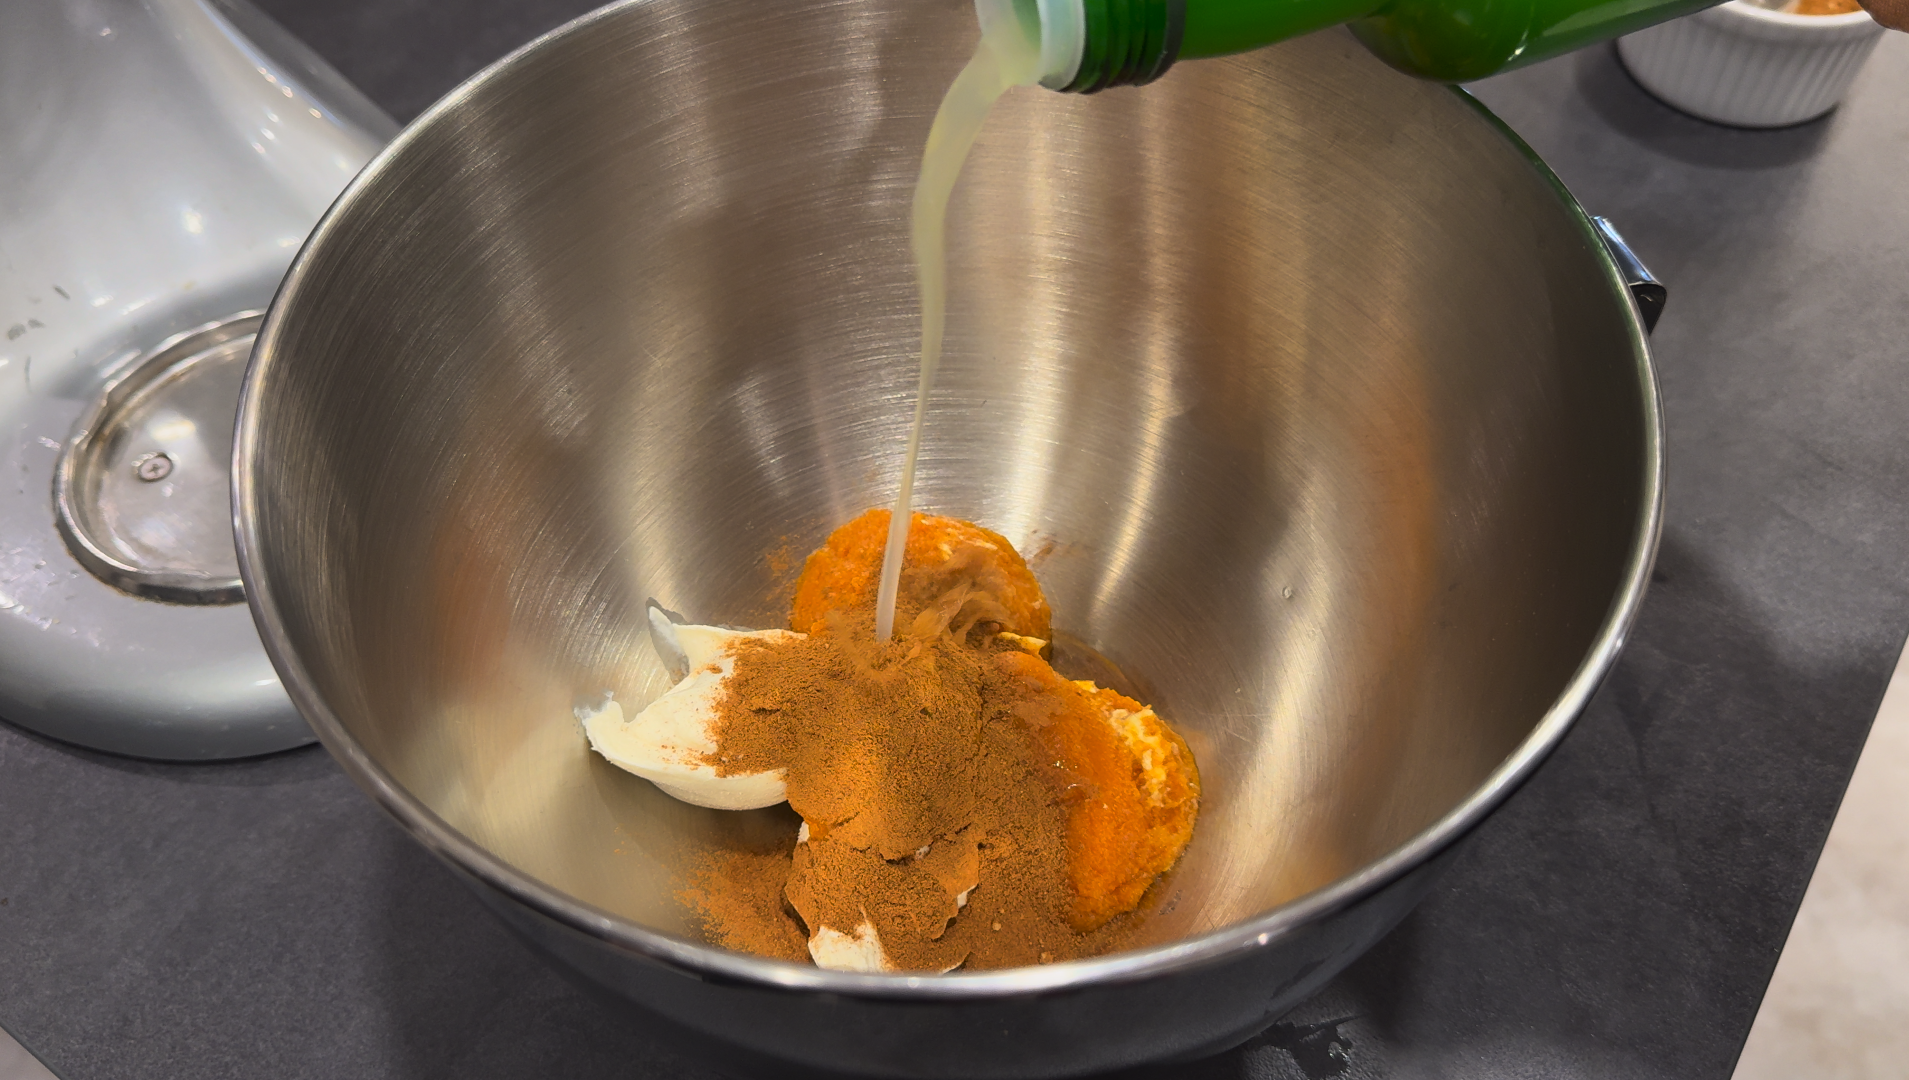
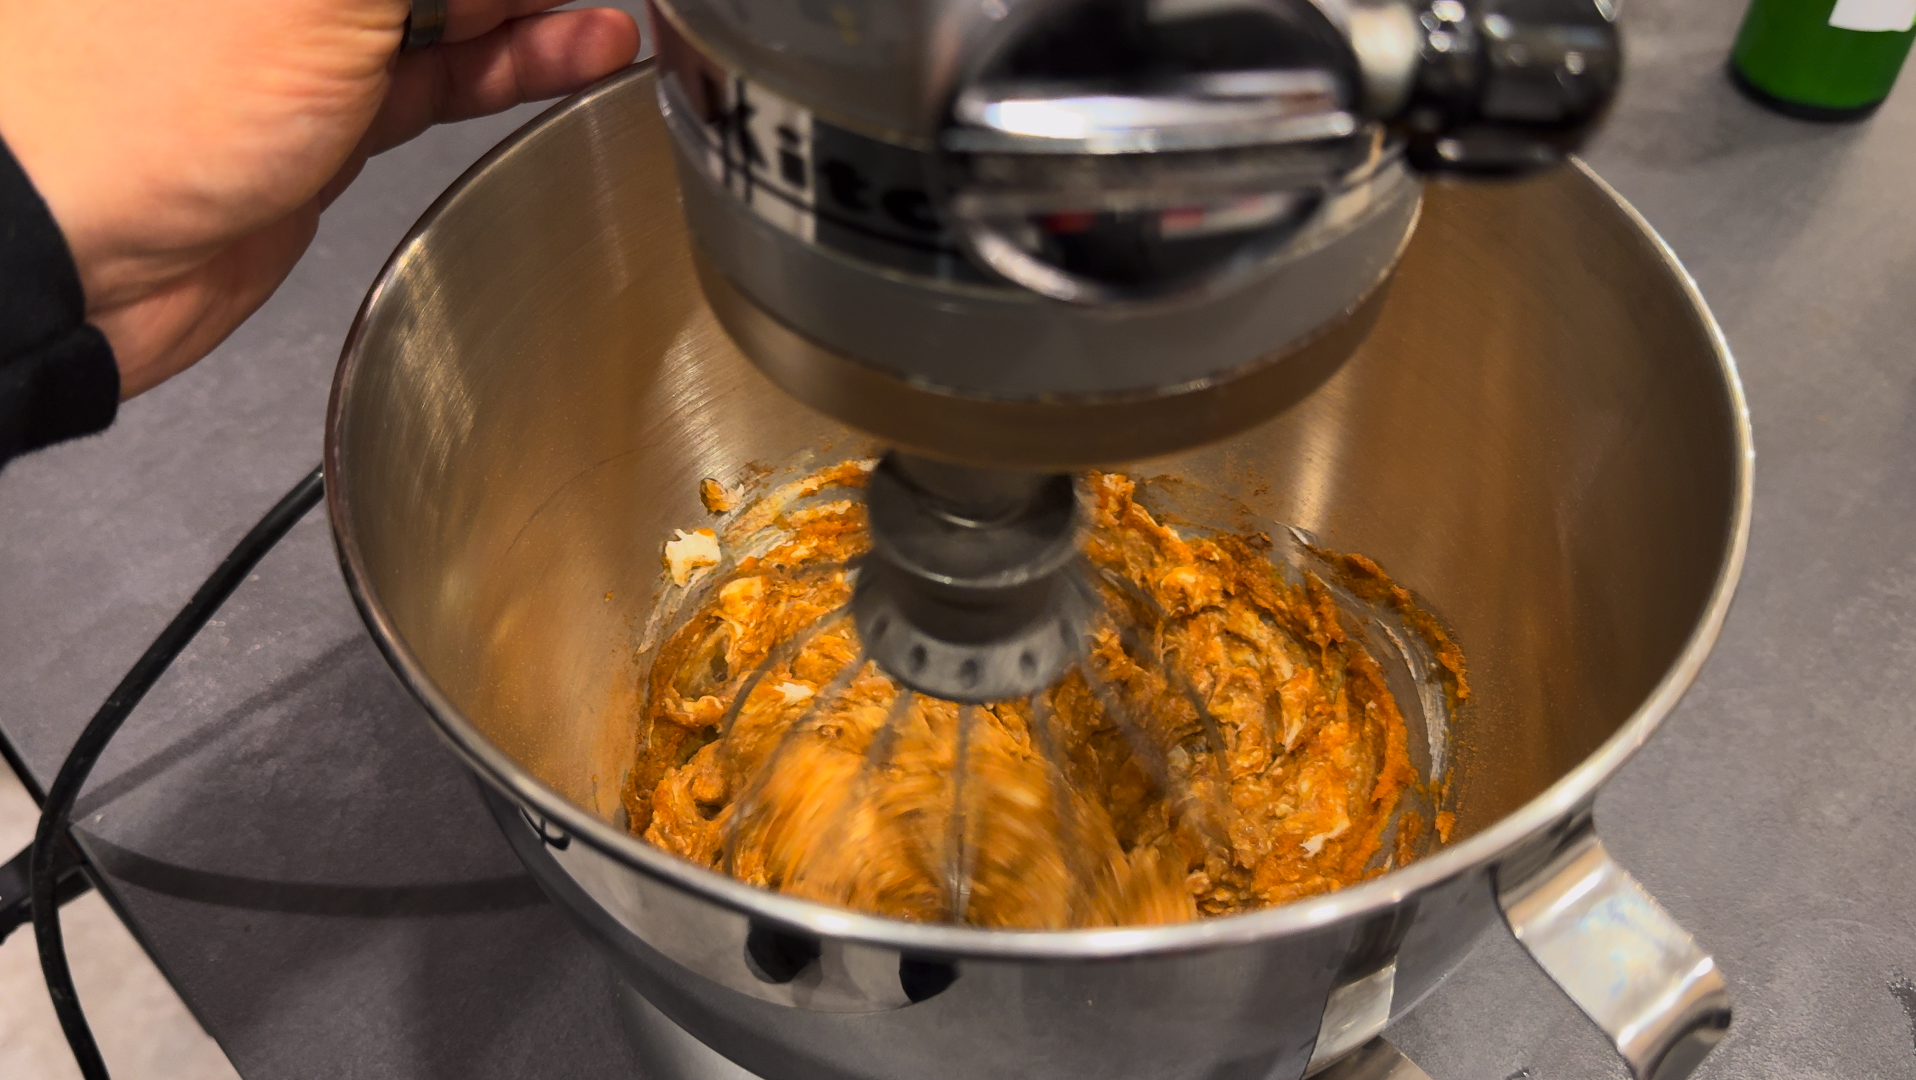
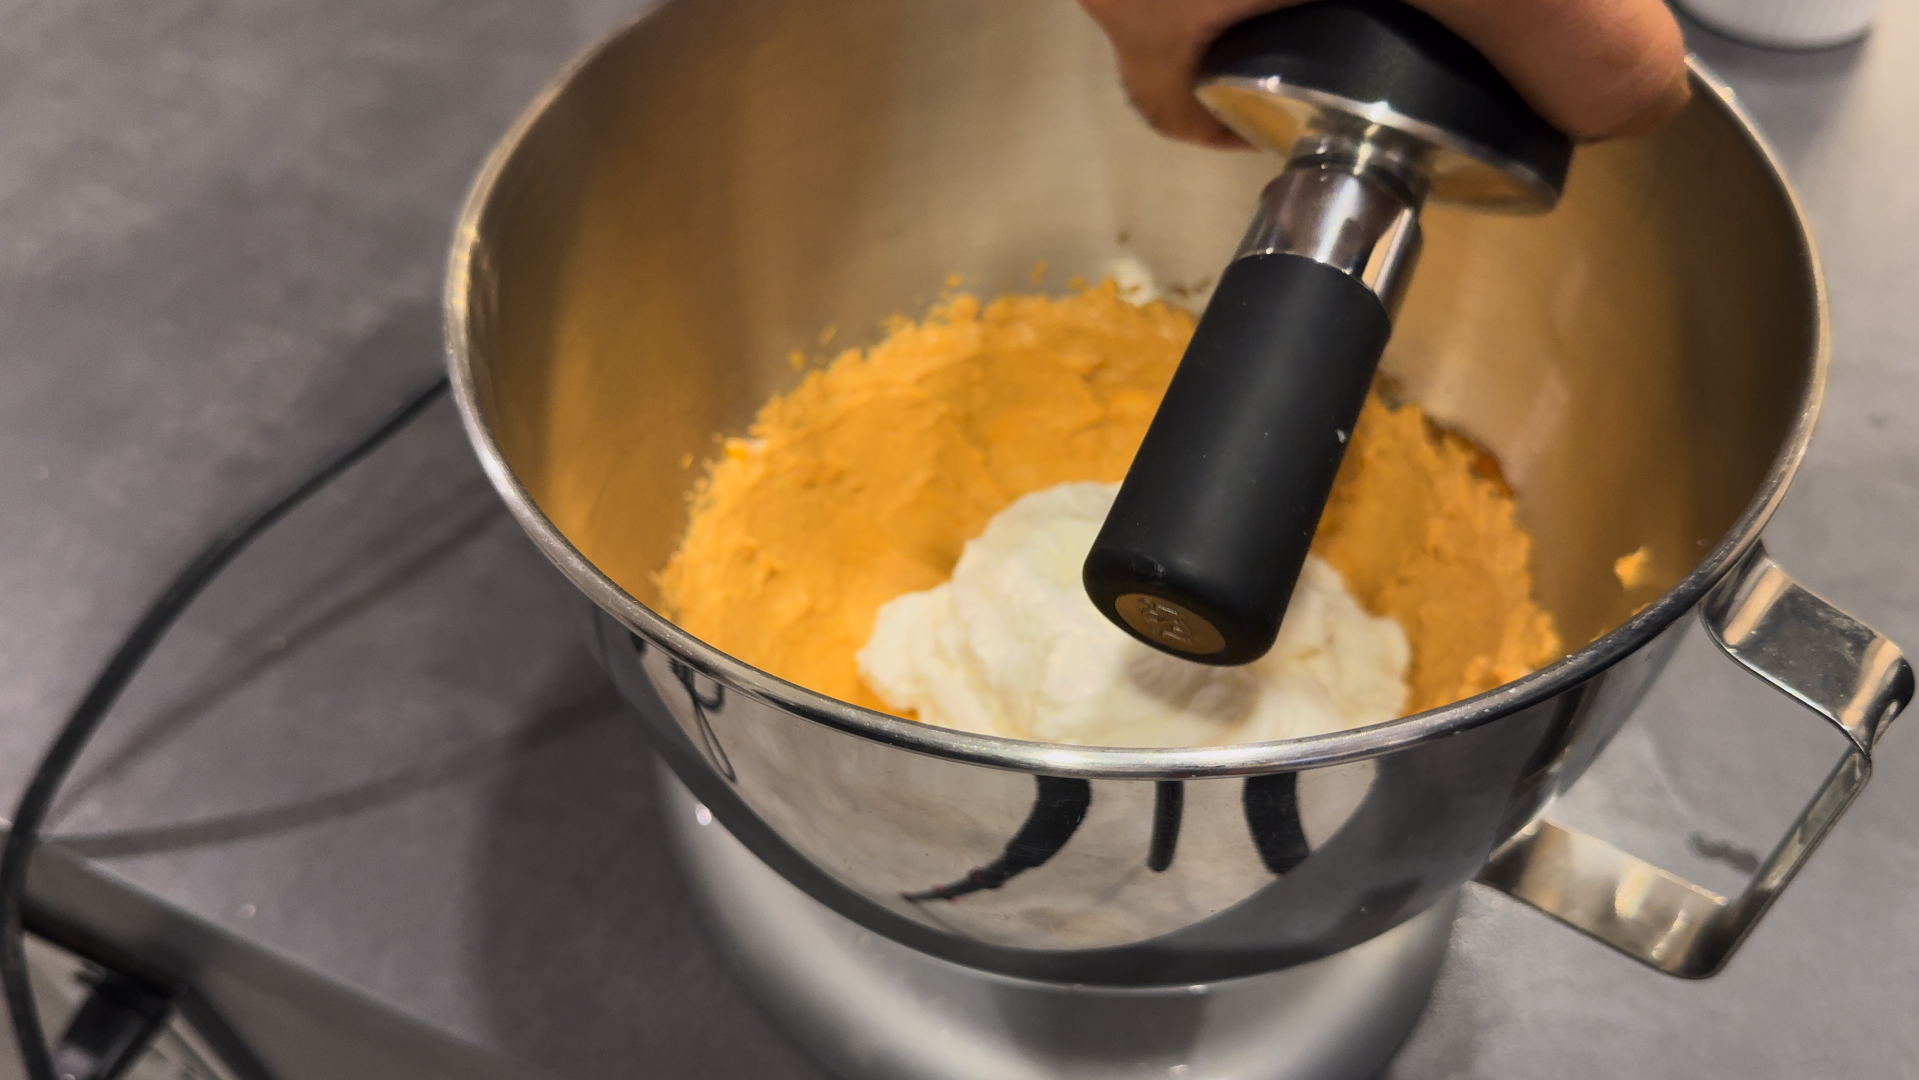
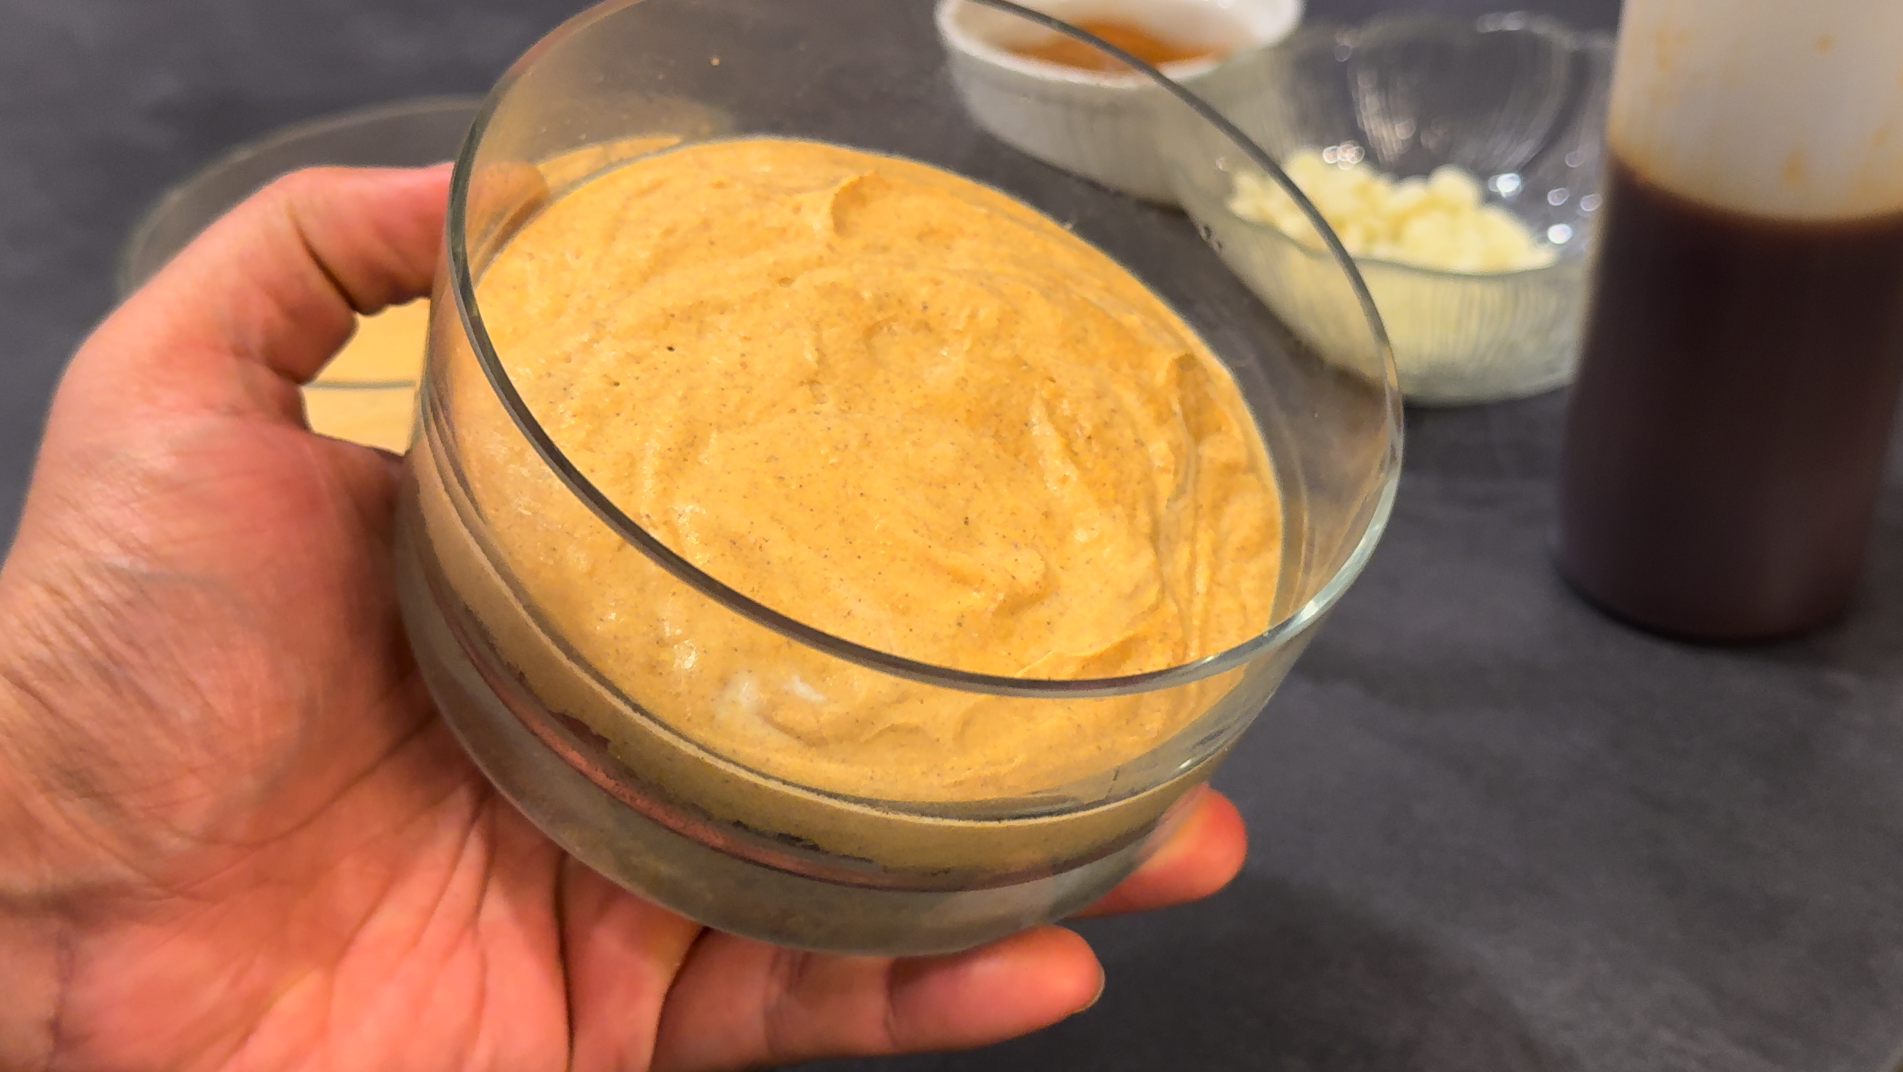
In the same bowl, add the cream cheese, pumpkin puree, pumpkin spice, lime juice and vanilla extract. Mix well using a whisk/hand mixer/stand mixer.
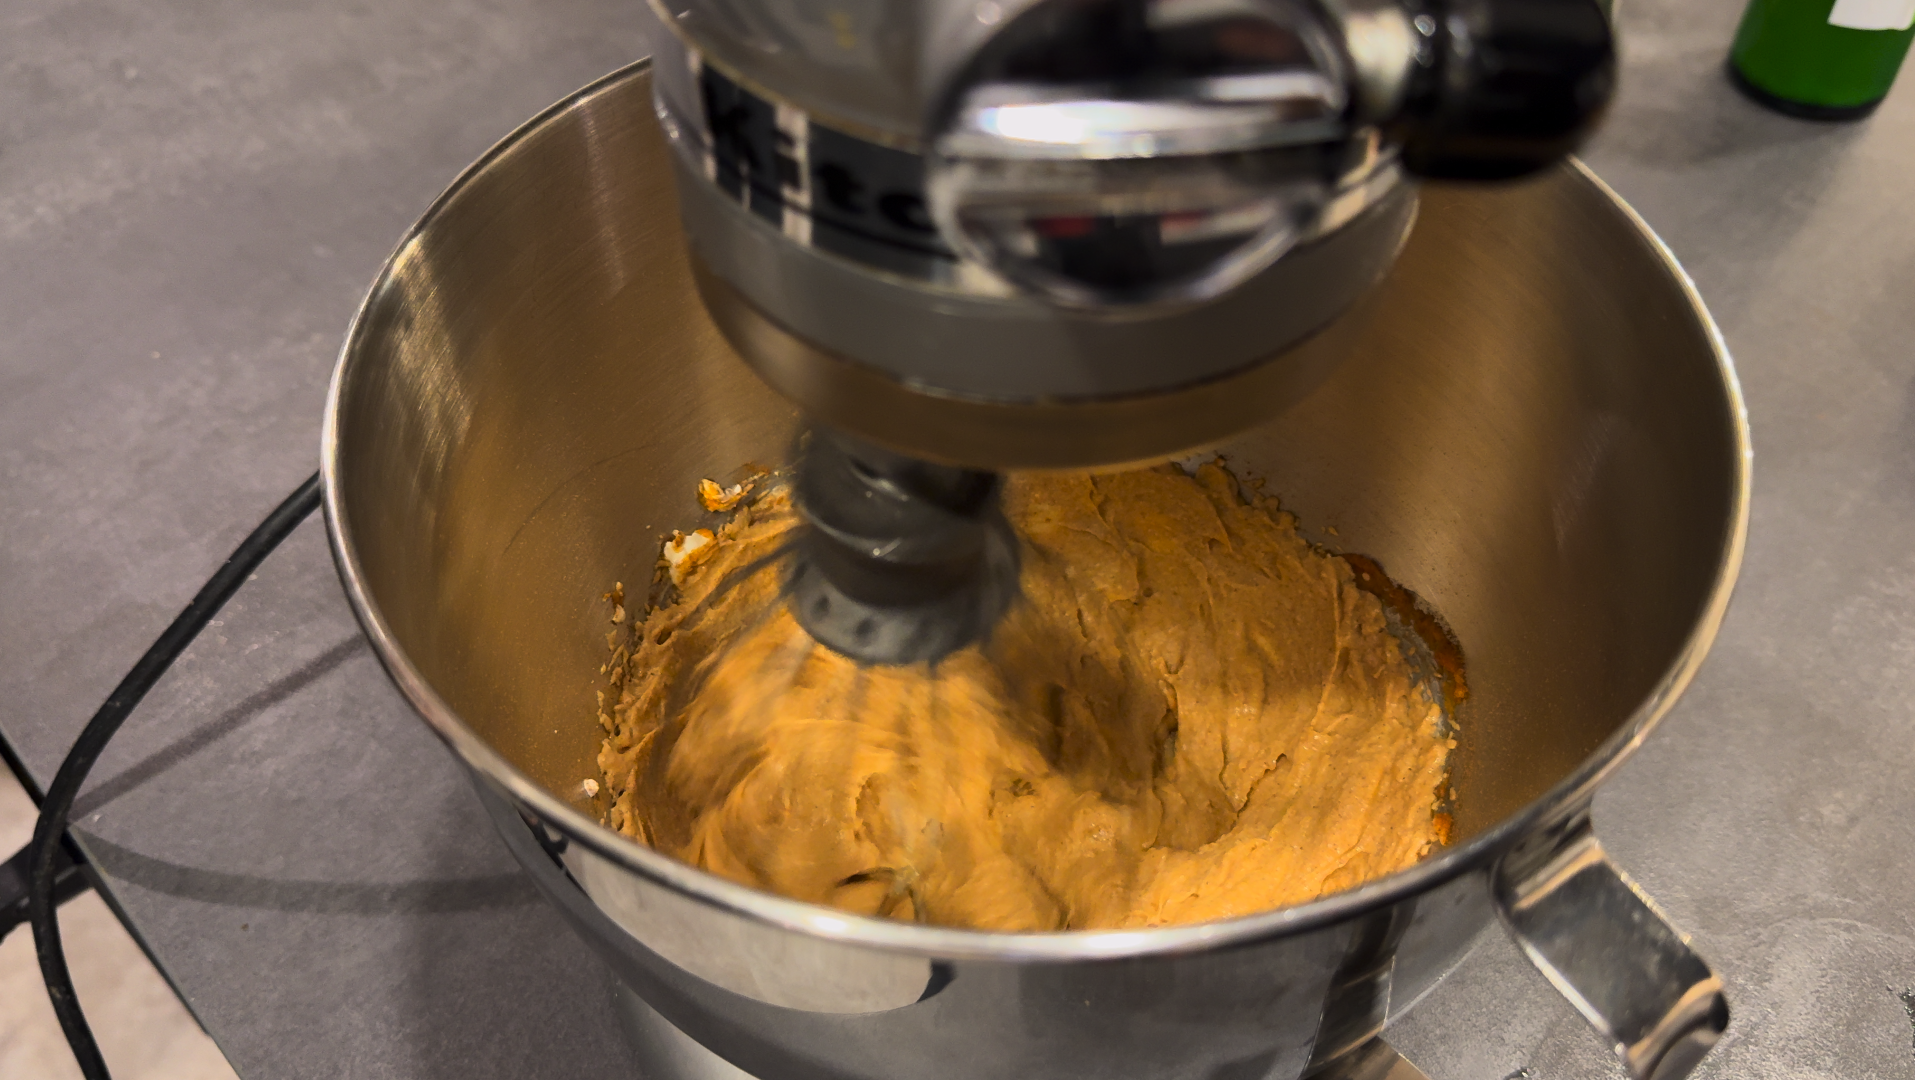
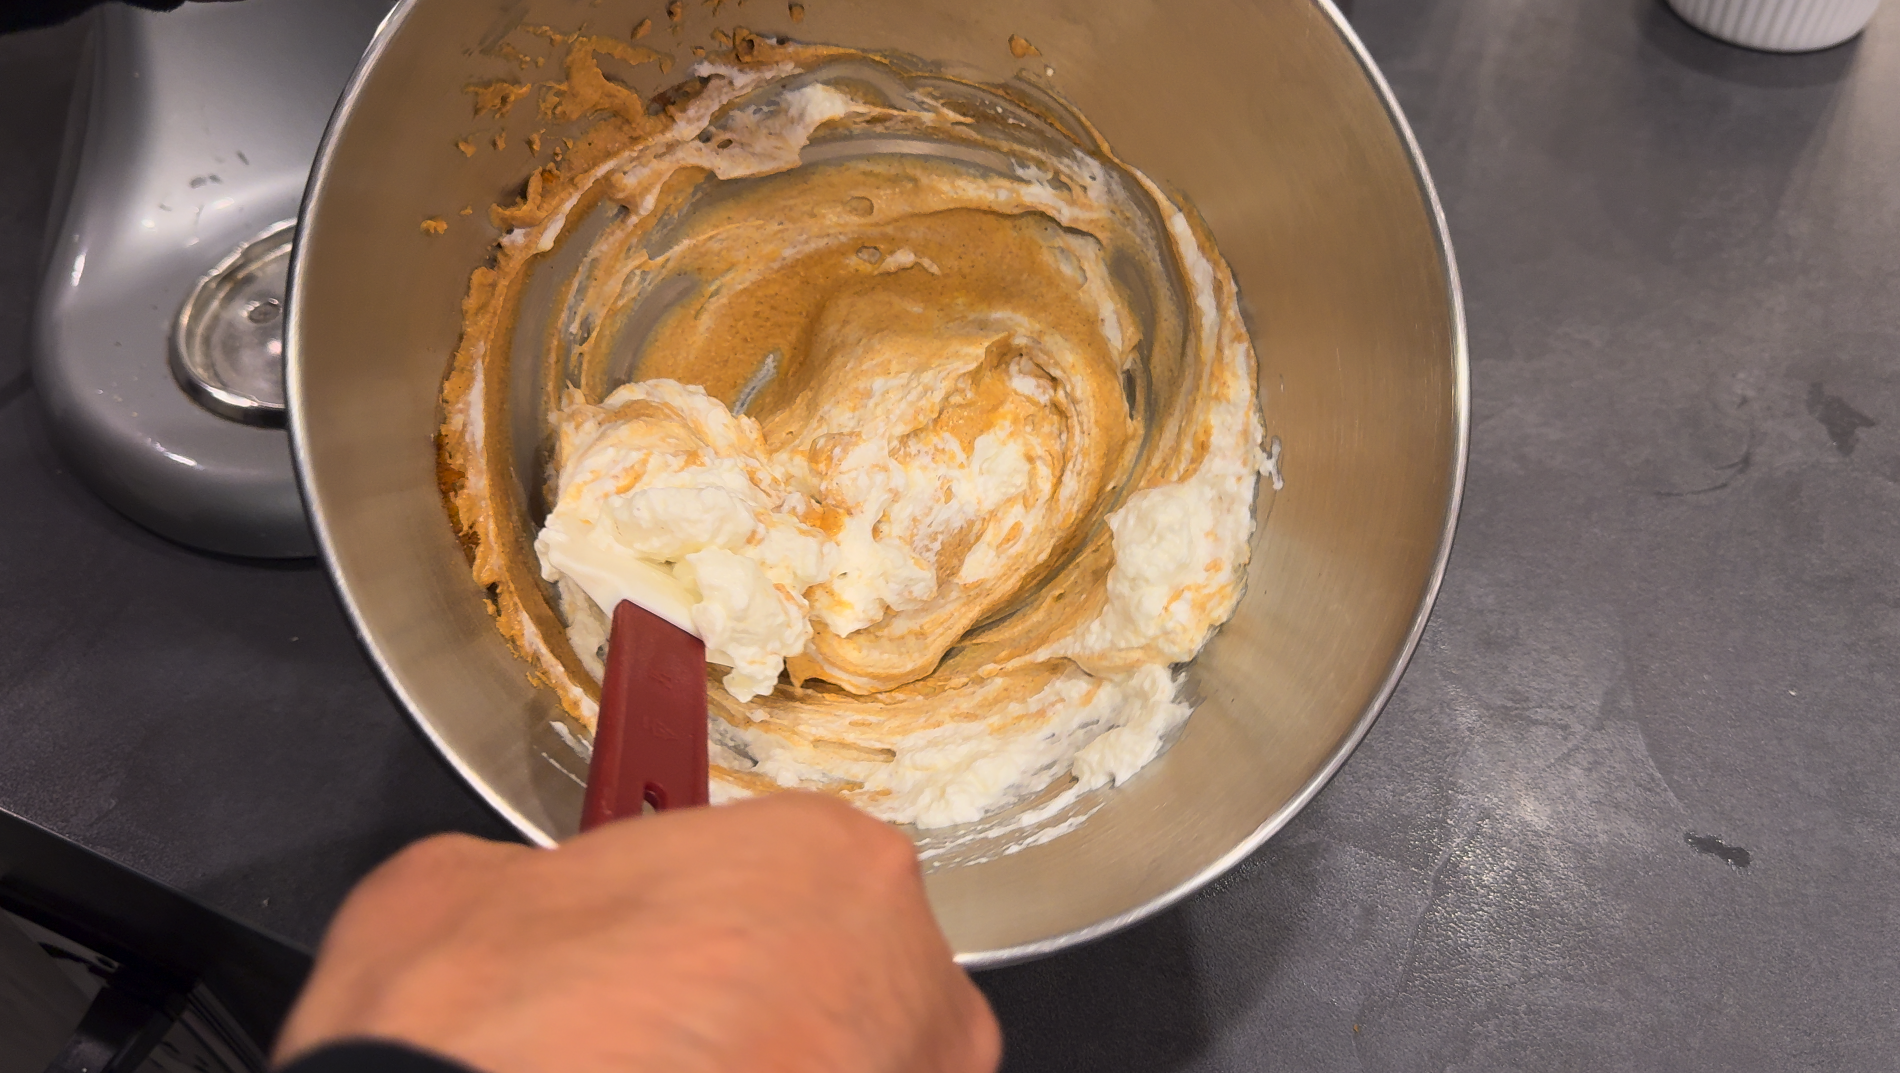
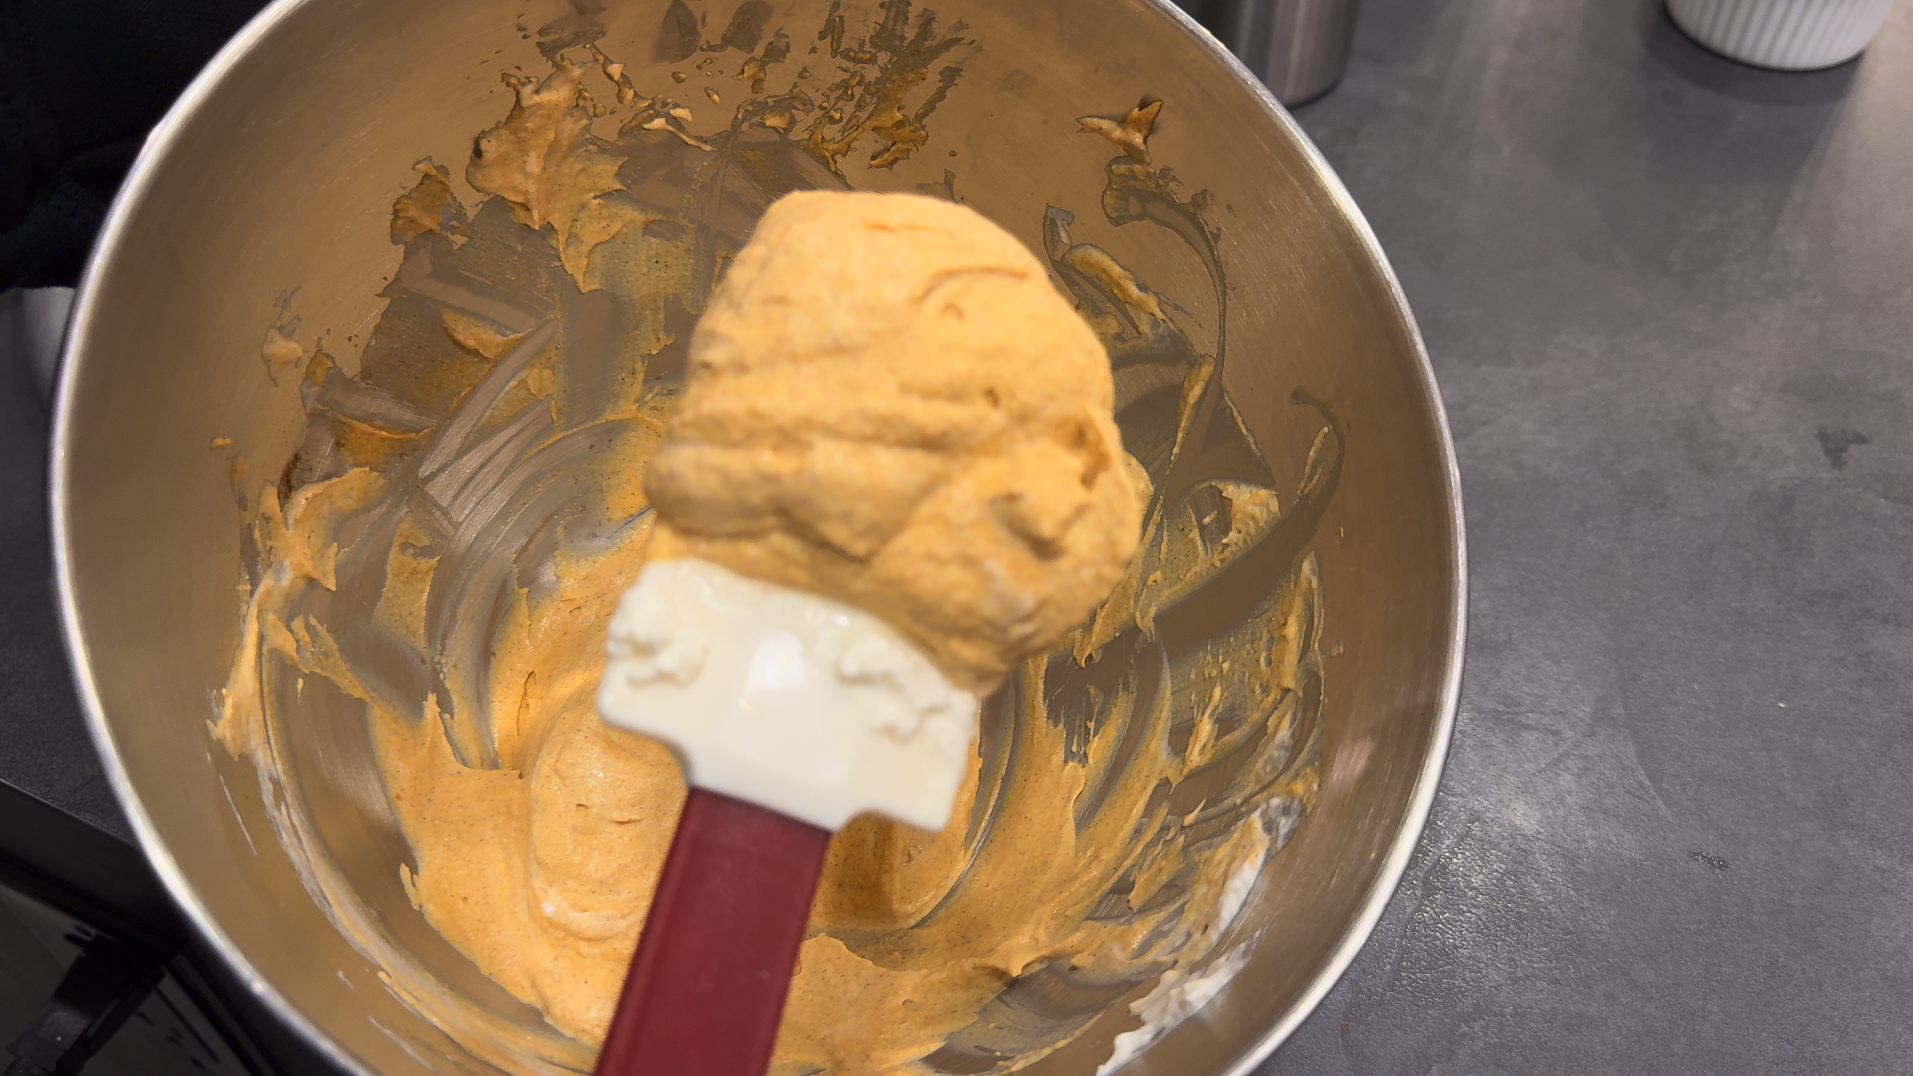
Once the mixture is combined, stop the mixer and add in the whipped cream. Fold together to combine.
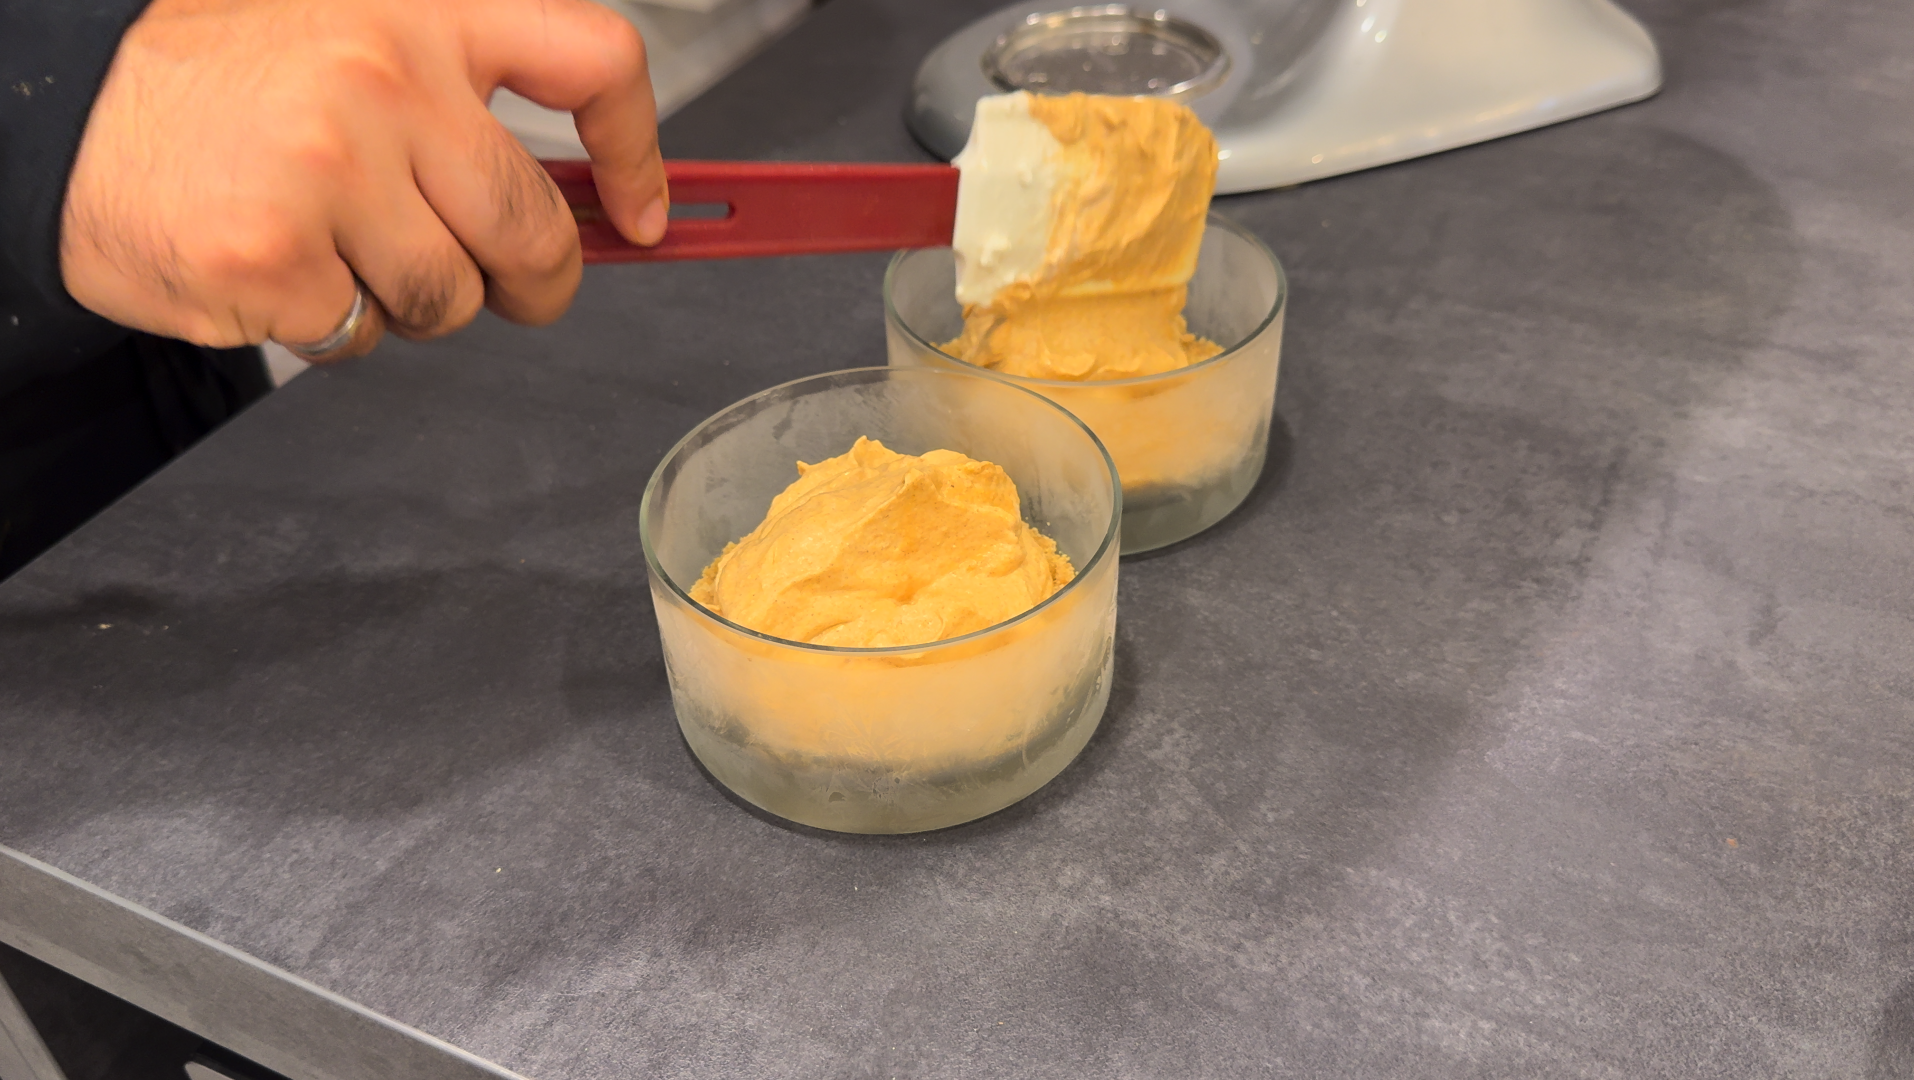
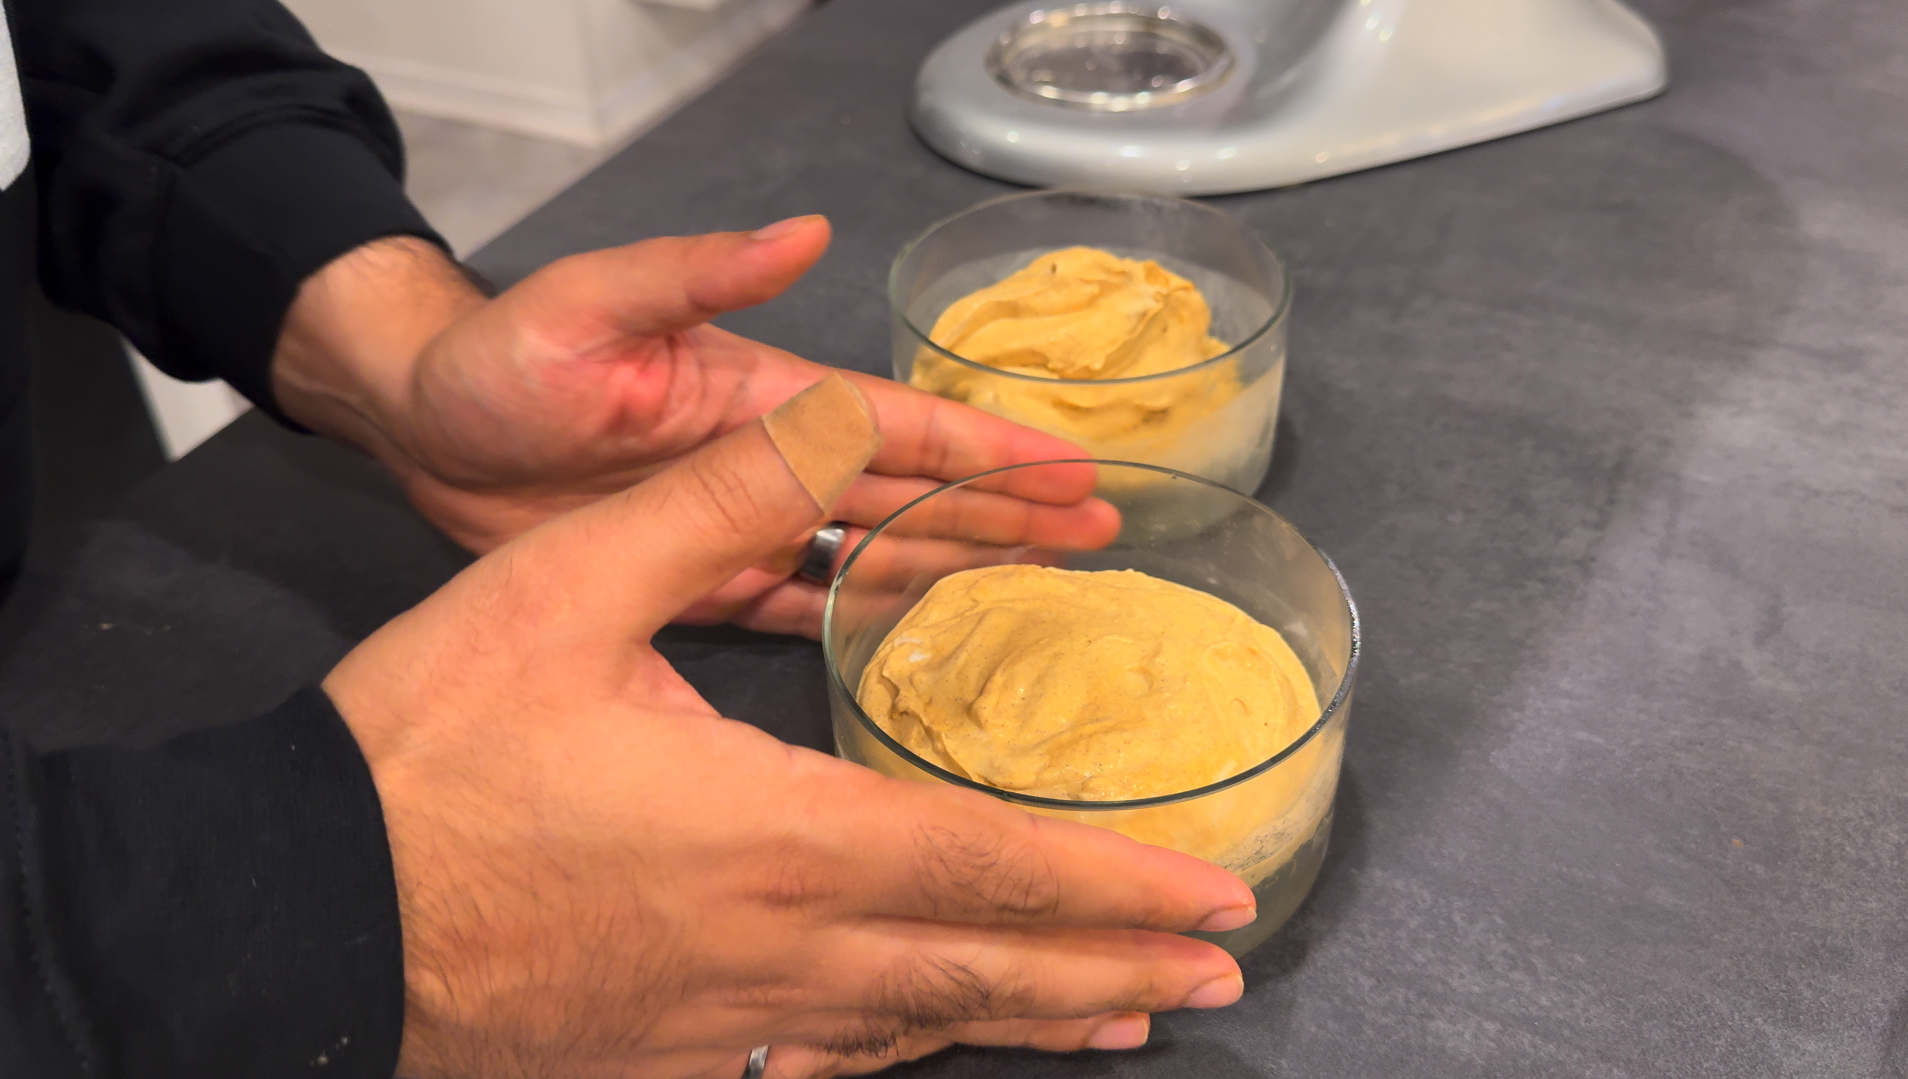
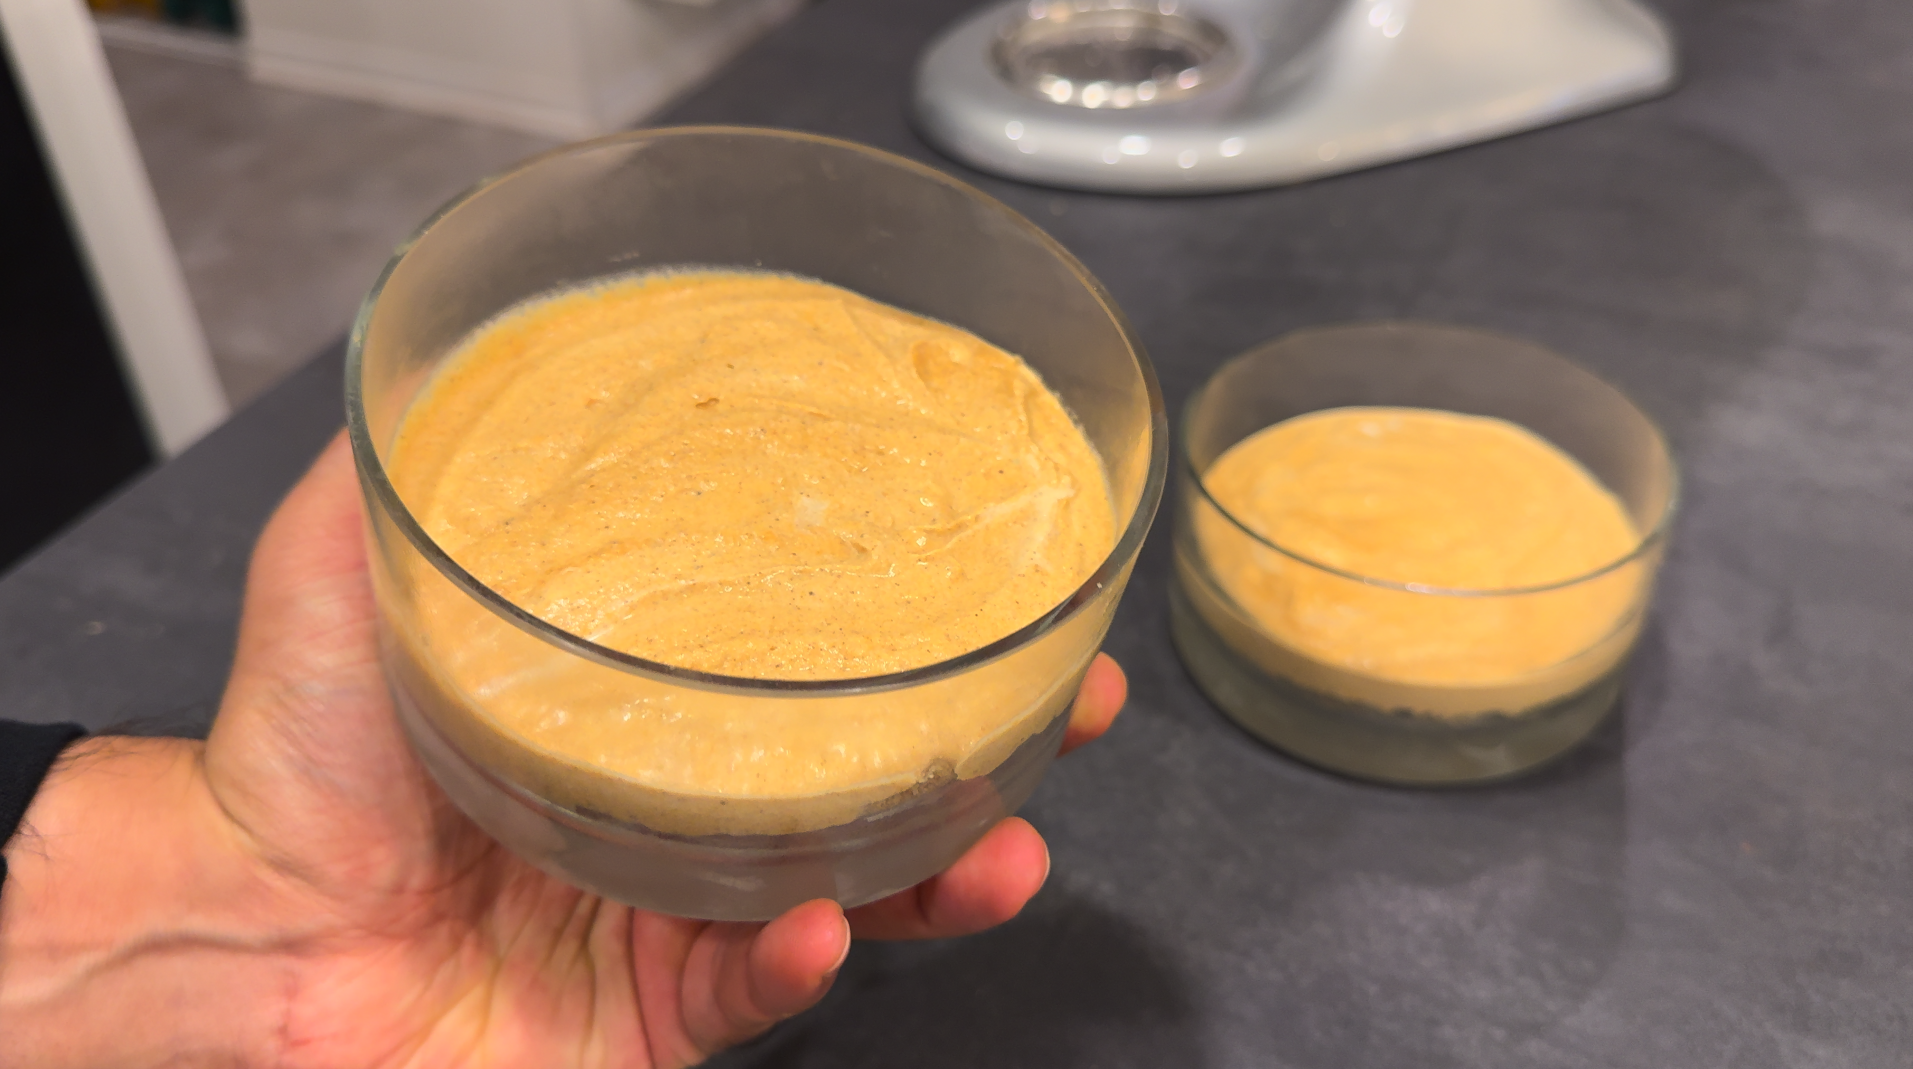
Then transfer the mixture to prepared bowl with the pie crust from earlier. Place the pies in the fridge for at least 2-3 hours.
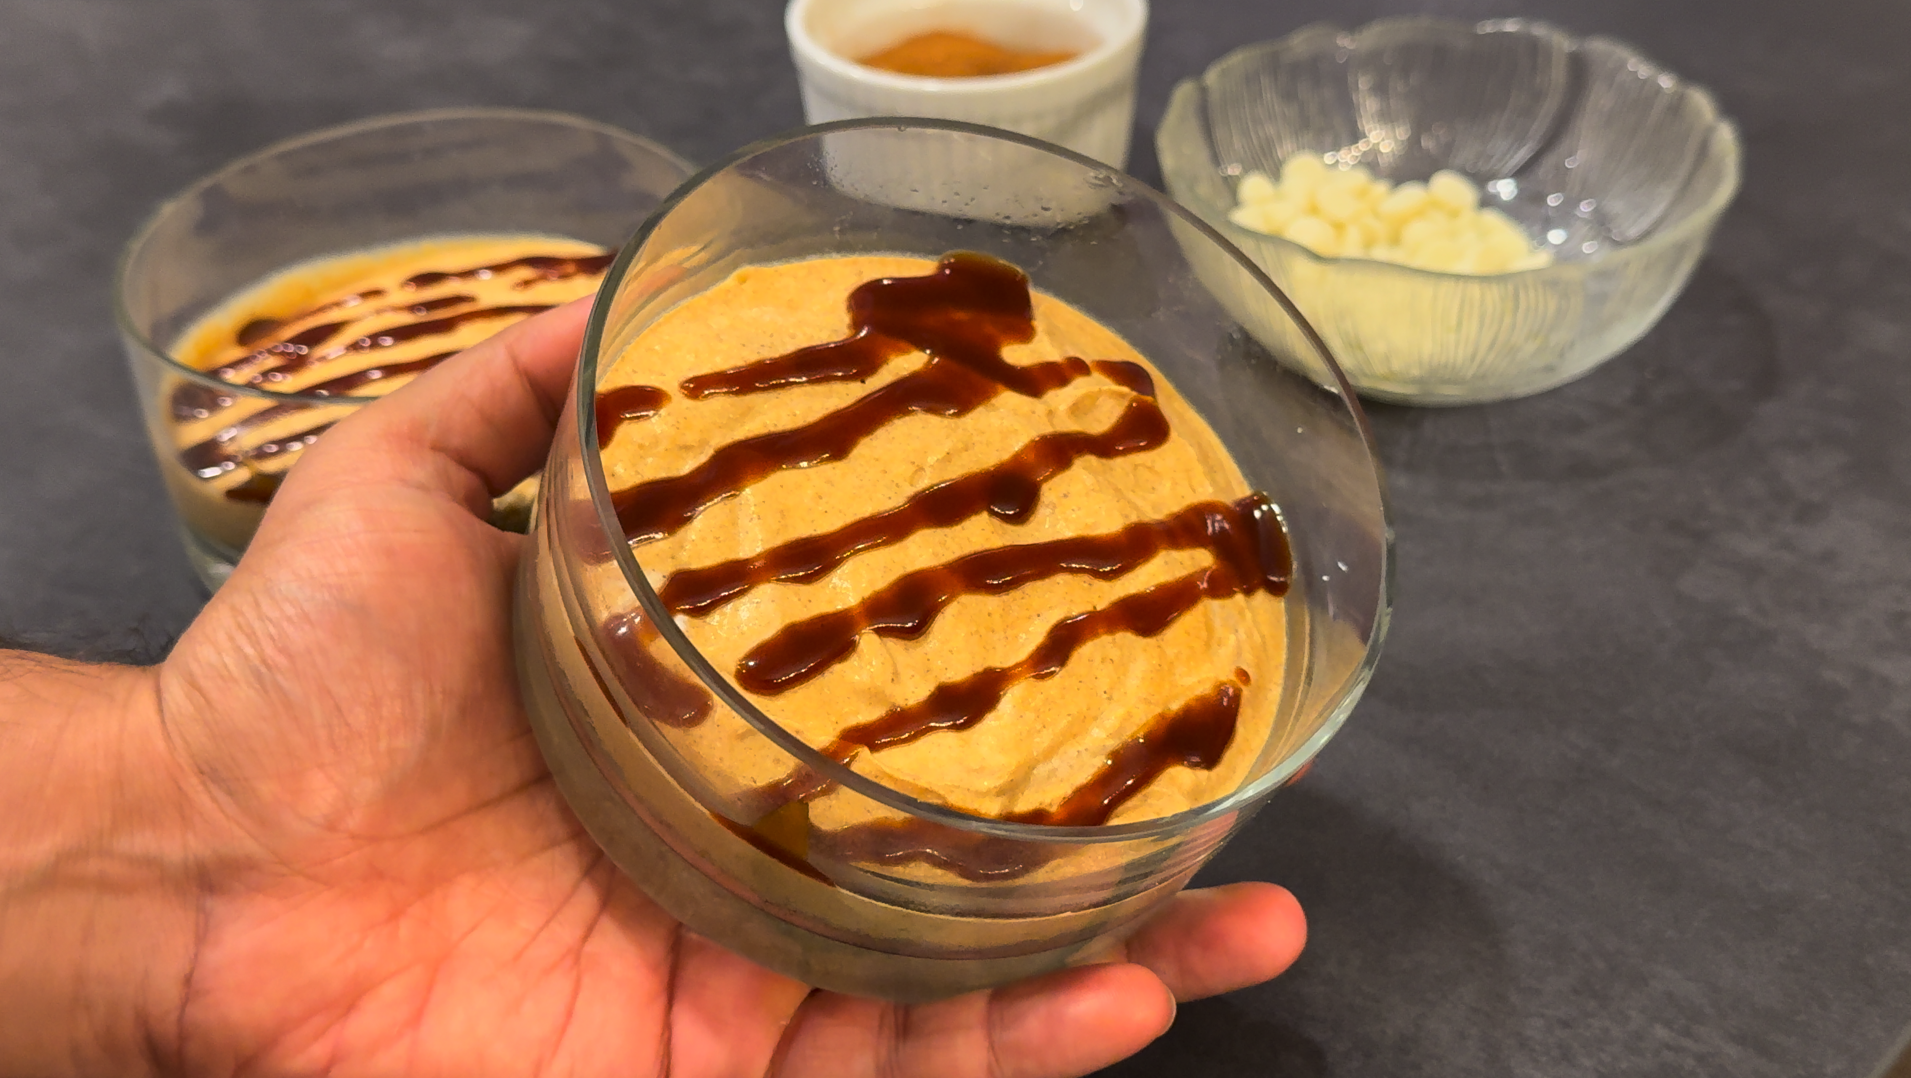
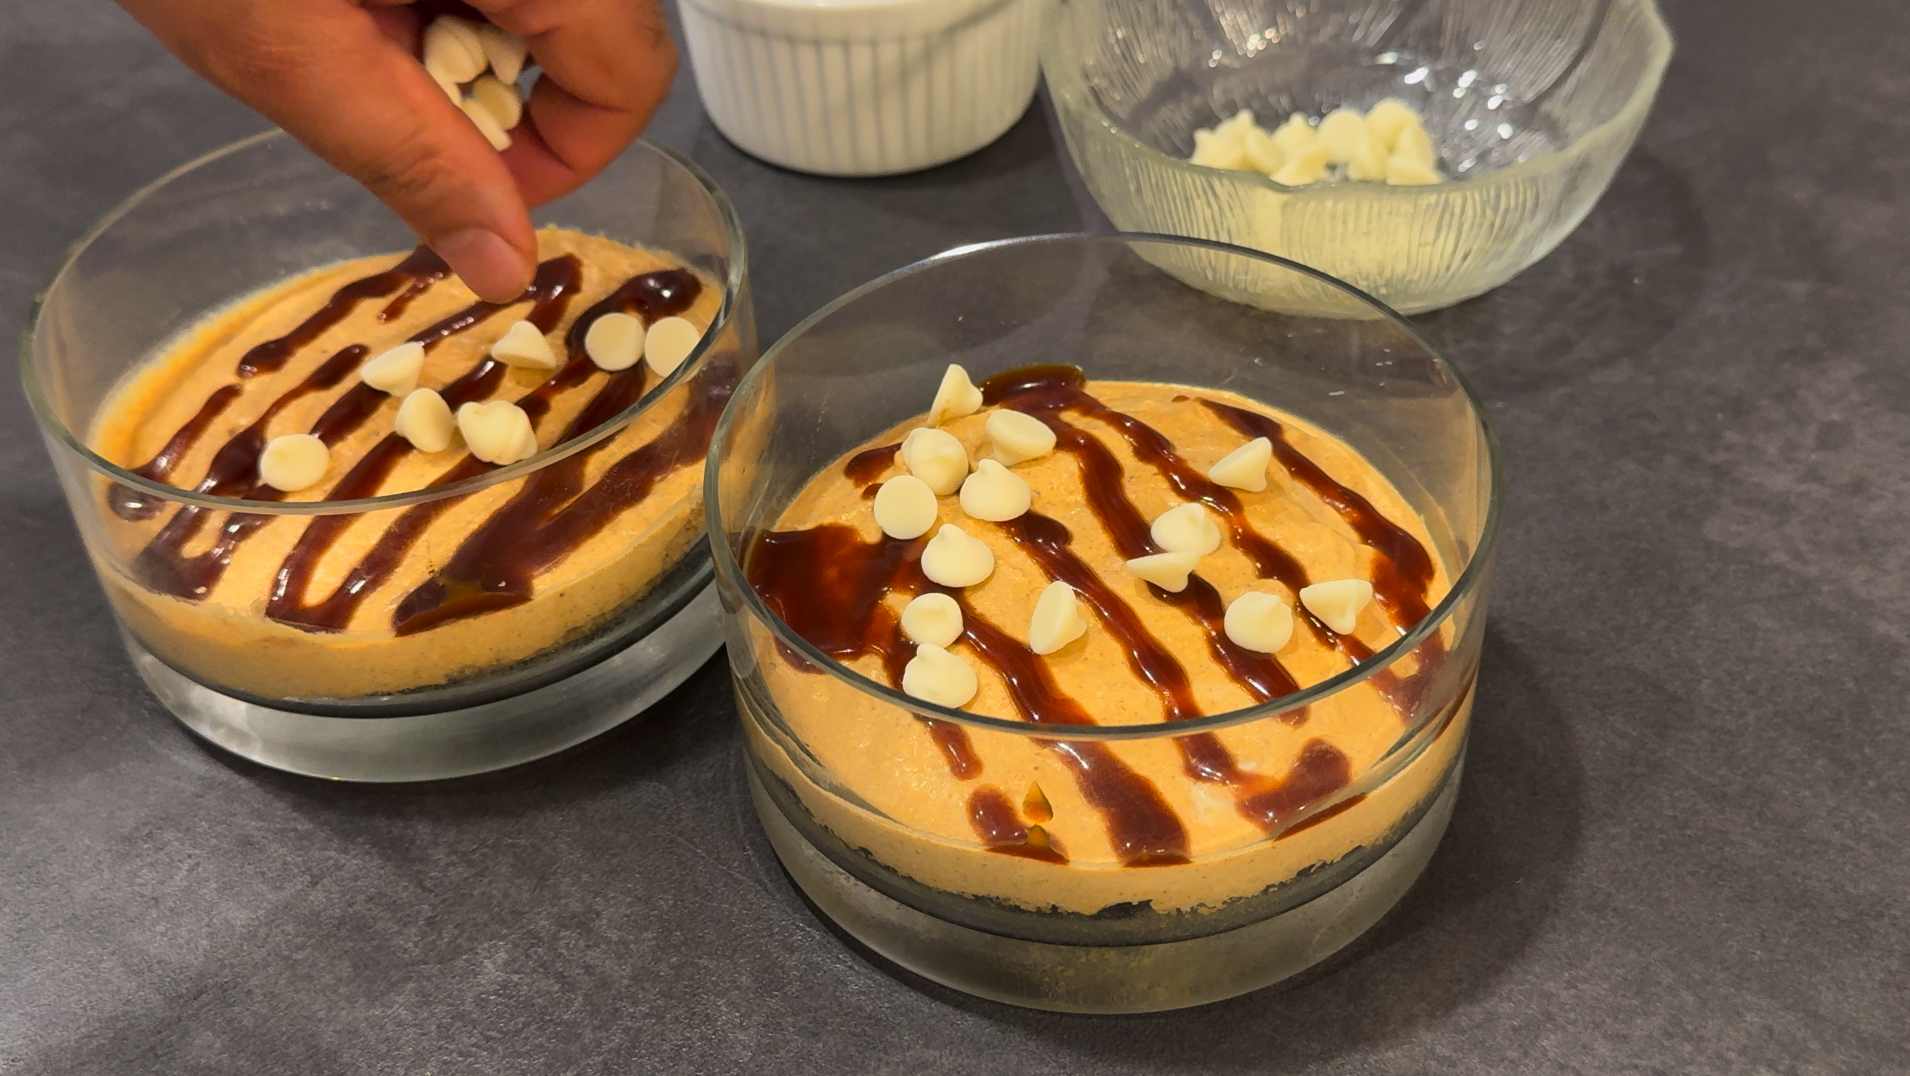
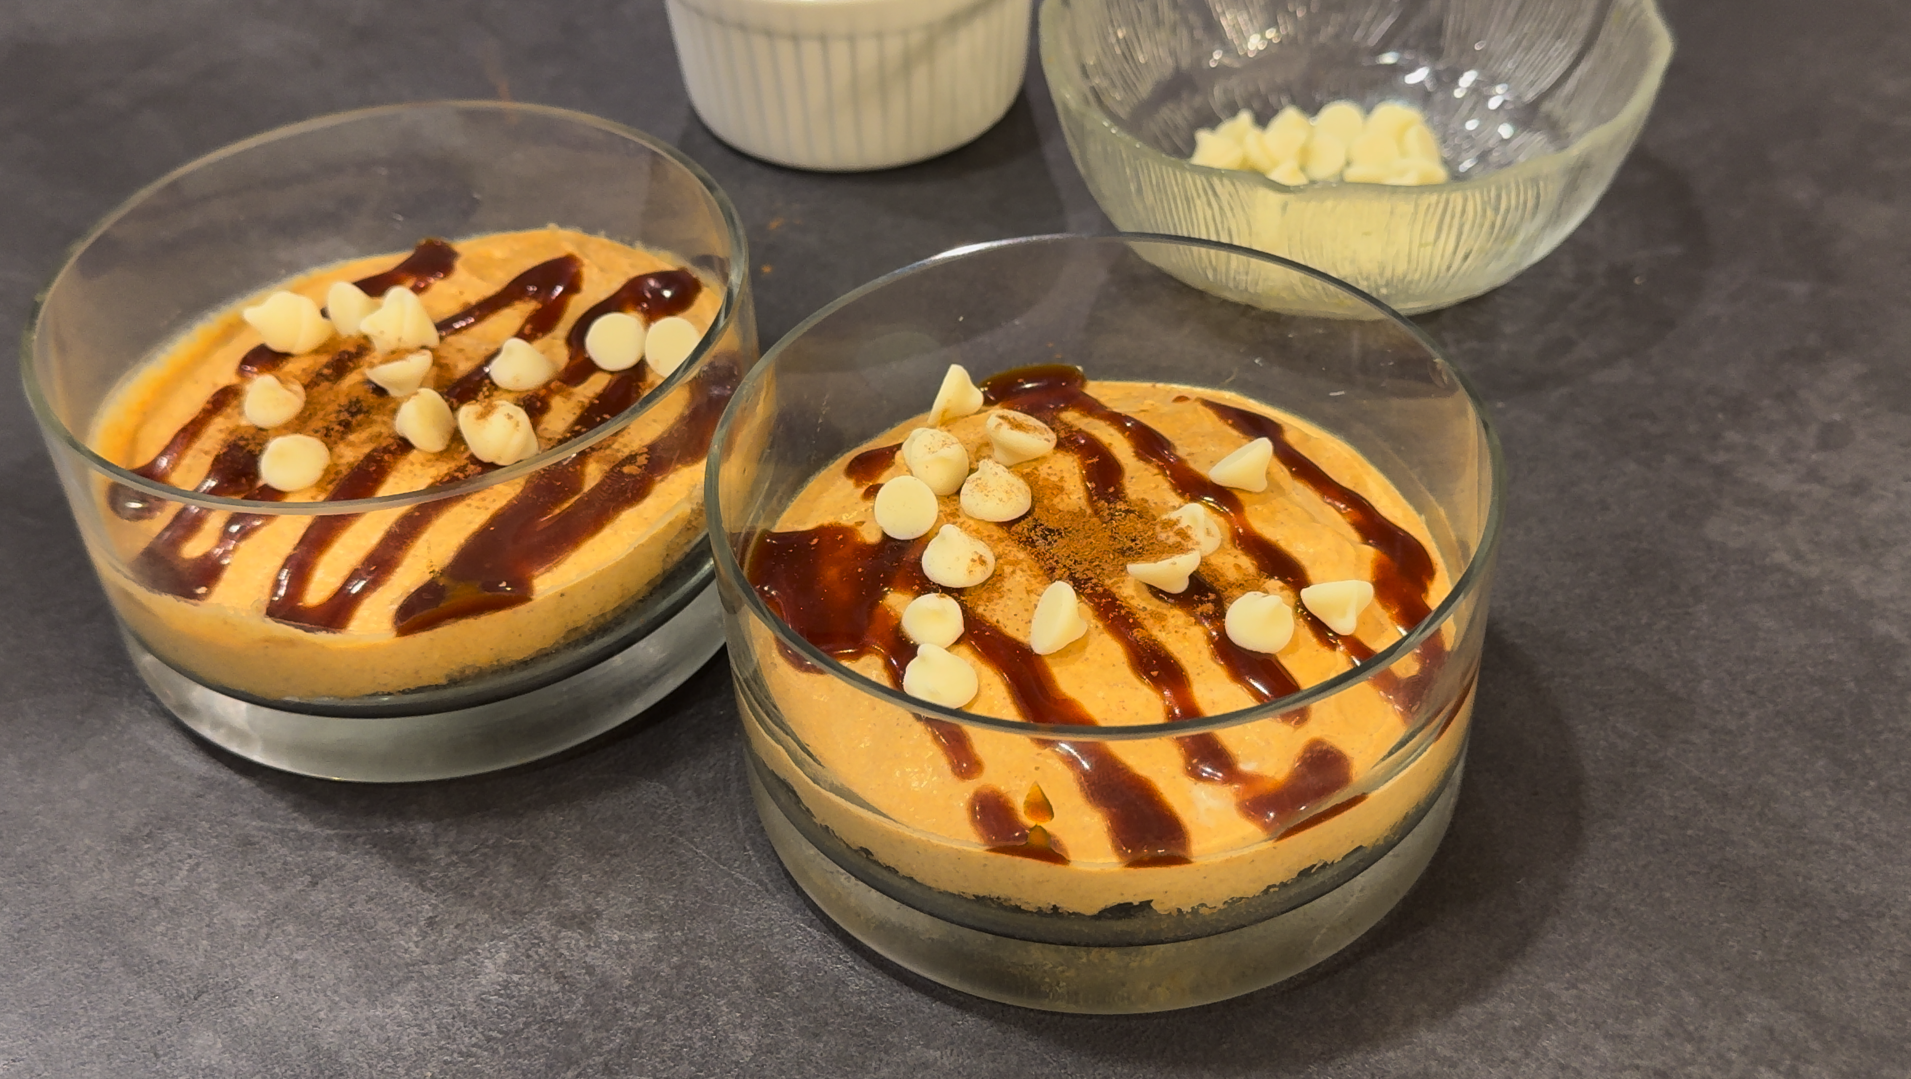
To serve, drizzle caramel sauce over the top, sprinkle with cream cheese chips, pumpkin spice.

Enjoy!

Tips for amazing no-Bake Single-Serve Pumpkin Cheesecakes
Once the butter is mixed with the graham cracker crust, make sure that the crumbs are crumbly. This will ensure you’ve got the right texture.
Be sure to evenly spread the crust around your bowl and that it is thick enough to support the pumpkin cream cheese filling. If you’d like a thicker crust, you can absolutely make it!
Gradually add your whipped cream so that your pumpkin cheesecake filling is not too thin. If you accidentally make the filling too thin, add some more cream cheese, as that is the thick component of our filling recipe.
If you do not find your filling sweet enough, you can simply add a bit of your favourite sweetener and mix. Taste, and adjust as necessary.
Be sure to allow both the filling and the crust enough time to set so that you’ve got a perfect texture!

Variations of No-Bake Single-Serve Pumpkin Cheesecakes
Crust: Swapping out graham crackers for gingersnaps is a common variation that really gives you some Christmas vibes! Alternatively, if you want some chocolateyness to the crust, you could use crushed Oreos.
Gluten-free: If you have a gluten intolerance, feel free to use gluten-free graham crackers.
Toppings: No need to stop at cream cheese chips! If you don’t have them, then you can substitute with white chocolate chips, and that will come close. Otherwise, feel free to use good old semi-sweet chocolate chips. You could even explore other fun ideas like mini Reese’s peanut butter cups. You can’t go wrong with some on top or even add shaved chocolate using a peeler. If you want to enjoy more graham cracker goodness, then you could add crushed or whole cookies!
Sauces: As I mention in my Cafe Mocha Syrup, which is based off of the chocolate sauce made here! If you love caramel, go for my Simple Caramel Sauce. If you’re making this recipe in the fall or just love pumpkin year round, then my Pumpkin Spice Sauce would really be the perfect fit!
Extra small: For very small cheesecakes, you can assemble and bake in a muffin tray.

Troubleshooting
How Come the Pumpkin Cheesecake Crust is Soggy?
The right amount of butter: You need to add just the right amount of butter for the perfect No-Bake Pumpkin Cheesecake Crust. If you add too little, then the graham cracker crumbs won’t be crumbly when you try to crush them. On the other hand, too much butter also is not ideal because then the crust will be too wet, and it won’t be able to solidify and have the desired texture.
Setting time: I know you really want to eat your cake quickly, but you must be patient and give the appropriate amount of time for the crust to completely set! You need to ensure that you allow the crust to set in the fridge or freezer for a sufficient amount of time to allow it to firm up.
Storage: When you store the pie in the freezer to chill, make sure the pie is completely flat so that the toppings don’t seep into the crust.
Crust thickness: Ensure that the crust is thick enough to hold the filling. A thin crust can also make it difficult to have a strong enough base to hold the toppings above. My recommendation is to ensure that your crust is at least 1/4 inch deep.

Why Didn’t the Pumpkin Filling set?
Because pumpkin puree and cream cheese are very thick at room temperature, you really need to make sure the filling is completely cold and solid. For best results, place the cheesecakes in the fridge and really make sure you wait those 3 hours - I know it’ll be tough to do, but it’ll be worth the patience!

Can I make this Pumpkin Cheesecake full-sized?
Yes, you can! For 2 single-serve cheesecakes, I cut the recipe in half of a full-sized pie using a 9 1/2 inch by 9 1/2 inch pie dish. Simply double the recipe and add the crust and filling into a pie dish instead of bowls. Refer to the recipe card below for guidance on exact quantities to ensure you get the correct measurements for your pie dish!
Can I Make a No-Bake Pumpkin Cheesecake ahead of time?
Well, technically you have to for this recipe anyway! You need at least 2 hours for the crust to freeze and 3 hours for the filling to set, so there is some pre-planning involved - at minimum, starting early afternoon to enjoy in the evening! However, if you want to just keep the entire assembled cake in the fridge, I wouldn’t keep it for longer than 2 days. This is because of the whipped cream that’s in the filling that is likely to deflate and spoil. You can freeze your No-Bake Pumpkin Cheesecakes if you don’t plan on eating them within 2 days, and I’ll give more details on how to do this soon!

How to store No-Bake Pumpkin Cheesecakes
All you need to do is cover your bowls or trifle dishes with plastic wrap and store in the fridge or freezer. Ideally, store without the toppings.

Can I freeze These Single-Serve No Bake Cheesecakes?
Yes, you can. If you want to make them to have on hand for when a snack attack happens, then that’s no problem at all! Furthermore, I would encourage you to make some cakes if you have ingredients that are about to spoil, such as cream cheese, pumpkin puree, and/or heavy cream. As I describe in my Make Cooking Fun! free motivational guide to spark creativity in the kitchen, I mention that if you’re stumped for ideas, you should gain inspiration from the ingredients that are around you! Say you had a theme (which is also a source of inspiration that I discuss in the guide!) with pumpkin for the week, but there’s still some pumpkin puree left and its lifetime is running out. Because these cakes are so simple to make, you can get started and make them right now and you won’t have to worry about your pumpkin spoiling! Yay, we’re really anti-food waste here!
That being said, if your ingredients are close to spoiling, I would freeze your cakes right away. Make sure to freeze without toppings, then when you’re ready to enjoy, add the toppings. You can freeze your No-Bake Single-Serve Pumpkin Cheesecakes for 3 months.

Do YOu Serve No-Bake Cheesecakes at Room temperature or chilled?
That’s up to you! It depends if you’re eating this directly from the fridge or if you’ve frozen the entire cake prior to eating it.
If you’ve frozen the cake, microwaving it VERY QUICKLY (we’re talking about 15 seconds) can help enhance the flavours and get your crust warmed up - in fact, it’ll enhance the flavours of the filling! You also don’t have to worry about getting this crust soggy as long as you only heat it in the microwave for 20 seconds.
However, this cake should easily be enjoyed chilled directly out of the fridge. At the end of the day, as I mentioned, it’s your choice at what your desired eating temperature is!
More Pumpkin Treats!
WATCH HOW TO MAKE No-Bake Single-Serve Pumpkin Cheesecakes Here:
If you liked this recipe please let me know in the comments. Tag your post on social media using #cookingwithanadi and mention me @cooking.with.anadi. Thank you!

Single Serve No-Bake Pumpkin Cheesecake
Ingredients
- 160g graham crackers
- 60g butter, molten
- 3/4 Cup (90g) cream cheese
- 1/2 Cup (125g) pumpkin puree (store-bought or homemade)
- 1 Tbsp (5g) pumpkin spice (or homemade)
- 1 Tbsp (15g) lime juice
- 1 Cup whipped cream (40-50g) (from a can or homemade) or Cool Whip
- caramel sauce (store-bought or homemade), as desired
- cream cheese chips, as desired
- pumpkin spice, as desired
- 3 Tbsp cinnamon
- 2 tsp nutmeg
- 1 tsp ground ginger
- 1/4 tsp ground clove
- 1/8 tsp allspice
- 2 Cups (500 mL) 35% heavy cream
- 2-4 Tbsp sweetener of choice (such as table sugar, brown sugar, honey, cane sugar, agave syrup, maple syrup, Splenda, or Stevia)
- 3-4 tsp vanilla (such as vanilla extract, Madagascar bourbon vanilla bean paste or vanilla bean pods)
Instructions
- To make this pumpkin pie spice recipe, all you need to do is mix all the spices together in a plate or shake the ingredients together in an airtight jar.
- Prepare the crust by smashing all of the graham crackers until they are broken down completely. Add the crushed crackers to a bowl and then pour in the molten butter and mix well. The mixture should be crumbly and should clump together easily.
- Add the cracker mixture to individual sized serving bowls and pat the crust evenly so that it is even at the bottom and has a slight lip on the edges. Add to the freezer and chill for 1-2 hours.
- If using a whipped cream dispenser, skip this steps 3-4. Prepare whipped cream first. If using a stand mixer, add cream to the bowl of a stand mixer and start whisking with the whisk attachment at medium speed. Gradually increase the speed of the whisk until the cream starts to thicken.
- Add sweetener of choice and vanilla and continue whisking until you observe soft peaks. Lifting the whipped cream with the whisk should result in peaks that eventually points down. You can do the same using a handheld mixer or a whisk. Set aside for now and wipe the bowl clean.
- In the same bowl, add the cream cheese, pumpkin puree, pumpkin spice, lime juice and vanilla extract. Mix well using a whisk/hand mixer/stand mixer.
- Once the mixture is combined, stop the mixer and add in the whipped cream. Fold together to combine using a spatula and then transfer the mixture to the prepared bowl with the cake crust from earlier. Place the cakes in the fridge and chill for at least 2-3 hours.
- To serve, drizzle caramel sauce over the top, sprinkle with cream cheese chips, pumpkin spice and enjoy.


Follow me


Meet Anadi
Welcome to Cooking With Anadi. This platform is all about making cooking exciting and finding new ways to bring classic flavours and recipes at your service. Join me in my personal journey in the world of cooking. Hope you have a great ride!